FREE Crazy Quilt Embroidery Design + Machine Tutorial
This post may contain affiliate links, which means I’ll receive a commission if you purchase through my links, at no extra cost to you. I sometimes receive free products for review. Please read disclosure for more information.
One of my favorite things to do with my ridiculous scrap stash is creating crazy quilting blocks. I especially enjoy using up charm pack scraps to create a slightly more coordinated block.
While creating these blocks is easy enough with my sewing machine, crazy quilt block embroidery designs are also easy to digitize and stitch with an embroidery machine.
So, here’s how to embroider crazy quilt blocks on your machine! Plus, I have a free crazy quilt block embroidery design in 4″x4″ size for you to download and try.

What Crazy Quilt Blocks Really Are

Crazy quilt blocks are composed of various prints and types of fabric in different shapes stitched together by hand or machine to create a unique quilt block. Each block can be further enhanced with embroidered stitches at the seams.
Crazy quilt blocks date back to at least 1876 and have experienced varying popularity over the centuries.
You Can Create ITH Quilt Blocks In-The-Hoop

Crazy quilt blocks are one example of quilt blocks that can be pieced in the hoop with an embroidery machine. (Above is another example of a block I pieced with my machine.)

Piecing in the hoop involves using stabilizer as the base of the block rather than foundation paper, as you would use when creating blocks with a sewing machine.
While experienced quilters can foundation paper piece blocks in no time, I prefer piecing in the hoop. It provides me with better accuracy and speed, and it’s fun to watch my embroidery machine accomplish one more thing I never imagined it’d be able to do!
Supplies for Embroidering a Crazy Quilt Block
Below is a quick summary of the best embroidery supplies for embroidering those crazy quilt blocks. (I cover more in-depth the process and supplies necessary for piecing blocks of all types in my piecing quilt blocks in-the-hoop with an embroidery machine article.)
1. Thread

I match the bobbin and top threads and use the closest neutral color for the piecing portion of the block creation.
Thinner threads also reduce bulk at fold lines, so you can consider 60-wt thread instead of the typical 40-wt embroidery thread.
When adding the crazy stitching to the top of the block, I like a thicker thread (like 30wt cotton) or fun threads like variegated or metallic threads. I use regular bobbin thread on the bottom.
2. Stabilizer

I prefer a light cut-away stabilizer like no-show mesh, but wash-away or tear-away stabilizers are other valid options depending on your intended use of the finished project.
3. Batting

I like 80/20 batting, but you can use anything that fits under your embroidery machine needle.
Batting can be added to stabilizer before piecing, or fabric can be pieced directly onto stabilizer and batting added later during the quilt sandwich formation.
You can also decide whether to add those crazy embroidery stitches at the end of the piecing or keep the block simpler with fabric only.
4. Needle

Start with a 75/11 machine embroidery needle for piecing. Size up if the needle doesn’t pierce all layers or the machine starts skipping stitches.
When using thicker thread to add embroidered stitches, use a larger needle (80/12 or 90/14) and consider a topstitch needle for metallic threads or other specialty thread types.
5. Fabric Selection

While quilting cotton is a tame way to start creating machine embroidery crazy quilt blocks, don’t forget to try more unstable fabrics like lame, velvet, dupioni, silk, and more!
Digitizing Crazy Quilt Block Embroidery Designs
Software makes creating your own machine embroidery crazy quilt designs easy. If you don’t want to make your own from scratch, DIME’s My Block Piecer software has multiple crazy quilt block designs built in.
Here’s the basic overview of digitizing a crazy quilt block embroidery design.
1. Create or Find a Crazy Block Template

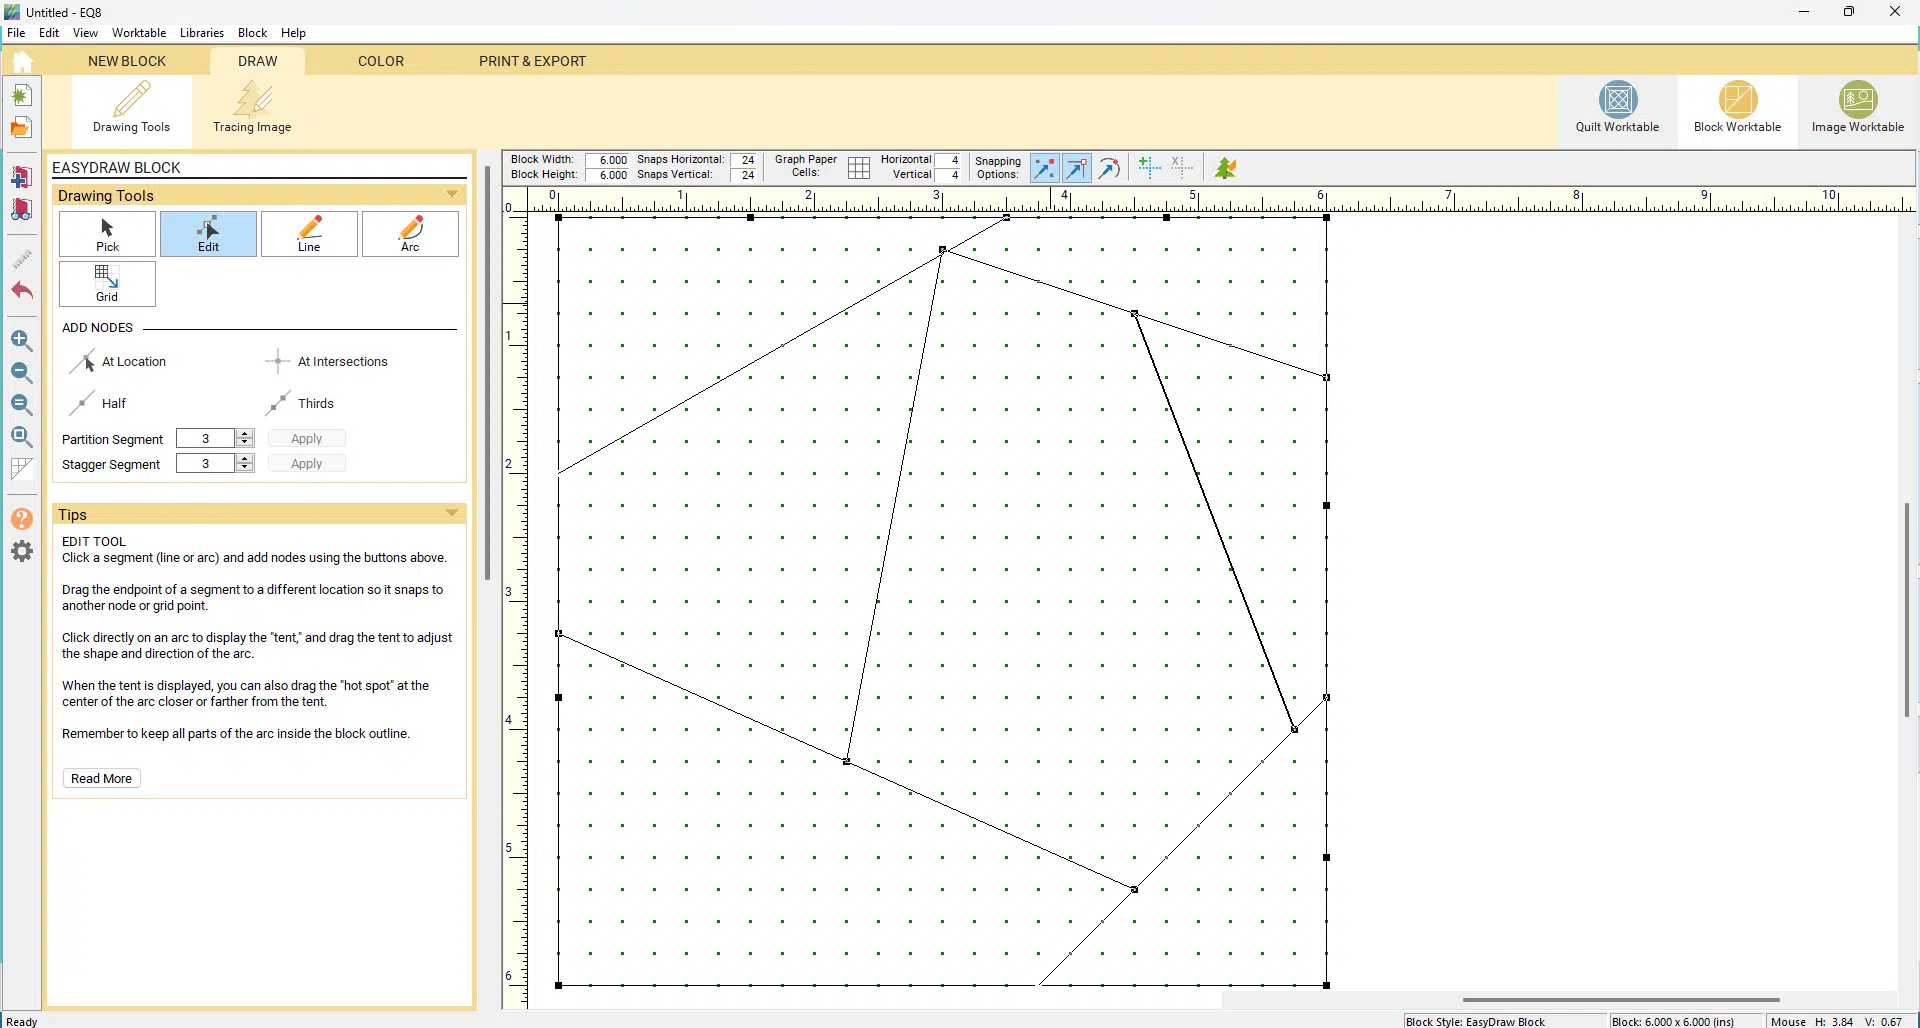
I like creating my own crazy quilt blocks in my Electric Quilt 8 software, but you can find a template online or draft one yourself.

The great thing about EQ8 is it automatically generates the piecing order for me.
2. Import Artwork Into Software

Import the image of the crazy quilt block into your embroidery software and resize it before beginning to digitize.
3. Digitize Piecing Lines

Using the image, create stitching lines.
My typical digitizing process involves the following steps:
- Start with a square (or rectangle) placement stitch followed by a tacking stitch for batting (if needed.)
- Add placement stitch for the first patch.
- Create a tacking stitch for that patch.
- Add a placement line for the next patch.
- Create the tacking line.
- Repeat steps 4-5 until the entire crazy quilt design is digitized.
- Finish with a final perimeter stitch to make trimming and sewing easier later.
- Duplicate the tacking lines and turn them into embroidered motif crazy stitches.
Now, some digitizers stitch the entire design on stabilizer as a template during the first step to eliminate the need for placement lines.
I have a mom-brain, so I prefer placement stitches at each step to avoid confusion regarding patch order.
It’s also important to remember to change the color of each stitch line when digitizing to prompt the machine to pause so you can place fabric.
Lastly, when deciding where to plot the tacking and placement stitches, remember that folding back fabric at the tacking stitch can result in the placement stitch showing through the seam. So, move stitch lines as needed to avoid unwanted thread visibility!
Embroidering a Crazy Quilt Block In The Hoop
If you’re new to embroidering in-the-hoop quilt blocks, the piecing process can vary slightly between digitizers.
Typically, though, ITH-pieced quilt blocks are stitched as follows:
- Begin by tacking down the first piece of fabric onto the stabilizer and trimming.
- From there, subsequent pieces of fabric are added right side down and stitched into place.
- Once secure, fabric is folded over so the right side is visible, and the process is repeated for each additional fabric patch piece until the block is completed.
Now, here’s a step-by-step picture tutorial on stitching the free embroidery design you can grab at the end of this tutorial.
1. Hoop Stabilizer and Set Up Machine

Hoop the desired stabilizer, load the design to the embroidery machine, and set the right needle and threads.
2. Stitch Perimeter Stitch

This is the outline of the block. If you want to add batting, stitch this line one extra time to tack down the batting. (Trim batting after the stitch.)
3. Stitch First Placement Line

This is where the first patch will go.
4. Place Fabric and Trim

Place a piece of fabric over the placement line, and stitch the next stitch.

Then, trim closely to the edges (or leave your desired 1/4″ seam allowance if you want the back to look extra clean later.)
5. Stitch the Next Patch

The next step is the placement line for the second patch. This will stitch on the top right edge of the first fabric.

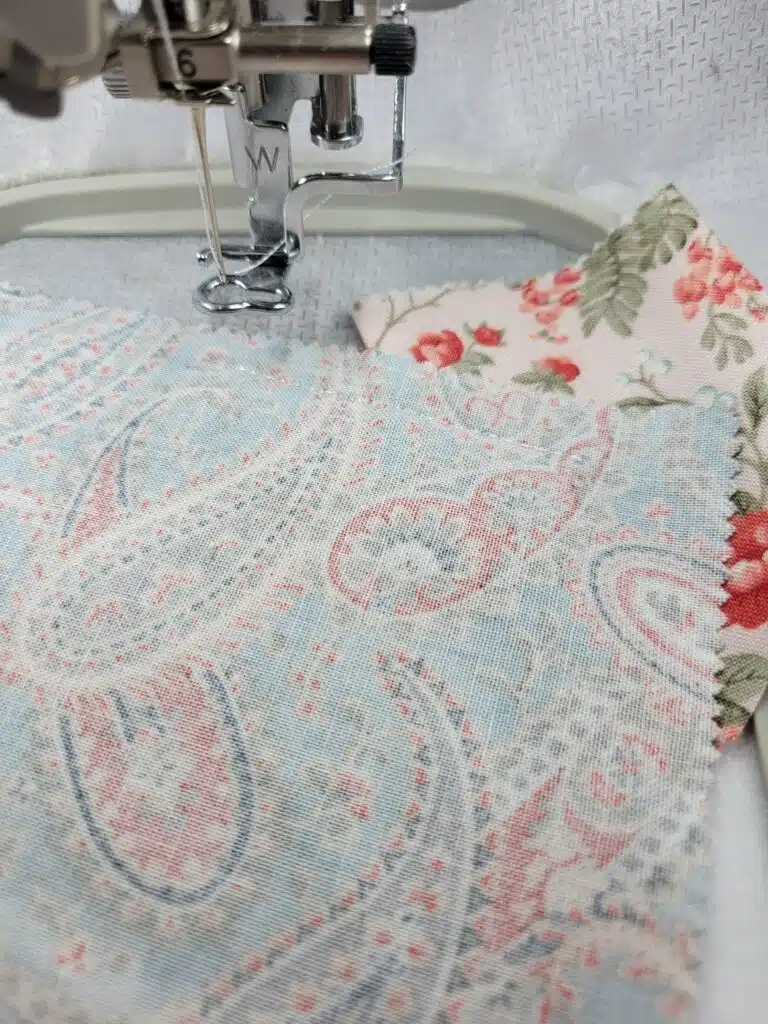
Place your next fabric face down with a roughly 1/4″ seam allowance hanging over the line onto the stabilizer as shown. (I’m holding it up so you can see the line underneath it.)

Stitch the tacking line.

Then, remove your hoop from the machine and fold the fabric back to the stabilizer.

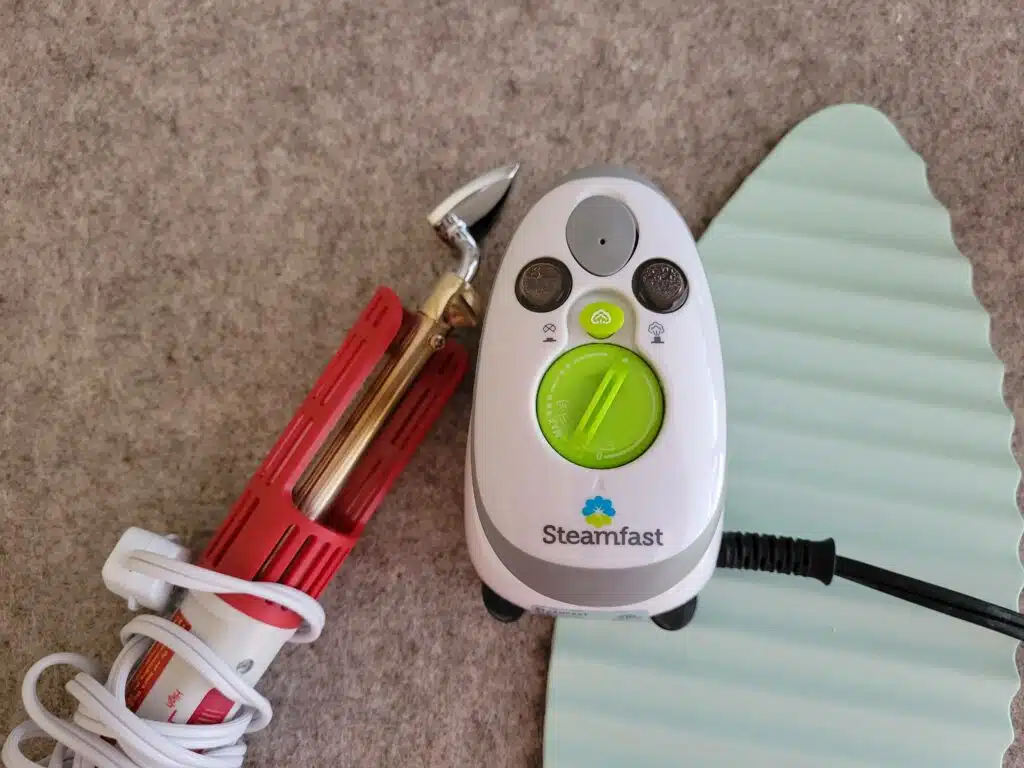
I like using my crafting mini-irons, fingers, or seam roller depending on how I’m feeling. Some embroiderers also like using fusible stabilizer, a glue stick, or spray like Odif 505 to keep the fabric from flapping back over.
6. Stitch Next Piece

The process continues as above: placement line followed by tacking stitch for each subsequent patch piece.

You can also trim fabric to reduce bulk at any point during the embroidery sequence. I trim the seam area after each placement line but don’t trim the outside until the end.

Continue this until all patches are stitched. Whew, what a bunch of fabric!
7. Add Final Perimeter Outline

Last, stitch the border outline to secure the fabric and make it easier to cut a seam allowance and stitch blocks together later.
8. Add Crazy Embroidery Stitches, If Desired

I only embroider my crazy stitches after the entire block is pieced–simply because I don’t want to keep changing thread colors back to the piecing thread each step.
Thus, the last embroidery step is to add those stitches if desired.
9. Trim Block

Remove your block from the hoop and machine. Then, use your favorite block trimming method to leave a small seam allowance (1/4″ – 1/2″) around the perimeter stitch.
FREE Crazy Quilt Embroidery Designs
First, download my crazy quilt machine embroidery design files HERE to stitch your own!
- The size is for a 4″x4″ hoop, and the file formats included are DST, EXP, HUS, JEF, PES, VIP, and VP3. The file is zipped, so you must unzip it, select the file type you need for your machine, and transfer it to the machine.
- You can use an embroidery file format converter for additional file formats.
And y’all, be cool. You can use these to make whatever you want (personal or commercial), but the files are NOT allowed to be redistributed or sold.
If you are looking for other free crazy quilt designs, check out these two as well:

I love this tutorial. I finally got the information I was looking for. Thank you so much!
Thanks! Glad it was helpful!