How to Embroider Socks on a Machine – Sock Hoop Tutorial
This post may contain affiliate links, which means I’ll receive a commission if you purchase through my links, at no extra cost to you. I sometimes receive free products for review. Please read disclosure for more information.
I’m guilty of scrolling Amazon and making splurge craft purchases when I find something really cool. A sock hoop was one of those things I was flabbergasted actually existed! Can you really embroider socks so easily?
I’d always avoided embroidering socks in the past with my single-needle embroidery machine. Socks are stretchy, thin, and have small top openings, making it difficult to lay them flat in a single layer.
Neither traditional hooping nor floating methods worked well when I toyed with the idea of sock embroidery. Some days I wish I had a multi-needle embroidery machine with a free arm.
But, then I remind myself that the extra $5k-$10k I’m saving by not having one sure can buy many cool supplies instead. Like this sock embroidery tool.
After I purchased a Sock-Easy embroidery hoop and started playing with it, I’ve been embroidering socks all over our house!
There was a bit of a learning curve, but now I’ve made my 2-year-old an entire toddler “sock of the month” collection. And, I’ve embroidered glasses all over my husband’s and my socks. (They match well with the shoes I embroidered glasses on, too!)
Follow along to learn how to make custom embroidered socks with your embroidery machine. (Or just a regular sewing machine if you have decorative stitches or know how to free-motion embroider!)

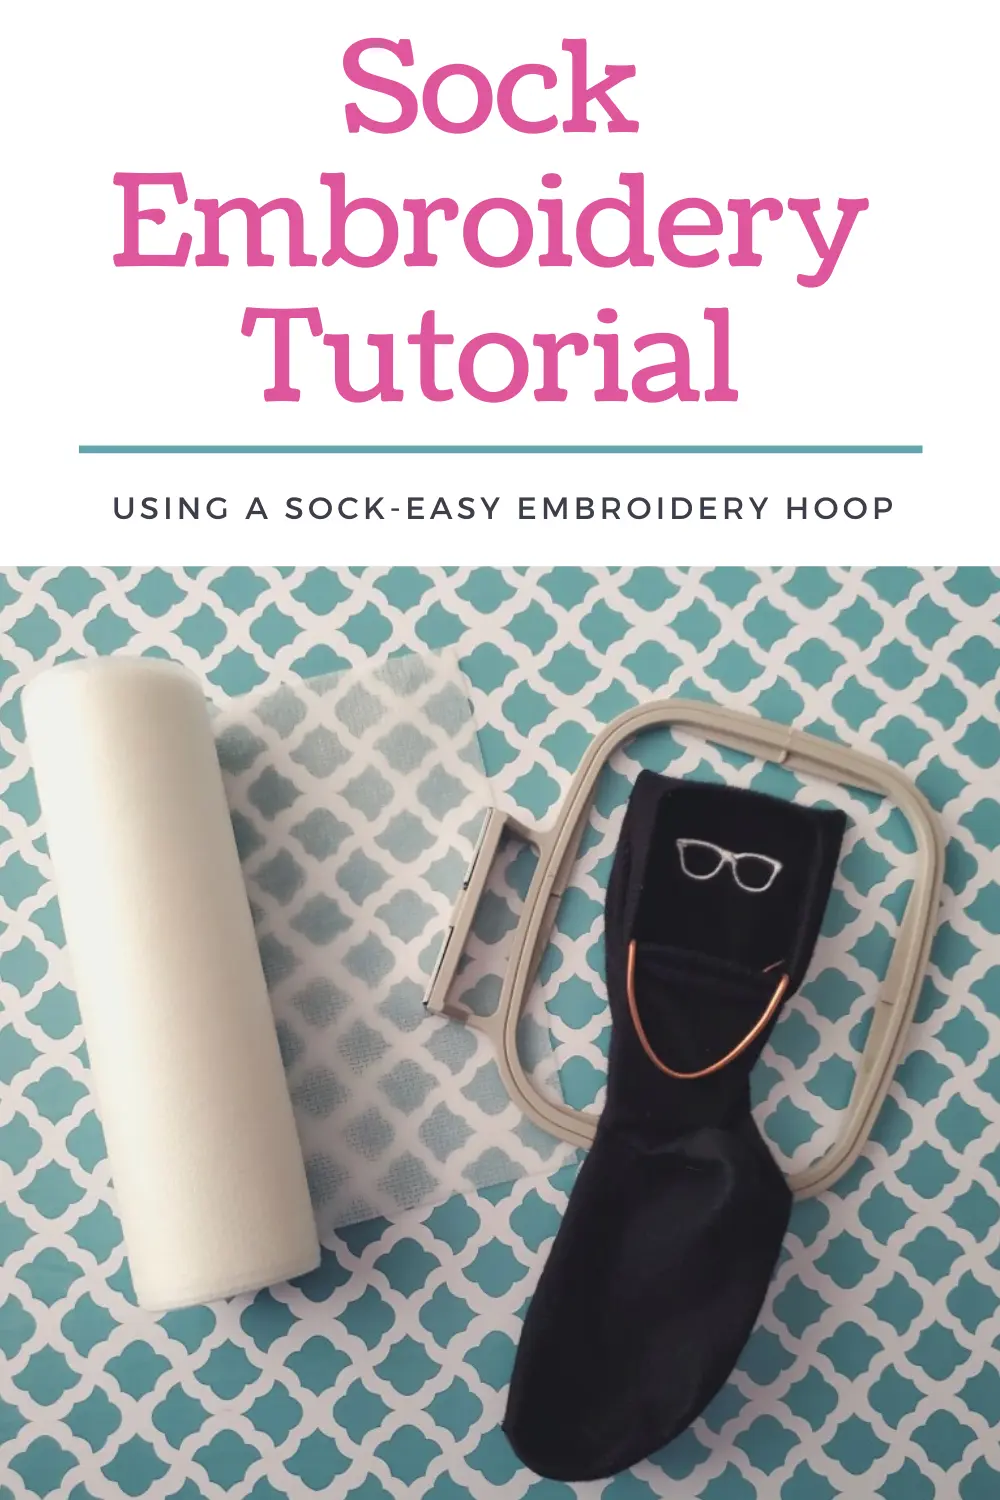
Sock Embroidery Supplies
Here are the supplies I used for this tutorial.
- Brother SE1900 embroidery machine and 4″x4″ hoop
- Sock hoop (aka Sock-Easy)
- Stabilizer: sticky, self-adhesive tear-away stabilizer (may need cut-away for dense designs) + water-soluble topping (Sulky Solvy)
- Needle: 75/11 embroidery needle
- Thread: Consider a thinner 60wt thread if using a fairly intricate design or embroidering letters on socks. 40wt will work for most designs, though.
- Marking and measuring: Water-soluble marking pen or placement stickers
- Embroidery design: Pick something small with a low stitch count.
- Odif 505 (optional) and embroidery scissors
How to Embroider on Socks (Tutorial)
1. Select a Stabilizer and Hoop It.
While knitted items are usually best embroidered with a stable cut-away stabilizer, if stitching a small design with a low stitch count, you can use a tear-away stabilizer to embroider socks.
If this does not provide enough support for your design, consider adding an extra layer of cut-away or PolyMesh stabilizer.
Now, socks need to adhere securely to the tear-away stabilizer so they will not move around during the embroidery process, causing a poor stitch out.
Self-adhesive sticky stabilizer provides a better hold than tear-away sprayed with temporary fabric adhesive, so I recommend using this.

Thus, to get this project started, first, hoop your sticky stabilizer with the shiny side up.
Then, carefully score the outside of the top layer with a pin. Remove the sticker backing to reveal the stabilizer.
Pick the smallest hoop size that your sock frame will fit into. In my case, this is my 4″x4″ hoop.
2. Mark Your Sock.

Next, mark the sock where you want the center of the embroidered design to go. I like to use a water-soluble marking pen on light-colored socks.
I also love placement stickers (learn how to make and use DIY embroidery target stickers!) These help me remember which direction is up when it comes time to embroider.
When marking a pair of socks, ensure they’ll both have their designs facing out when stitched.
3. Use the Sock-Easy to Hoop The Sock.

The Sock-Easy is a simple piece of thick wire that comes in two sizes for toddler and adult socks.
It’s also useful for embroidering on gloves and other difficult embroidery blanks, too.
At one point, this device was patented, which is interesting! But, the creator didn’t keep up with the patent maintenance fees according to the USPTO. It thus expired before its customary 20-year term.
Here’s how to use it.
A. Place Socks Correctly on the Sock Hoop
Figuring out how to get the sock properly hooped on the Sock-Easy reminds me a little of SAT spatial reasoning.

For a simple sock that will not fold down like the adult sock above, first, turn the sock inside out so your marked area is on the inside.
Then, slip the sock on the hoop with the area to be embroidered on the bottom.
The top of the sock will go over the little plastic tine covers.

In contrast, for a fold-down sock, unfold the sock completely, keeping the sock itself right side out.
The marker will now be on the inside.
Slide this onto the sock hoop like above. Notice how the placement sticker sits. You will have to rotate your design (or adjust the orientation of the sock hoop placed on your stabilizer.)
B. Stretch Sock to Fit the Frame.
Now, here’s the tricky part of embroidering ribbed, stretchy socks.
You have to be VERY careful about how stretched they are and the uniformity of the stretch.
If your socks are very stretched (and not uniform) on the sock hoop, when they return to their contracted size after embroidery, the ribs will lock in that stretched shape. This causes puckers and a deformity of the ribbing around the design.
For the best results, you may want to try on the socks and then eyeball (or exactly measure if you’re a perfectionist) the amount of stretch and try to mimic that in the sock hoop.
The socks may look a little wonky when not worn, but once you put them on, the ribs around the design will be perfect!
4. Adhering the Sock to the Stabilizer
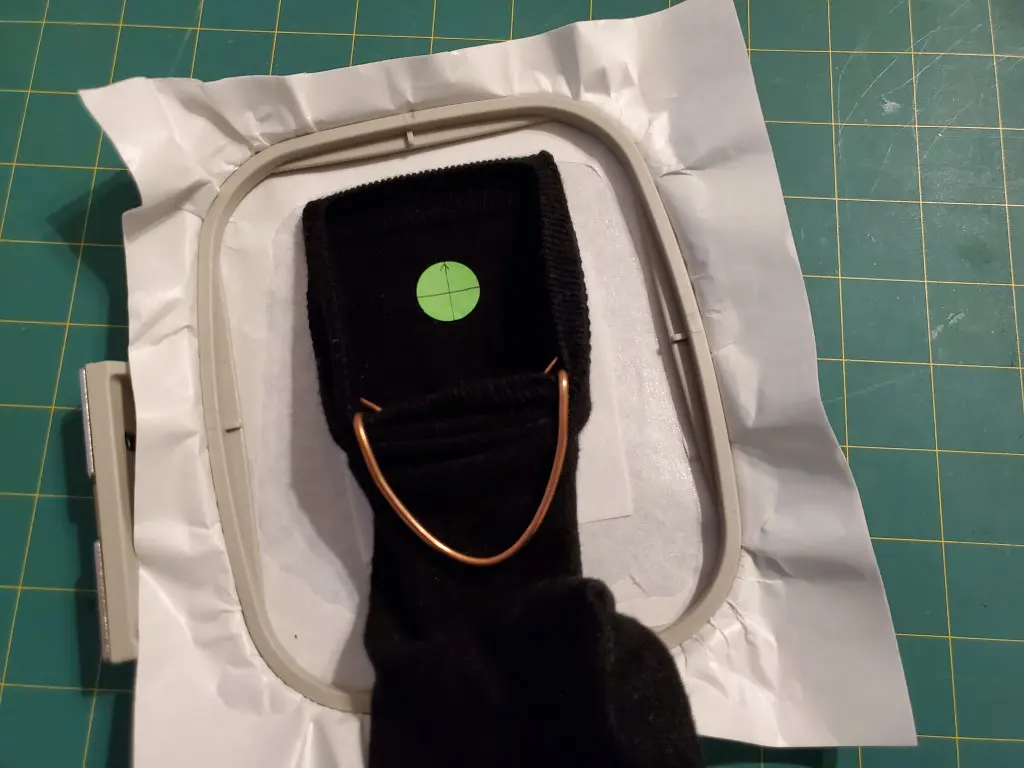
After you’ve placed your sock on the Sock-Easy, stick it onto the stabilizer.
Ensure the lines on your marked sock line up vertically and horizontally with your hoop. For ribbed socks, manipulate the ribs until they are parallel and equally stretched.
Just note you will likely not be able to place the center of the marked sock in the very middle of the hoop because of the size of the Sock-Easy; it will instead have to go above the center of the hoop or below, depending on orientation.
5. Set Up Your Machine and Design.

Place the hoop in your machine, and add a layer of water-soluble topping. I adhered mine with a thin layer of Odif 505.

Next, load your design. Flip your design if needed and move it around to line up the design with the center of your marked sock.
I recommend previewing the design to ensure your presser foot will never land on the metal of the sock hoop!
While I had measured the opening of the toddler sock hoop to determine design size, the actual usable area is considerably smaller than this. This is because the embroidery foot has width to the right of the needle, which doesn’t clear the Sock-Easy wire.
The included instructions say not to preview the design on a Bernina embroidery machine. I have no idea why!
However, on my Brother embroidery machine, I’d much rather preview and have an issue than accidentally stitch onto the metal. I’d have broken a needle if I didn’t preview my toddler sock.

Then, start your embroidery machine, and watch it carefully!
If you need to get near your needle, use something like a That Purple Thang rather than your fingers to hold stuff out of the way.

After the embroidery is done, remove the stabilizer from the hoop frame.
Then, take the sock off the sock hoop.
Tear-away the residual stabilizer.

Trim any jump stitches using small, sharp scissors. Then, tear off what you can of the water-soluble topping.
If you used a water-soluble pen or your topping didn’t remove immediately, spray your sock with water or dip it under the faucet. Then, let it dry, and you’re done!

You’ve now successfully learned how to embroider socks on an embroidery machine.
Happy embroidering!