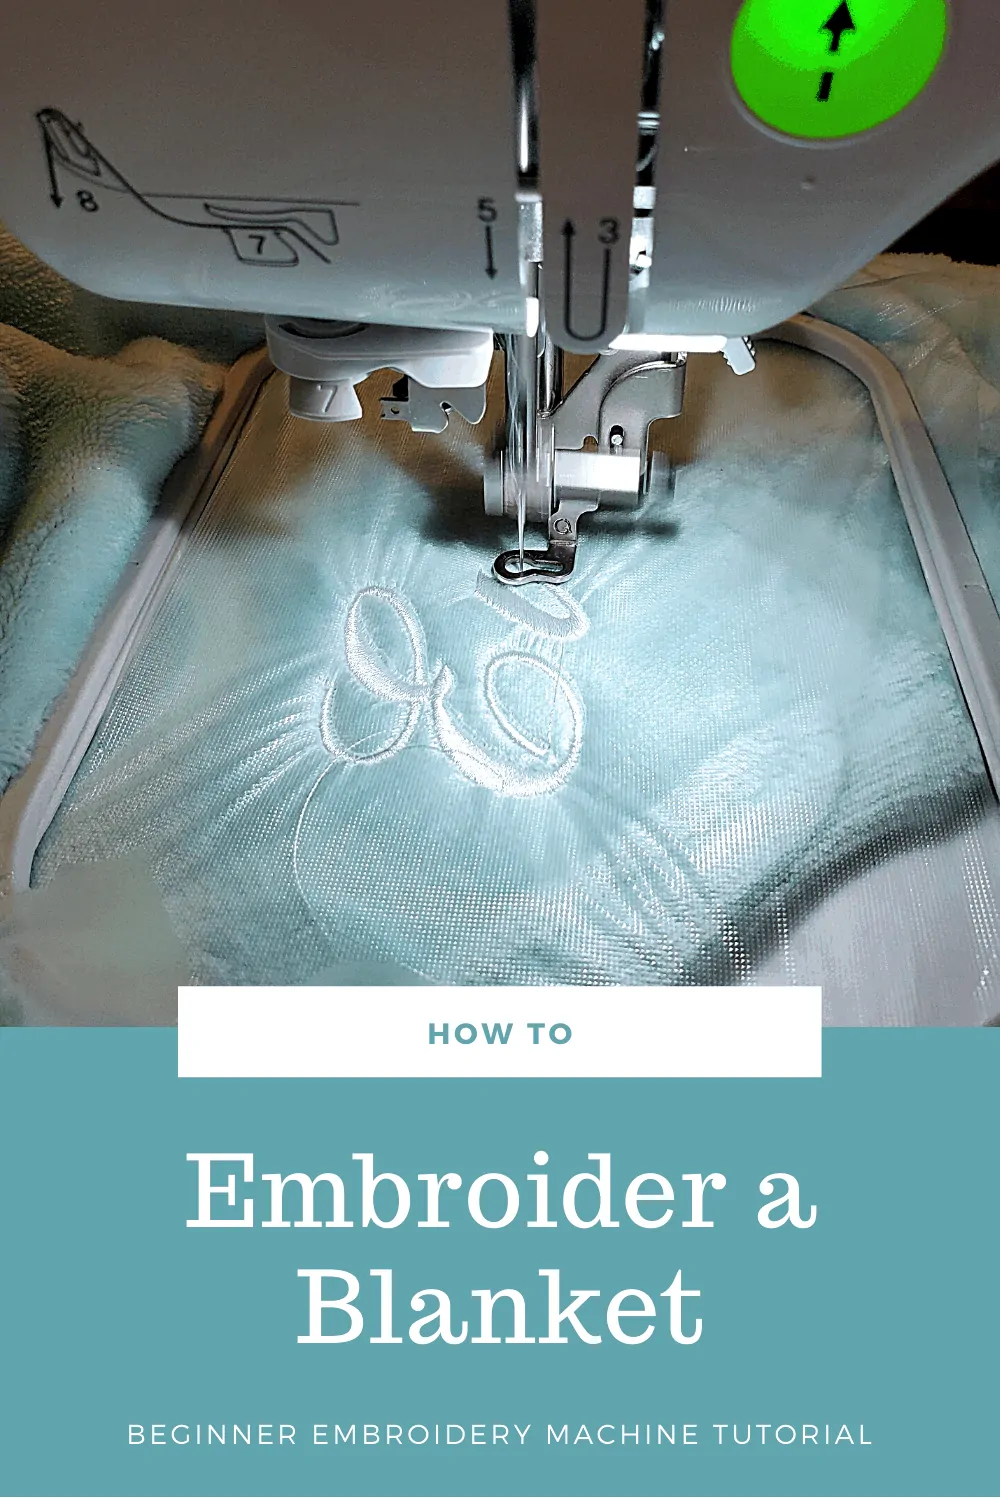
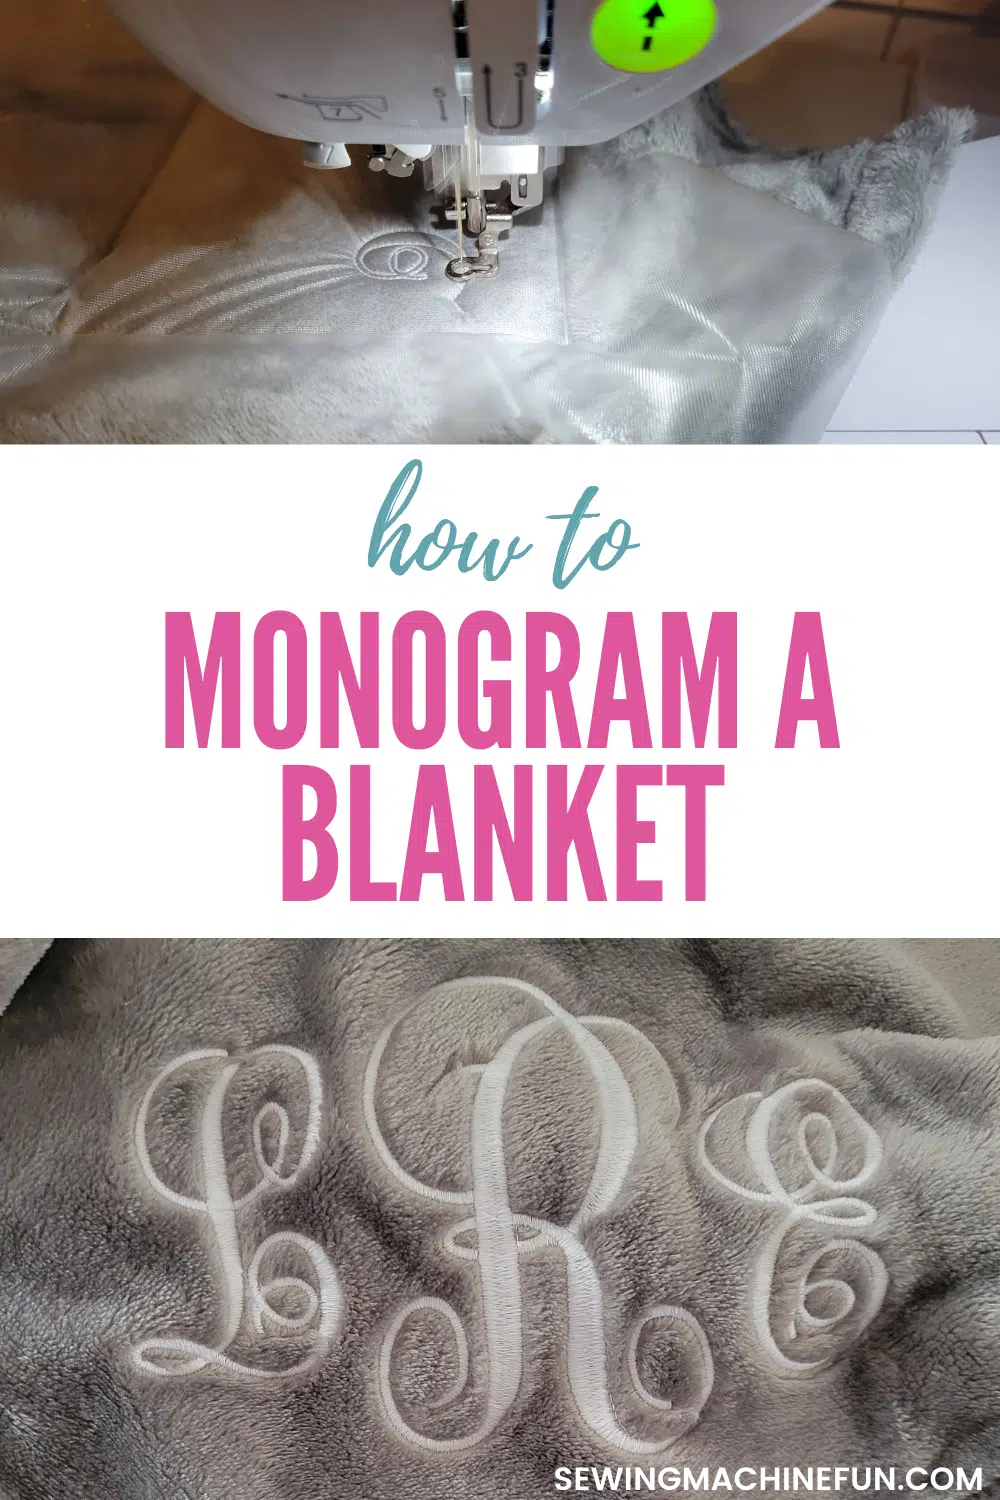
How to Embroider A Blanket with an Embroidery Machine
This post may contain affiliate links, which means I’ll receive a commission if you purchase through my links, at no extra cost to you. I sometimes receive free products for review. Please read disclosure for more information.
One of my favorite gifts for weddings and baby showers is an embroidered blanket!
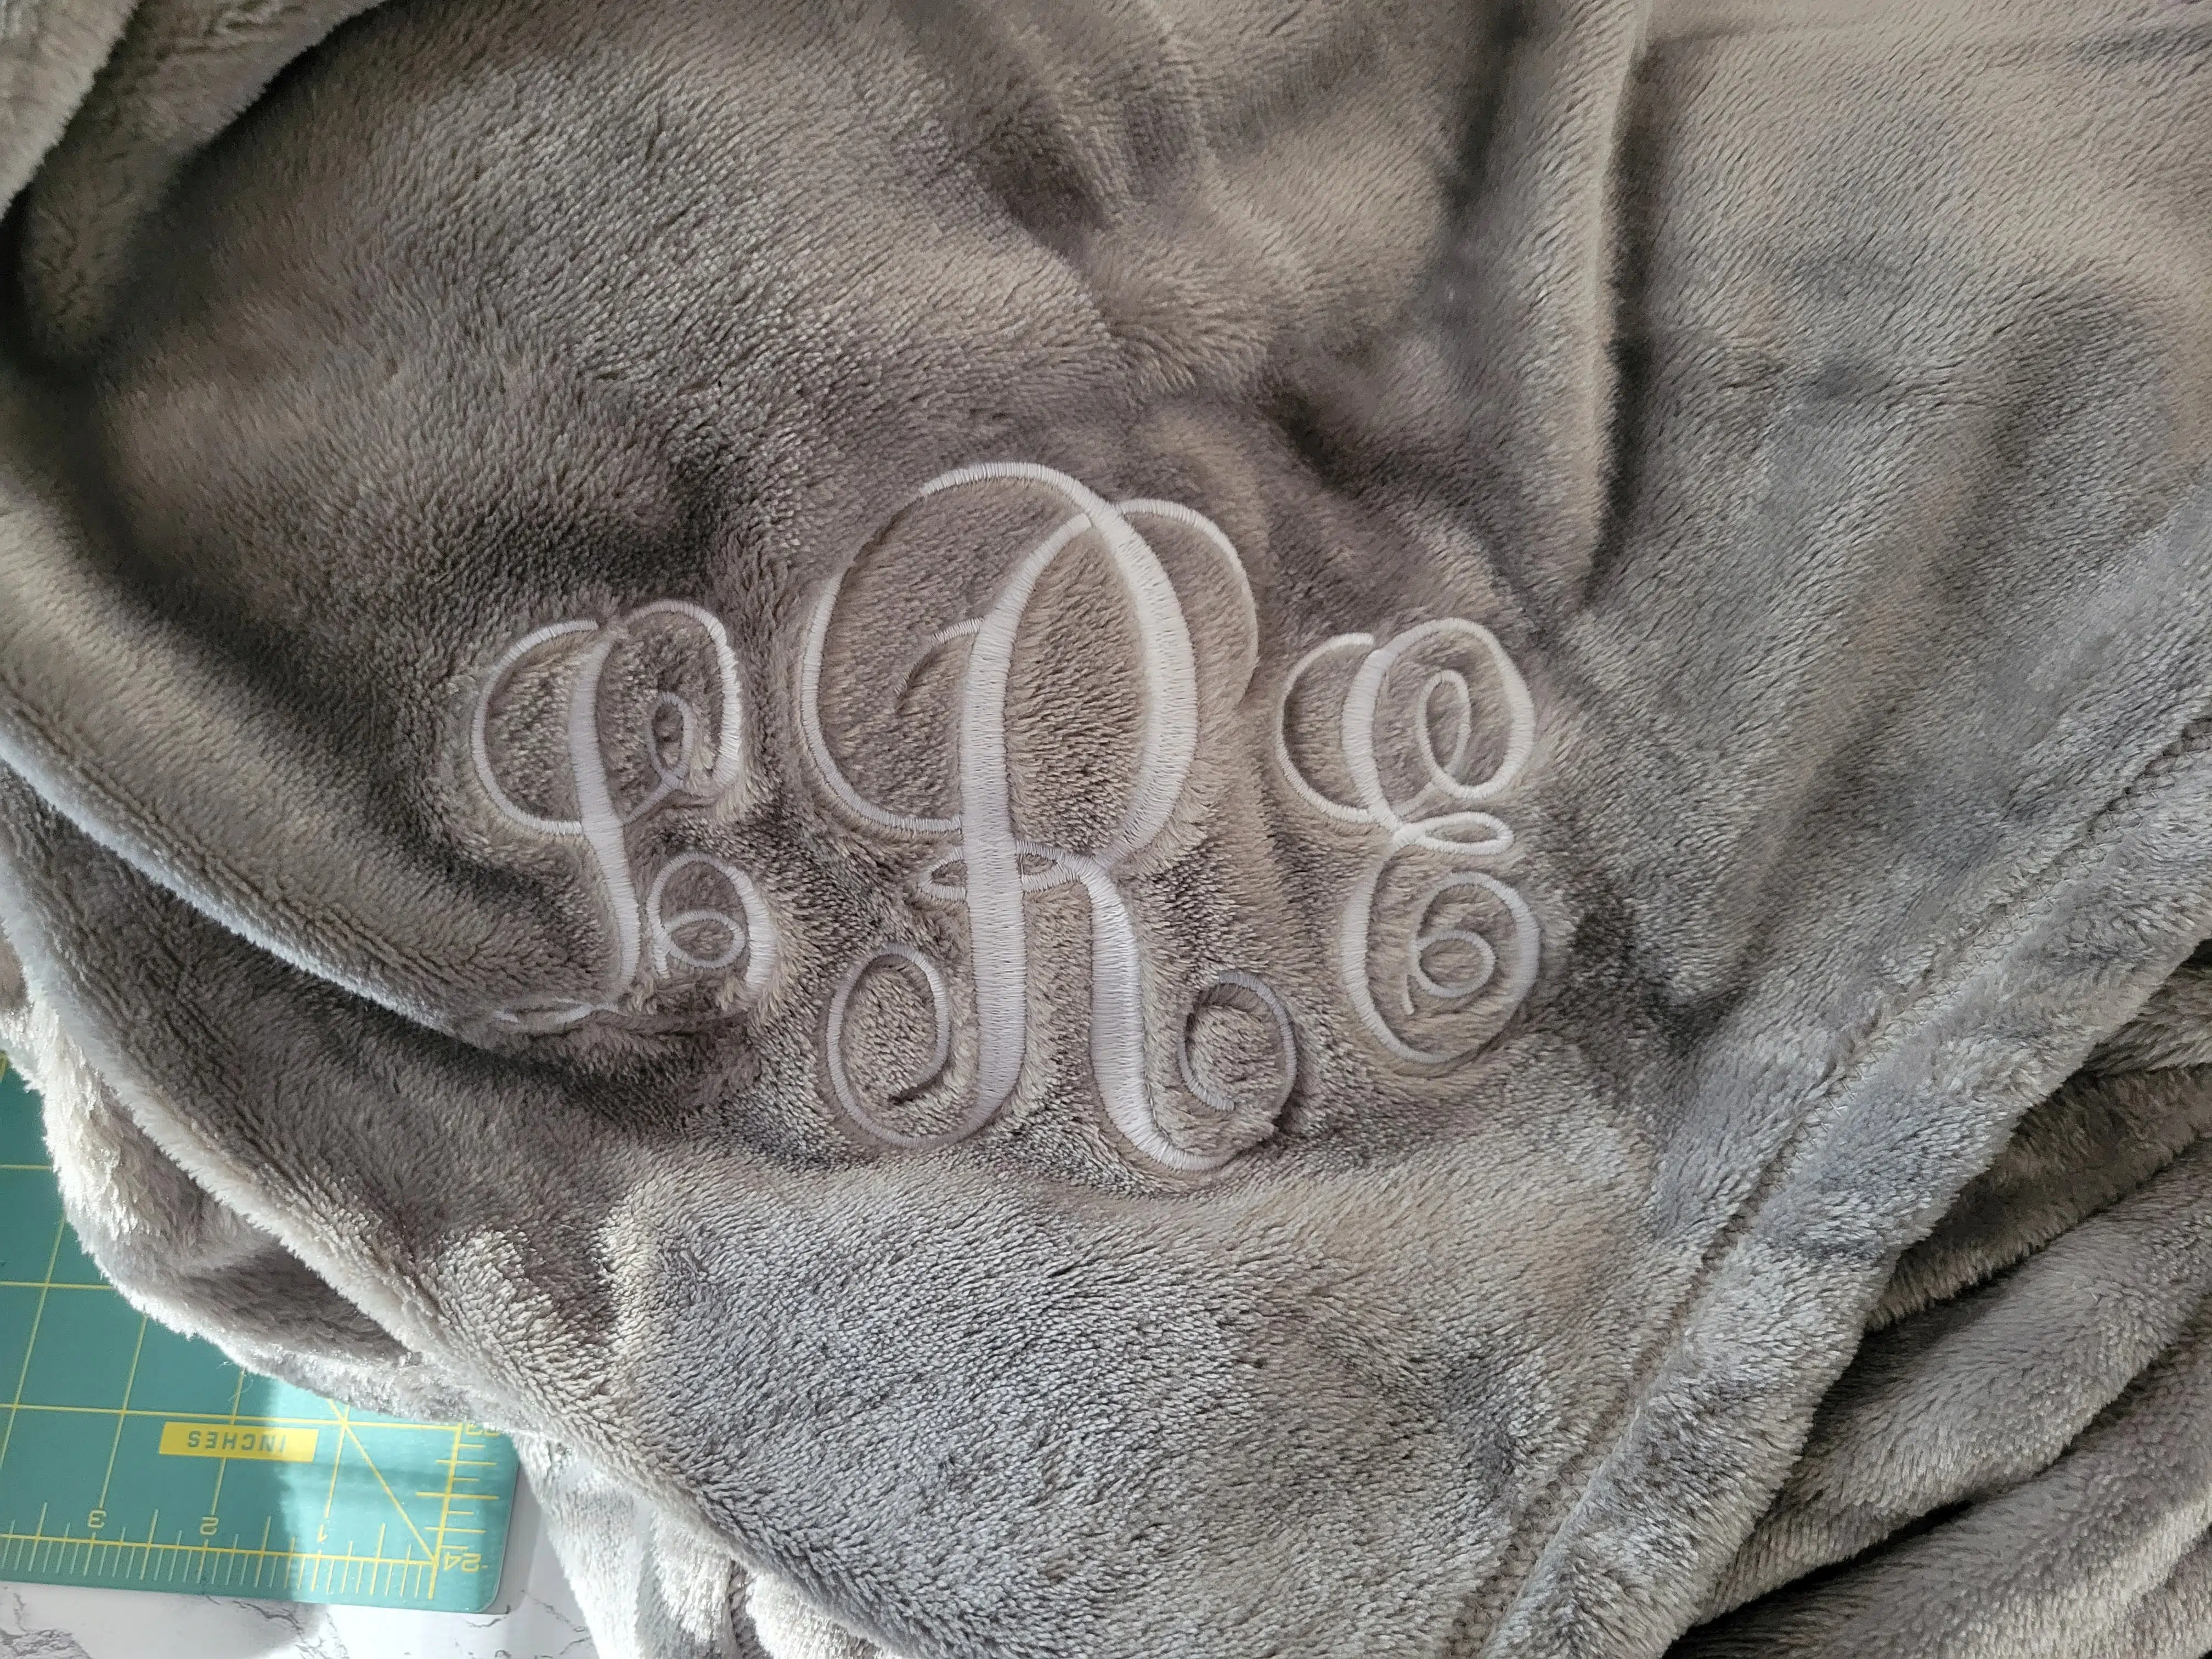
I can take one of those super soft Kohl’s The Big One throw blankets, embroider a name or monogram, and have the perfect personalized gift in less than an hour.
Or, I can add a name to a quilted, heirloom blanket to make an embroidered baby blanket that will be cherished for years to come.
Blankets come in all shapes and sizes are fun and easy to embroider with a machine. Want to learn more?
This tutorial will teach you how to embroider a blanket no matter the type of blanket! I’ll walk you through choosing stabilizers as well as hooping vs. floating and even how to choose the designs that will work best.
Blanket Embroidery Supplies
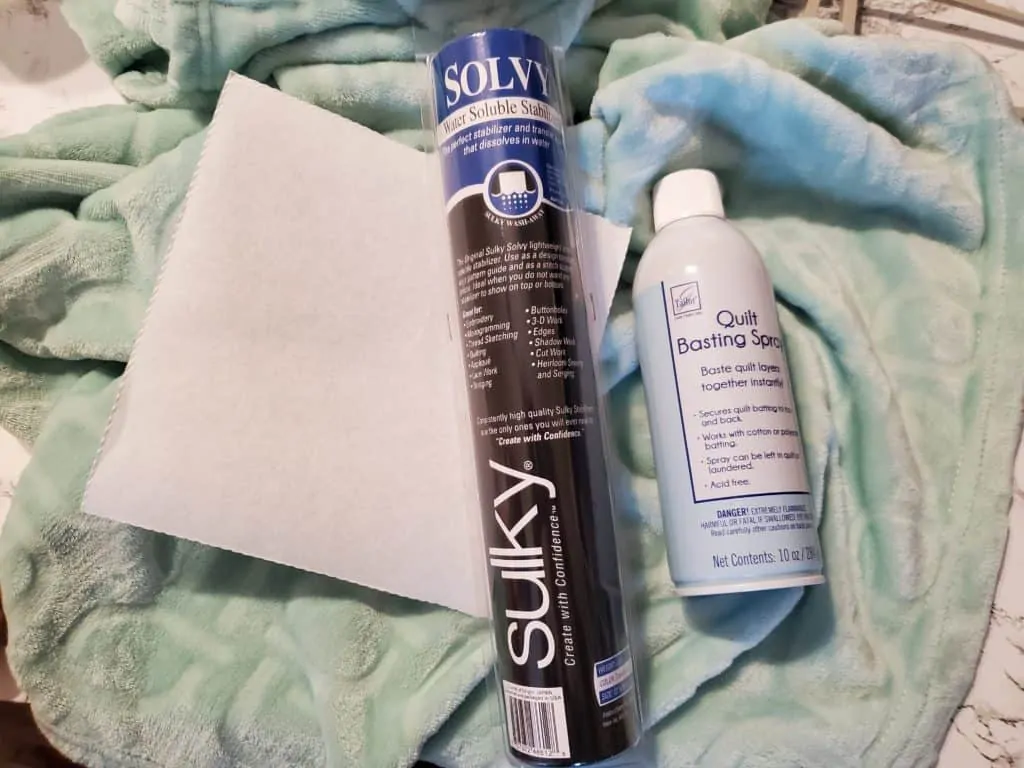
Here are the supplies you need for this project:
- Embroidery machine, hoop, and embroidery design
- Good-quality blanket
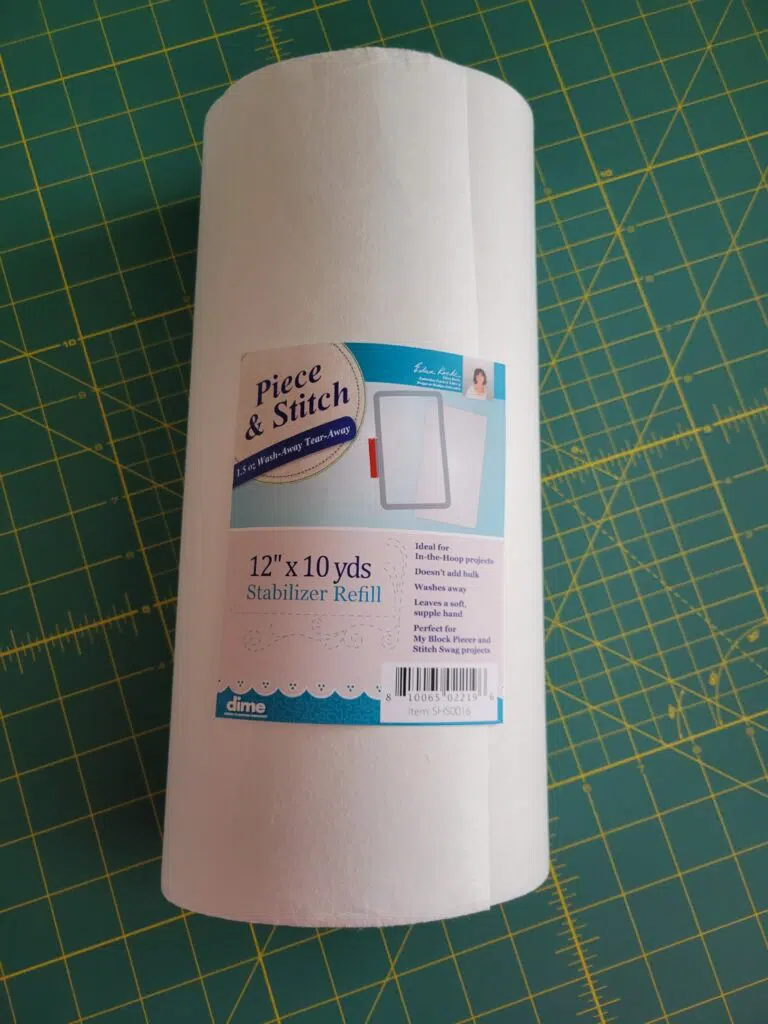
- Stabilizer: Cut-away, tear-away, or wash-away (See below for how to choose.)
- Water-soluble topping (lightweight film-like, not the paper type) for fluffy blankets
- Thread: I used 40wt polyester thread for the top and pre-wound white bobbins for the bobbin.
- Needle: 75/11 embroidery needle
- Washable marking pen or preferred marking tool
- Pins or other stabilizing items (if not hooping) and scissors
- Temporary fabric adhesive (optional)
What is the best stabilizer for a blanket?
If your blanket isn’t stretchy and your design is not dense, you can use tear-away or wash-away stabilizer, thus letting your blanket provide the stability during stitching.
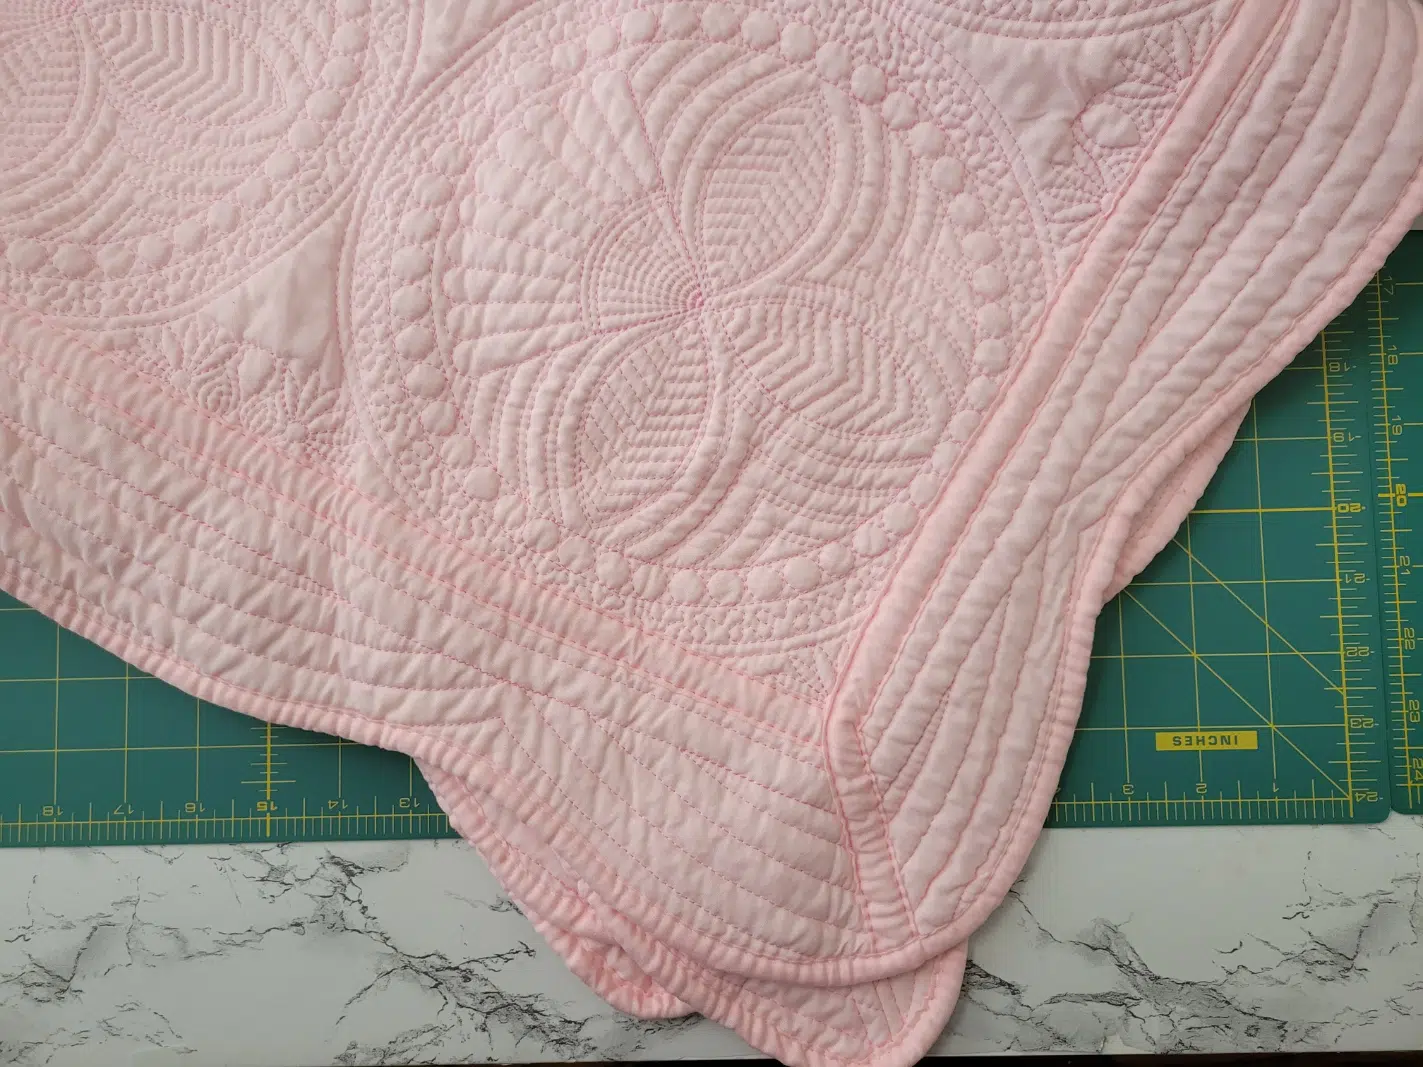
For instance, the blanket above is an heirloom baby blanket (grab one here on Etsy!) with no stretch. Most embroidered designs work great with tear-away or wash-away on this type of blanket.
Even blankets with a slight stretch like my fluffy Big One above can tolerate tear-away stabilizer as long as the design has a lower stitch count and is not too dense.
The great thing about tear-away and wash-away stabilizers is they are removed completely from the back of the blanket following embroidery, leaving a much more professional appearance.
One downfall of tear-away stabilizer is sometimes picking small pieces from intricate designs can be a pain.
I like using Exquisite Tear ‘N Wash stabilizer in these situations, as this stabilizer can be torn off and then washed away. (This stabilizer only works well with stable blankets and simple designs, though.)
Now, if your blanket is very stretchy or of poor quality and/or you are embroidering a dense, high stitch count design, you should use a cut-away or no-show mesh stabilizer.
Cut-away stabilizers have less give and prevent stretch and distortion of the blanket during and after the embroidery process. Cut-away stabilizers also keep the embroidery design from puckering after repeated washings.
One downfall of cut-away stabilizer, though, is it remains on the back of your blanket after the embroidery process.
If you find tear-away doesn’t cut it but you don’t want to use cut-away stabilizer, here are a few other solutions for blanket embroidery:
- Try a heavier-duty wash-away stabilizer such as the super-strong filmlike Sulky Ultra Solvy.
- Switch to a firmer tear-away stabilizer like Sulky Stiffy, which has a some cut-away properties to it.
- Hoop instead of float the blanket to minimize movement. Or, if floating, secure VERY well.
Just make sure if the blanket will be laundered that the design doesn’t pucker or curl if you are using tear-away or wash-away when you technically should be using cut-away.
Fuzzy Blankets Need a Topper
If you are embroidering a fuzzy blanket (minky of fleece throw blankets, for example), you need to use a layer of water-soluble topping like Sulky Solvy to keep stitches from sinking down into the fuzz of the fabric, thus making them invisible.
After the project is complete, the topping is washed off (or torn off).
Design Selection
Not all designs work well on a thick, fluffy blanket. There is much more design flexibility for blankets without fuzz or stretch.
Designs composed of running stitches get lost on fuzzy blankets, and very dense designs can cause puckering and affect the feel of the fabric.
Appliques, monograms, names, and fill-stitch designs with a low to medium stitch count are usually perfect!

To note, if you do have a very fluffy blanket, another way to make sure designs don’t get lost is to use a knockdown stitch or its equivalency. This tacks down the fluff so you can embroider on top of it. Below is an example of one on a robe.
How to Embroider a Blanket – Tutorial
Now, let’s get down to the nitty-gritty!
I have two different sets of pictures below. One where I’m embroidering a name on a baby blanket and the other where I’m monogramming a blanket.
Just remember, make sure to use some of the tips above to customize this tutorial to your blanket type.
1. Prepare the Blanket.
First, prewash your blanket, if possible. Preshrinking before embroidering saves potential heartache later!

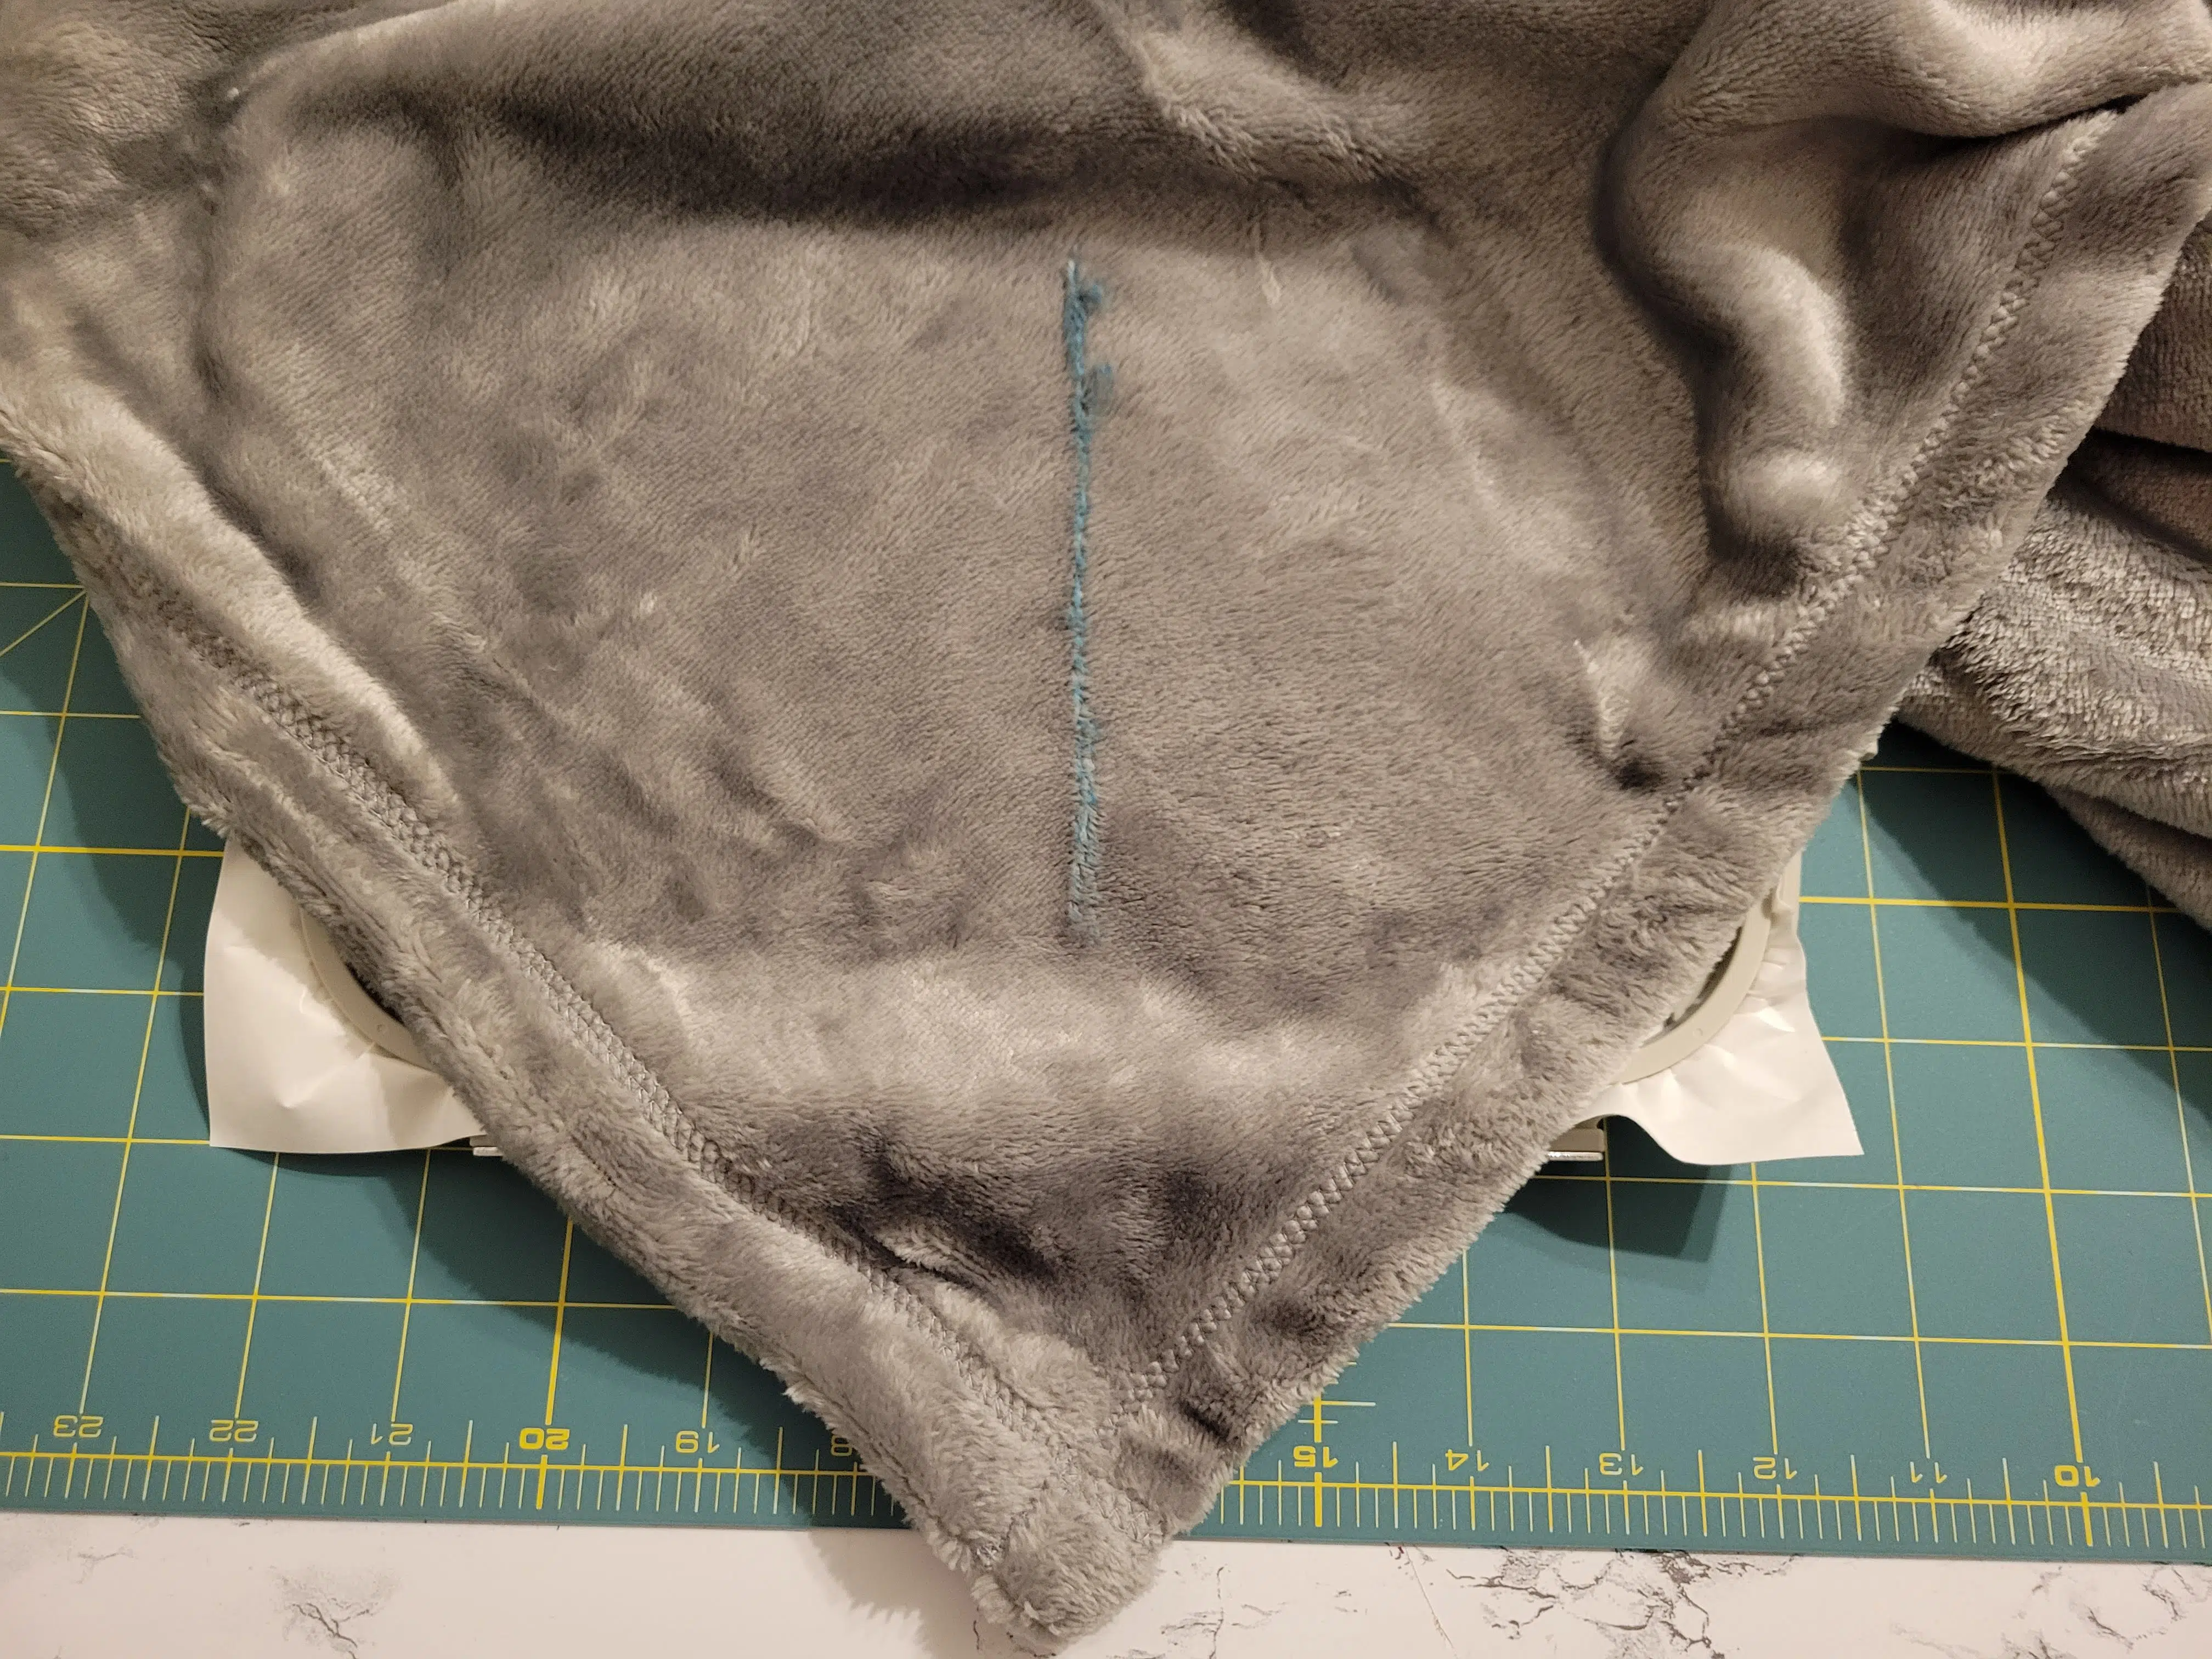
Then, mark the center of where you want the name or design to go using vertical and horizontal marks. To be most accurate, extend the lines vertically and horizontally farther than I did in the above picture to make hooping easier later.
I use a water-soluble marker for light-colored fabrics and sometimes a chalk wheel for darker fabrics. A placement sticker is another option if your blanket has no fuzz.
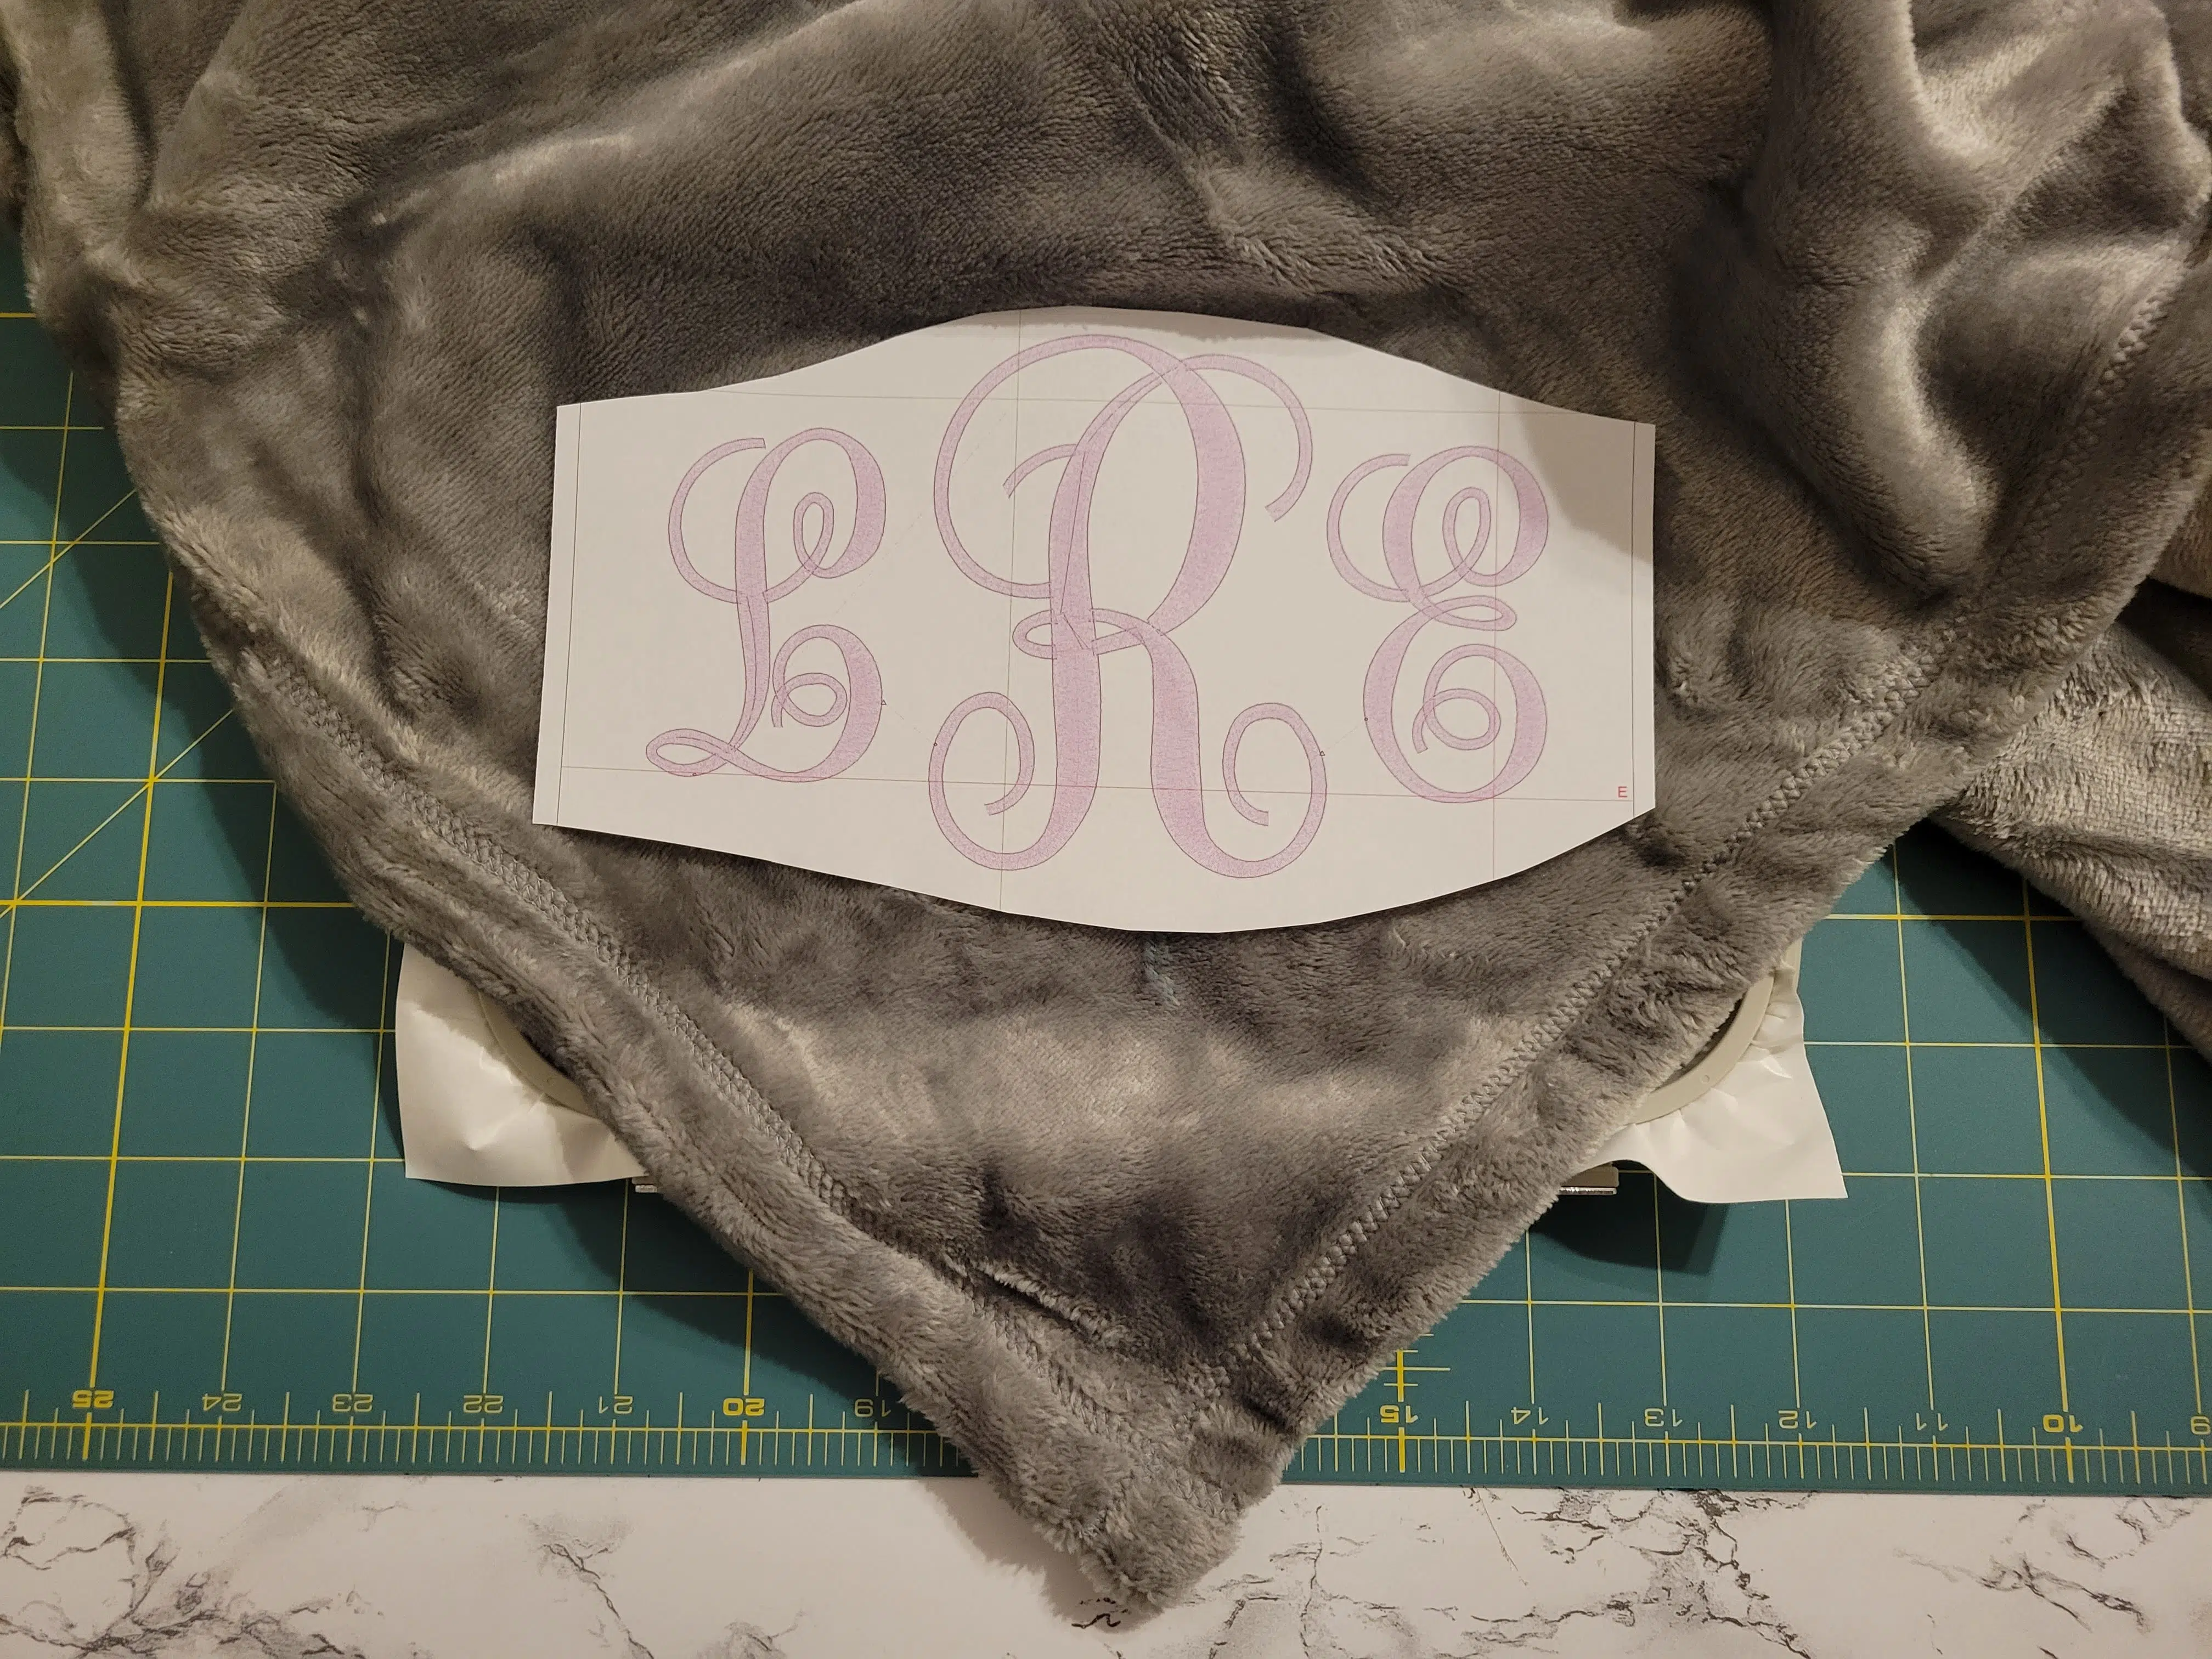
One other way to decide design placement is to use a paper template to preview things. (Read more about this in how center embroidery designs.)
2. Hooping vs Floating a Blanket for Embroidery
Now, decide if you’ll be able to hoop your blanket or if you need to float it.
If your blanket is thin enough, you should have no problems hooping. When I can, I hoop, because this gives projects extra stability. Hooping decreases puckering for me as well as accidental slipping.
If your blanket is thick, however, you may need to float it.
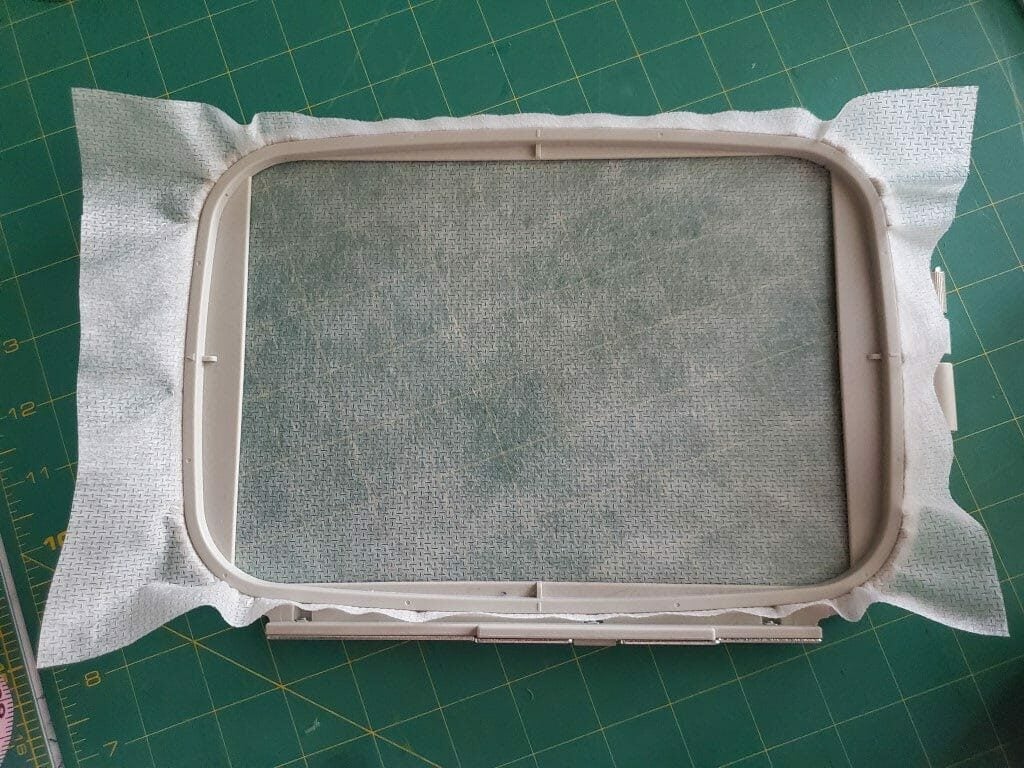
A. Hooping a Blanket
Add a light layer of temporary fabric adhesive (ex: Odif 505 or quilt basting spray) to your piece of stabilizer and press the stabilizer over the back of the blanket.
While spray is optional, it makes for a more secure connection between layers, making the blanket easier to hoop.
Other options to help secure the blanket to stabilizer include choosing a sticky tearaway stabilizer or a fusible tearaway stabilizer (not a great idea for fluffy blankets). Whatever method you choose, make sure to test first that any adhesive won’t affect delicate blanket fibers.

Next, place the water-soluble topper (if needed) over the blanket, and carefully hoop the layers. Make sure to line up the center of the marked blanket with the center of the hoop as denoted by the plastic template.
If you can’t get the water-soluble stabilizer hooped with the blanket and stabilizer, you can float it on top of the hoop.
For help hooping, check out my machine embroidery hooping tutorial.
B. Floating the Blanket
When I float blankets outside the hoop, I prefer to use sticky stabilizer rather than temporary fabric adhesive spray.

To use sticky stabilizer, hoop the stabilizer and then remove the slick paper topping to reveal the sticky side. Using a pin to score the edges is an easy way to separate the layers.
Then, mark with a pencil the center of the hoop to make placing your blanket easier.
Finally, position the blanket over the sticky stabilizer and press down.
If you elect against sticky stabilizer, you must find a way to secure a floated blanket to the stabilizer so it doesn’t slip while embroidering. Check out these 6 ways to float embroidered fabric for ideas!
3. Set Up the Machine
Now, load your design onto your machine.
Or, if your machine comes with built-in letters, you can use those, too, if you’re adding a name to a baby blanket or monogramming. (Here are 30 free embroidery fonts if you need extra font options!)

I load my blankets with the bulk of the blanket to the left of the machine, which means all designs need to be rotated 90 degrees.
Make sure you have your design oriented properly for your setup!

Next, load your embroidery hoop into the machine. If you did not hoop your water-soluble stabilizer, place it on top of the blanket now.
For a more secure attachment, pin the topping or use a bit of adhesive spray or water dabbed on the periphery.
I used a basting box (shown below) to hold everything in place when I floated the blanket. You can add this to your embroidery file to stitch first before the design.

Then, lower the presser foot. Double-check that you have the correct needle and thread colors and types for the top and bottom threads.
Line up the center of the presser foot with the center of the marked design by using your machine’s touchscreen.

Then embroider your design on your blanket!
4. Finishing Up
Once your blanket is embroidered, remove it from the hoop. If it has hoop marks, a little water or Magic spray sizing will remove them.
Remove the stabilizer. This means, if using cutaway, cut the stabilizer off the back leaving a small margin around the design. Or, tear away or wash away the stabilizer with water. Don’t be too rough with removal as hard tugging can disrupt stitches.
Trim any jump stitches that you didn’t trim while embroidering.

Laslty, tear the water-soluble topping off the top of your blanket. Any topping that doesn’t tear off can be washed away with water. I also dipped my blanket in water to remove the blue marks from the front.
Embroidered Blanket: Done!
And that’s it!
I love making embroidered baby blankets for baby shower presents (check out some other embroidery baby gift ideas), and I’ve added names or other designs to so many blankets for gifts!
I hope this blanket embroidery tutorial helps you get started customizing your own blankets.
Hi Aly – thanks for posting this – very clear and helpful! I’m new to embroidery, but a fuzzy blanket is at the top of my list of goodies to embellish. As I’m discovering, the wonder of computerized designs has made it so easy to embroider things…but there are always tricks of the trade to ensure a *perfect* final product. Hang on to your stuff, everyone! The next time you pick it up, it’ll have your initials stitched on it! 🙂 I look forward to exploring the rest of your blog! 🙂
What do you do for the back of the embroidery when you are finished? Trim the cut away as close as possible? Do you worry about it being rough for babies?
Yes, I trim the cut-away as close as possible. The residual stabilizer will soften over time when washed. If you are embroidering on a flannel blanket or something else without a nap/pile/fuzz on the back of it, you could also iron on Sulky Tender Touch (or another similar backing) to cover the stitches.
Thank you for your clear an concise directions and what to use . I will be making my first and it answered my question. Thank you
Thanks, and hope your first project goes well!
what machine do you recommend for embroidering a baby name and date of birth on a blanket?
thank you
It depends on the size of the name and date that you want to embroider. A good machine with a 5×7 hoop is the Brother SE1900, which I’ve had for several years. It can only embroider a 5″x7″ area, though, in one session.