How to Embroider on Paper Towels with Your Machine
This post may contain affiliate links, which means I’ll receive a commission if you purchase through my links, at no extra cost to you. I sometimes receive free products for review. Please read disclosure for more information.
Looking for a unique housewarming idea? An off-the-wall neighbor gift? Consider embroidering a roll of paper towels!
I know, I know. Why would anyone want to embroider on paper towels?
Well, I don’t really know. But, I thrive on novelty and uniqueness, especially when it comes to embroidery blanks.
Plus, I really enjoy embroidering on paper. (In fact, check out my cardstock embroidery tutorial and how to embroider a paper doily tutorial!)
When I saw a slew of fun paper towel embroidery designs on Embroidery Super Deal, I decided it was time to work with paper towels.
So, I set out to troubleshoot the embroidery process.
One beautiful thing about this project is if you mess up, you simply tear off the used paper towels and start again without having to waste an entire roll.
So, here’s what I learned while embroidering paper towel rolls if you want to replicate the process yourself!

Supplies List
- Embroidery machine with appropriate hoop
- Good-quality paper towels
- Needle: New 75/11 or smaller embroidery needle
- Stabilizer: No-show mesh stabilizer
- Thread: I used 40wt polyester variegated embroidery thread (gifted from Thread Nanny) and white 60wt bobbin thread
- Design (mine was from Embroidery Super Deal)
- Scissors and pins
A few notes about the supply selection first.
1. The smaller and sharper your needle, the smaller the holes punched in the paper towel, and the better the final product.
However, choosing a needle with an eye too small for your selected thread weight can lead to thread shedding or breakage.
Dull needles are also a poor idea as they’re more likely to tear the paper towels at the stitching margin.
2. Cut-away stabilizers worked better across the board. No-show mesh is a more pliable type of cut-away stabilizer that’s less likely to affect the drape, if you will, of the paper towel.
Unless you have a low stitch count, lightweight design, tear-away stabilizers are not a great option because the towels and stabilizer tend to tear with repeat needle penetrations.
This is also why you want to steer away from dense, fill-stitch designs or designs with significant underlay stitching.

3. Poor-quality paper towels lead to poor-quality stitch outs.
Also, the paper towels with texture (vs. smooth paper towels like Viva on the left above) worked better and looked better in the end for me. With the untextured paper towels, there was more tearing along the needle penetrations.
How to Embroider on Paper Towels – Tutorial

Here’s the general process I used when perfecting my embroidered paper towels!
1. Prepping and Marking for Design Placement
To give your project the best chance of success, fold back the first two to four paper towels (depending on thickness) in the way shown below.
Adding extra thickness helps with stitch integrity.

Using traditional embroidery marking methods is difficult on paper towels.
I recommend using a sticker (make your own placement stickers here) to mark the paper towels or making a light mark with a pencil to help with centering.
2. Floating the Paper Towels

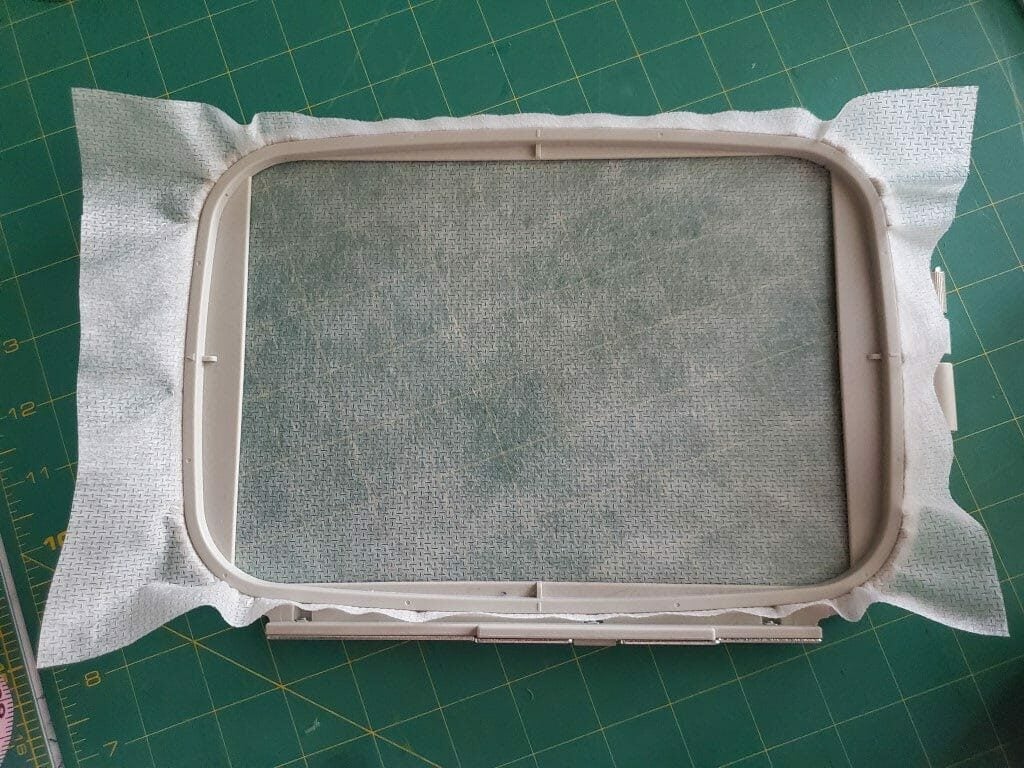
First, hoop a layer of no-show mesh stabilizer or your stabilizer of choice.
To avoid creases and tears, securing paper towels outside your hoop is the best idea.

Next, place the layers of paper towels over the stabilizer.
The bulk of the paper towel needs to face away from the throat space of the machine.
You can add a layer of temporary fabric adhesive to hold the paper towels to the stabilizer and to each other.
I preferred to pin the towels, which doesn’t cause damage if you’re using textured towels and thin pins.
3. Setting Up the Machine

Load your hoop and paper towels into the embroidery machine with the bulk of the paper towel roll facing to the left. P
ull a few extra pieces to give excess when the machine moves. The last thing you want is to pull the paper towels off the roll!
Then, load your design, orient it in the correct direction, and make sure your presser foot and needle WILL NOT stitch over any pins.
Then, remove the placement sticker, start your machine, and let it run!
4. Cleaning Up and Dewrinkling

Carefully remove the paper towels from the hoop and unpin them from the stabilizer.
Trim any jump stitches on the front. On the back, trim the no-show cut-away slightly smaller than the size of the paper towel sheet.
Don’t worry, if your paper towels got wrinkled during stitching, you can press them with an iron on low heat and no steam. (Pressing wet paper towels is actually one of the ways Sulky recommends removing water-soluble topping!) Make sure to press your embroidery from the back and don’t use sweeping motions.
Then, wrap the towels up with a bow or in cellophane to prepare as a fun, quirky embroidery gift idea.
Paper Towel Embroidery Final Notes
I hope this tutorial has inspired you to expand your embroidery horizons and laugh at all the fun things you can do with an embroidery machine!

Love the tutorial on sewing on paper towels! Where did you get the design you used in the tutorial? Thanks Jackie
Embroidery Super Deal! There’s a link to it in the first several paragraphs of the article.
How do you hold the paper towel you embroidered to the roll?
A little bit of double-sided tape–it was invisible and did the trick ha!