How to Embroider on Minky Fabric
This post may contain affiliate links, which means I’ll receive a commission if you purchase through my links, at no extra cost to you. I sometimes receive free products for review. Please read disclosure for more information.
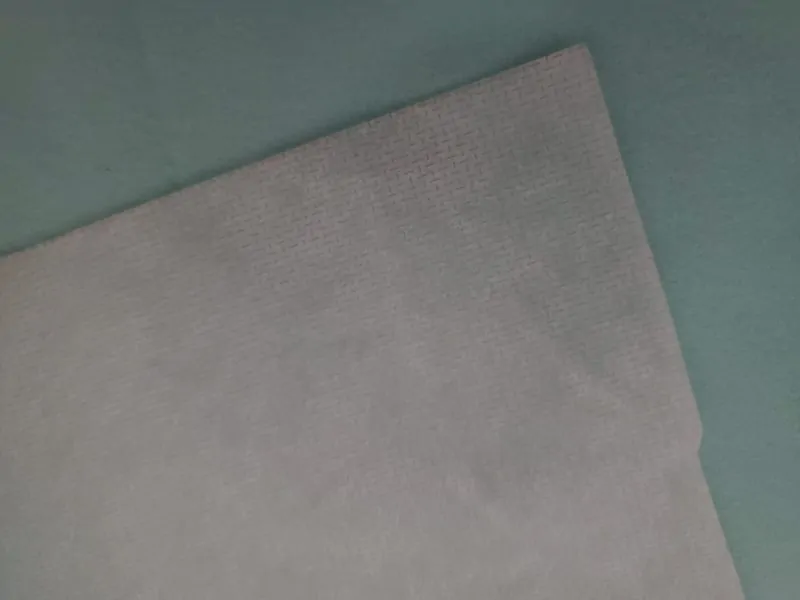
Don’t you love the soft feel of minky?
I love baby toys and blankets made from this plush fabric, especially when I can personalize the item as a gift with my embroidery machine. So, let’s learn how to embroider on minky fabric!
Follow along in this tutorial as I embroider a diaper changing pad cover to personalize my daughter’s nursery. While minky is not the easiest fabric to embroider (and it makes a huge mess when serging or sewing), the final results are worth the extra effort.

Supplies You Need
While there is some flexibility, here are the supplies I used for this tutorial.
- Embroidery machine and hoop
- Stabilizer: Medium-weight cut-away stabilizer or no-show mesh
- Topping: Water-soluble topping, such as Sulky Solvy
- Needle: 75/11 embroidery needle
- Thread: I used 40wt polyester embroidery thread, but you can choose your preference
- Temporary fabric adhesive (like Odif 505, optional)
- Small, sharp scissors
Use Cut-Away or No-Show Mesh Stabilizer
Since most minky plush fabrics are slightly stretchy and unstable, a more stable stabilizer is necessary, especially for densely stitched designs.
While self-adhesive sticky tear-away can work for low-stitch count designs, it doesn’t hold up as well over repeated washings and
Because minky has its characteristic fluff, it also requires water-soluble topping. This film-like topping prevents stitches from sinking into the fabric.
Design Considerations
Appliques are great for embroidering on minky, as are fill-stitch designs. Monogramming or embroidering a name is also lovely, as long as the letters are dense enough.
If you choose a low stitch count design with running stitches, one way to make sure it’s not going to get lost in the nap of the fabric is to use a knockdown or nap-tack stitch underneath.

How to Embroider on Minky Fabric
1. Prepare the Minky.

First, mark the minky where you want the center of your design to be.
In the case of my diaper changing pad cover, I used a water-soluble marking pen to mark the center of where I wanted the name to go. Usually, I’ll mark longer lines, but because the minky had the repeating, elevated dots, I could line it up easily that way in my hoop.
If you aren’t sure where you want the design, you can print out a paper copy of the design from your embroidery software and use that to help you preview design placement.

Next, spray a light layer of Odif 505 on the stabilizer.
Then, adhere the cut-away or PolyMesh stabilizer to the back of the fabric. Using temporary spray adhesive is optional, but I think using it to secure the fabric and stabilizer together makes this project easier to hoop. Make sure not to spray too much adhesive, or you can gunk things up.
2. Hoop the Minky Fabric and Load the Machine.

Then, with the stabilizer on the bottom and the right side of the minky facing up, hoop the two layers. (Read: how to hoop fabric if you have issues!)
If you think your minky will be damaged with hooping, you have the option to float it above hooped stabilizer. Just make sure you pin, baste, or use adhesive to keep it from moving during the embroidery process.

Next, place the hoop into your embroidery machine.
Move all the excess fabric out of the way of the embroidery area. (This prevents you from stitching two pieces accidentally together!)
Once the hoop is secured, place a layer of water-soluble stabilizer on top of the hooped minky. While you can hoop this topper with your fabric and stabilizer, I prefer to float it. This just makes the hooping process easier for me.
Options to secure the topping, if needed, include painter’s tape, masking tape, pins, or a small amount of water on the peripheral edges.
3. Double Check Settings and Start the Machine.
Check that you have the correct needle, upper thread, bobbin thread, and that your design is oriented in the correct direction.
After that, press start, and watch your embroidery machine go!
4. Put on the Finishing Touches.

Once the machine has stopped stitching, remove the hoop from the machine, and remove your project from the hoop.
Then, gently tear off the water-soluble topping from the top of the minky. You can wash it away with water later if it doesn’t all easily come off.
If you used a water-soluble marking pen, this can also be easily removed with water.

Trim any jump stitches off the front of the project. (Sometimes, this is easier with the topping still on.)

And lastly, cut the residual stabilizer away from the back of the minky. Cut close to the design, but don’t accidentally snip any fabric!

And that’s it! If you have any hoop burn, you can use a little Magic Spray sizing to get rid of it or wash the minky fabric in your washing machine. Luckily, most minky fabric is durable and will withstand lots of washes!
And that’s it! If you need extra help, I also have a tutorial on how to embroider a blanket with more information about troubleshooting if you’re trying to make an embroidered minky blanket.
Great tutorial. I am a beginner and your step by step instructions are just what I need! Thank you.