10 Reasons Your Sewing Machine Needle Keeps Breaking
This post may contain affiliate links, which means I’ll receive a commission if you purchase through my links, at no extra cost to you. I sometimes receive free products for review. Please read disclosure for more information.
While some causes of sewing machine needle breaks are obvious, others are far more difficult and annoying to pinpoint and troubleshoot.
Not only is it a pain and expensive to constantly replace needles, but it’s also dangerous to have needle pieces flying around your sewing room.
So, if your sewing machine needle keeps breaking and you don’t know how to stop it, here’s the troubleshooting sequence I follow to fix this sewing problem!
Why Sewing Machine Needles Break
Sewing machine needles break for two primary reasons:
1. They hit something that causes them to snap.
2. The pressure applied from the top or bottom thread is too much for them to withstand.
While this simplifies the issue, there are still so many places they can hit and so many different ways that pressure is increased on the threads, so you’ll have to do some digging for the exact cause.
What to Do After a Break

If your sewing machine needle just broke, before you troubleshoot why, stop sewing and take a few steps to ensure your machine will run smoothly later.
First, find any broken pieces and remove them. If you start moving your project around or fiddling too much, little needle pieces may slip inside your machine, which is bad news bears.
Next, remove the broken needle from the needle clamp and safely dispose of it. If the workspace is a train wreck of tangles, you may also need to remove the presser foot and work to gently remove fabric from the feed dogs.
Then, clip any remaining visible threads and remove the project from the machine.
Last, visually inspect the needle plate, presser foot, and bobbin area underneath the needle plate (remove the needle plate to access this space) for damage or any more needle pieces.
Troubleshooting a Sewing Machine Needle That Keeps Breaking
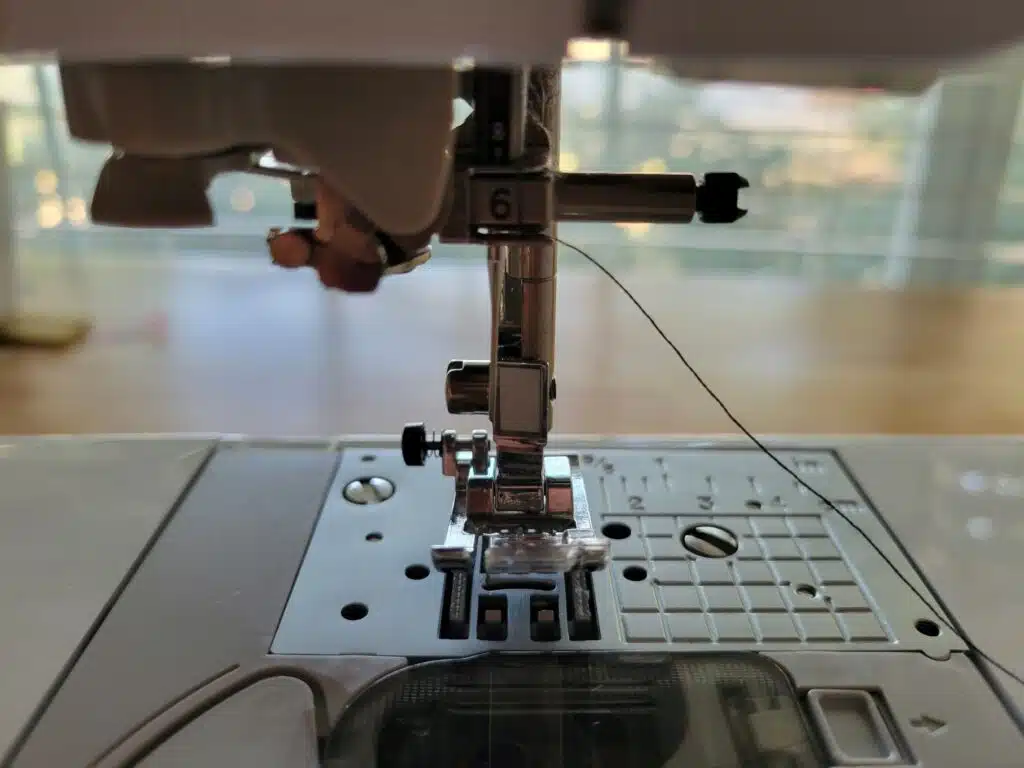
The best way to discover why your sewing machine needle breaks is to slow-motion replicate the problem.
To do this, set your machine with a new needle and slowly turn the handwheel on the machine’s right side toward you. This will advance the needle to create a stitch.
While the stitch is being created, carefully watch the needle and see if you can figure out what happens where–is the upper thread getting too tight and causing the needle to bend and snap, is the needle not puncturing the fabric, is it hitting the presser foot, etc.?
The answer to this question can give you an idea of where on the sewing machine to troubleshoot first.
If you can’t exactly figure out what’s happening or need more information, though, here’s a list of troubleshooting steps to follow!
1. Make Sure the Needle Doesn’t Hit the Presser Foot.

The most aggravating reason my sewing machine needle breaks is from the needle hitting the presser foot thanks to user error (aka my carelessness.)
Here are ways the presser foot can cause havoc with your needle:
- The presser foot is installed incorrectly–for example, it wiggles while you sew.
- You’re using the wrong presser foot for your stitch. A zigzag stitch with a straight stitch presser foot (the one with a single hole) will break the needle every time.
- The machine is set to the wrong needle position for the presser foot. To fix this, adjust your needle position to ensure it doesn’t hit the foot. I’m notorious for forgetting to do this before sewing with my 1/4″ quilting presser foot.
2. Use the Right Needle Size and Type.

Needles come in different sizes and have different point types, such as ballpoint, universal, or sharp.
If you use the incorrect needle for your fabric or thread, the needle can bend during sewing and then break.
For example, needles with thin, fine tips are not strong enough to puncture thick, dense fabric, especially at the seams!
And when they can’t penetrate and your machine keeps advancing and applying pressure, the needle can’t handle it.
Certain types of needles are also better suited to specific fabrics.
If you use a ballpoint needle–which has a curved tip and is designed for knit fabrics–on a tightly woven fabric, the tip might not be sharp enough to penetrate either, leading to the needle snapping.
If you don’t know if you have the best needle for your sewing situation, you can grab my free needle sizes and types printable chart.
3. Make Sure Your Needle is Not Bent, Dull, or Poor Quality.

If you have inconsistent needle breakages here and there, the problem might be that the needles had dulled after too many hours of use or had been bent ever so slightly.
Obviously, a dull needle will not work as well as a new, fresh needle.
And, even the subtlest of bends in needles can affect how the threaded needle passes through the throat plate and interacts with the bobbin thread. Bends can also cause the needle to hit the presser foot as it descends.

If you can’t tell if your needle is bent, take it out, lay it flat part against the table, and check if the tip runs parallel.
One general rule of thumb is to replace your needle after 8 hours of sewing or when you notice your sewing machine skipping stitches or having other issues.
4. Insert the Needle Correctly.

For most home sewing machines, needles go with the flat part back.
Inserting the needle the wrong way can also affect the delicate balance of how the tip interacts with the threads forming stitches.
And, needles must be pushed up as far as possible in the needle clamp to avoid hitting anything below the needle plate when they descend.
Lastly, the needle screw needs to be tightened so the needle doesn’t wiggle or accidentally fall out while you’re sewing.
5. Beware of Thick Fabrics, Seams, and Pins

Try sewing a different fabric to rule out your current fabric causing problems.
Some home sewing machines are just not able to sew thick fabrics.
For example, leather, thick denim, canvas, etc., can be a problem for standard sewing machines, which have less strong motors than heavy-duty sewing machines or industrial sewing machines.
I once tried to sew an insulated lunch box on my home sewing machine, and the piping around the edges broke WAY too many needles. This is one of the reasons I eventually bought a heavy-duty sewing machine.
Now, if it’s just the seams giving you issues and not the fabric itself, you can try advancing the needle one stitch at a time with the handwheel. You’ll be sewing so slowly that you’ll catch any potential issues before they happen, and the needle is less likely to break!
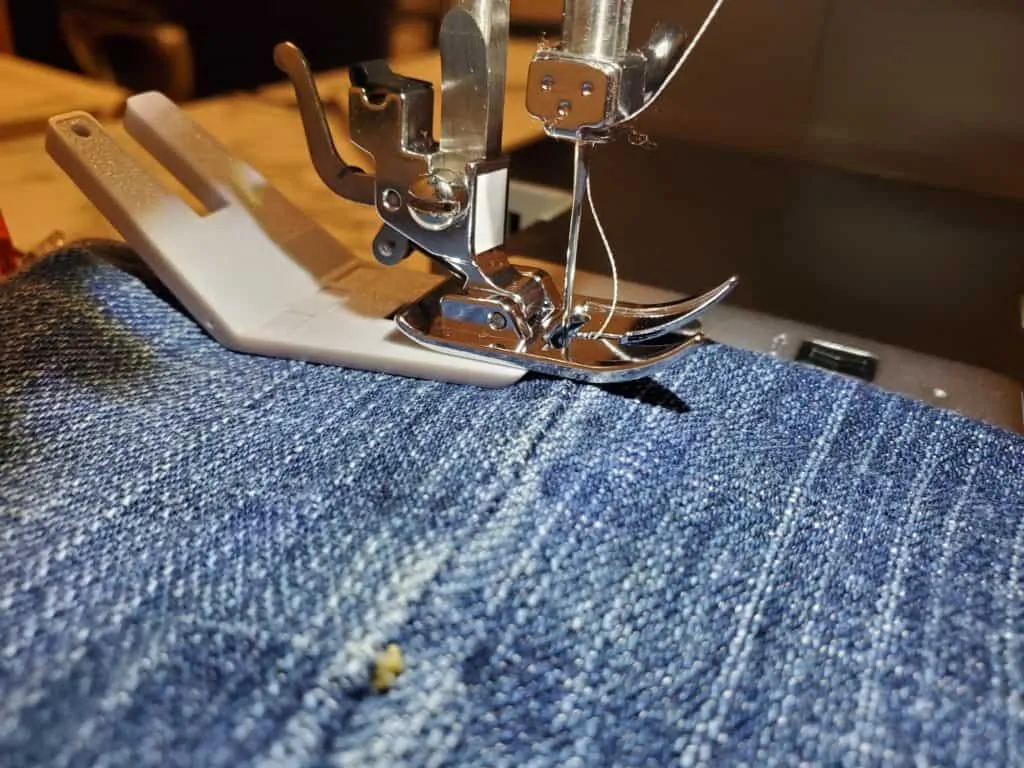
A clearance plate or hump jumper can also help the presser foot get on top of the seam without the needle hitting on the way up.
Also, as a general rule, don’t sew over pins in fabrics–it’s just a matter of time until you hit one with your needle.
6. Evaluate the Upper Thread Path, and Rethread the Machine.

If the upper thread catches on anything as it feeds–on the spool, around a thread guide, between a tension disc, etc.–it will apply too much pressure to the needle tip.
While sometimes the sewing machine thread will break before the needle does, the needle might break first if it’s thin and poor quality.
A thread that’s completely stuck can cause a more immediate snap, but a thread that’s just impeded can slowly apply pressure to the tip of the needle until it bends enough to hit something and then break.

Two things to do involving the upper thread path include:
- Ensure thread is not catching on the spool or under the spool cap. If the thread is pooling, try using a thread net.
- Check if thread is catching anywhere else along the path.
- Clean the machine. I like to run UNWAXED dental floss through the thread path, pretending to thread the machine with it. This dislodges dust bunnies and cleans tricky thread remnants between the tension discs.
Also, I don’t care how many times I’ve threaded my machine over the last 20 years, but occasionally, I’ll miss something with the needle thread or bobbin thread because I’m not paying attention and going too quickly.
Thus, rethread your machine, making sure to do so with the presser foot elevated until the thread gets to the needle tip.
Make sure you hear the thread clicking between the tension discs and that it also passes through all thread guides.
If you’re a sewing beginner and aren’t sure you’re threading correctly, get out your manual or watch a YouTube video to double-check your process.
7. Check Upper Thread Tension.

If the tension on the needle thread is too much, the thread will exert too much pressure at the needle tip.
If the needle is also not very strong, the extra tension can cause it to snap.
Try decreasing top tension if you notice thread still not feeding well through the top thread path even after cleaning.
8. Use The Right Needle Plate.
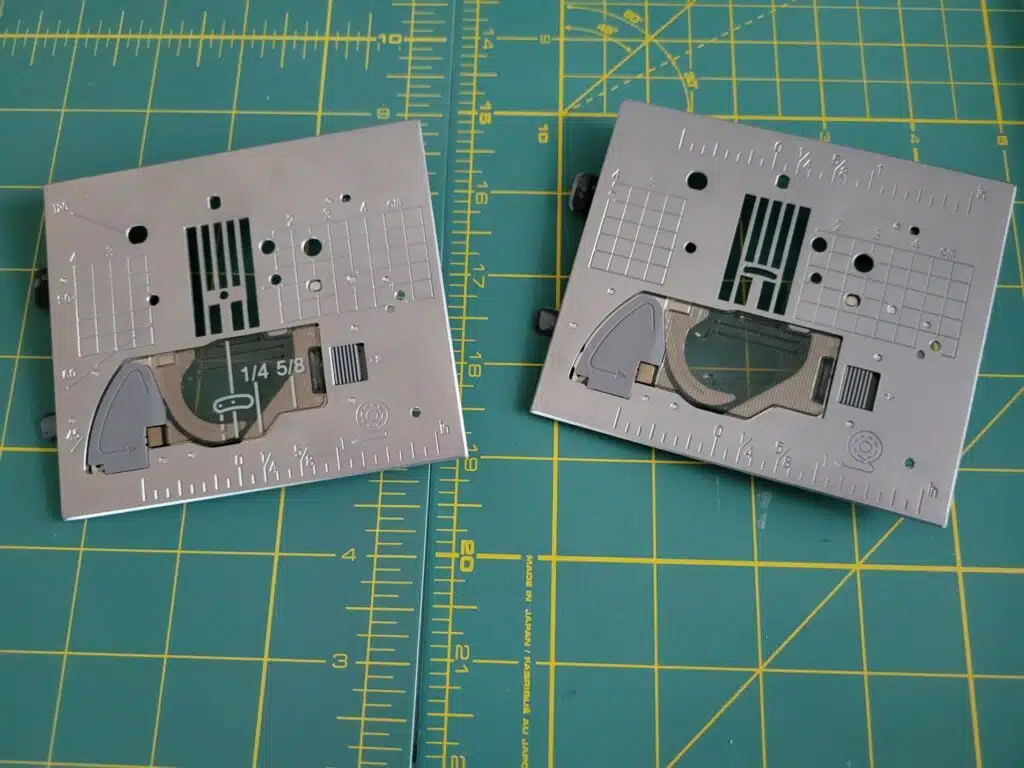
Some machines have straight-stitch (single-hole) needle plates that can be switched with the everyday (zigzag) needle plates.
While straight stitch plates are great for piecing quilting blocks, the single needle hole means it only works for stitches that keep the needle in that small area.
Thus, if you’re overcasting, zigzagging, or doing decorative stitches and the needle keeps breaking, make sure you don’t accidentally have on the straight stitch plate!
Also, if your needle plate is really, really damaged, it can cause issues with skipped stitches, which could lead to a broken needle, so make sure this isn’t the case as well.
9. Evaluate Underneath the Needle Plate.
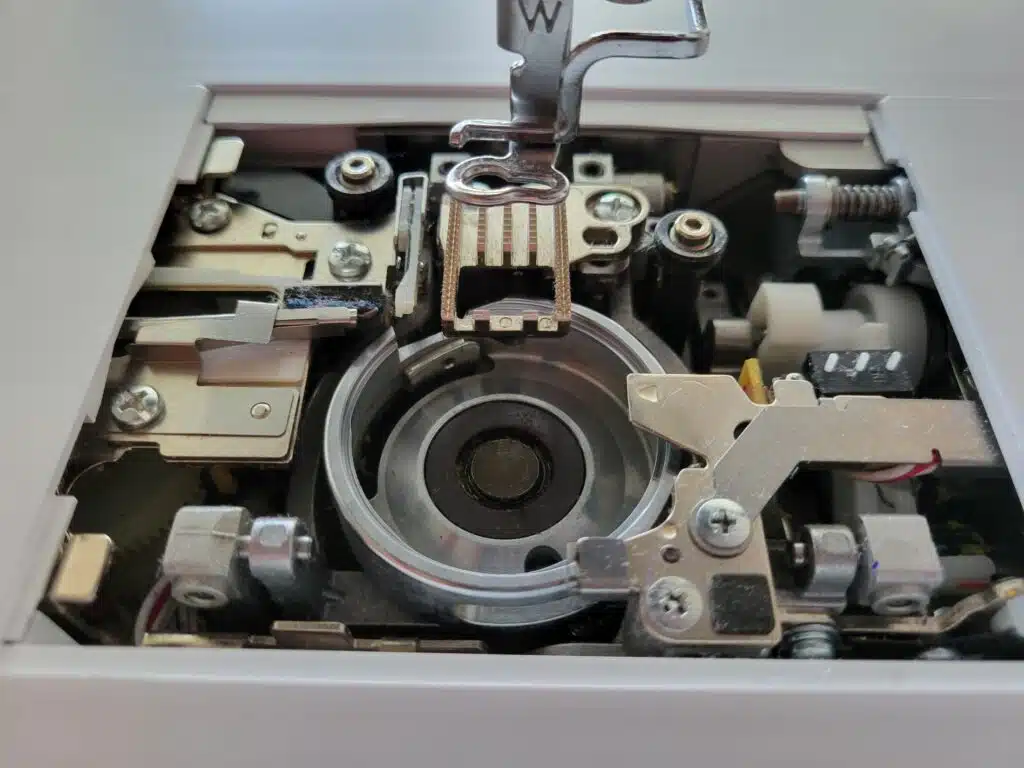
Pop off or unscrew your needle plate and then look deeper for potential areas of havoc.
I always like to first change to a new bobbin and double-check that it’s the right type and inserted correctly.
Then, I clean the area with a small brush and vacuum to remove any dust that can affect stitch formation.
While the needle plate is off, use the handwheel on the right of the machine again to move the needle down. Watch and ensure it doesn’t hit the bobbin case or any other machine parts in the area.
10. Feed Fabric Evenly.
Pushing or pulling your fabric as it goes through the sewing machine–rather than just guiding it–can apply pressure on the needle if you’re grabbing while the needle is down in the fabric.
So, pay attention to your technique as you stitch.
When to Take Your Machine In For Service
If you followed all the above steps and still can’t discover where or why your sewing machine needle won’t stop breaking, you may need a sewing tech to look at it.
Sometimes, a part inside the machine must be replaced, or the timing is out.
Any other troubleshooting steps you recommend to keep sewing machine needles from bending or snapping? Let me know!
