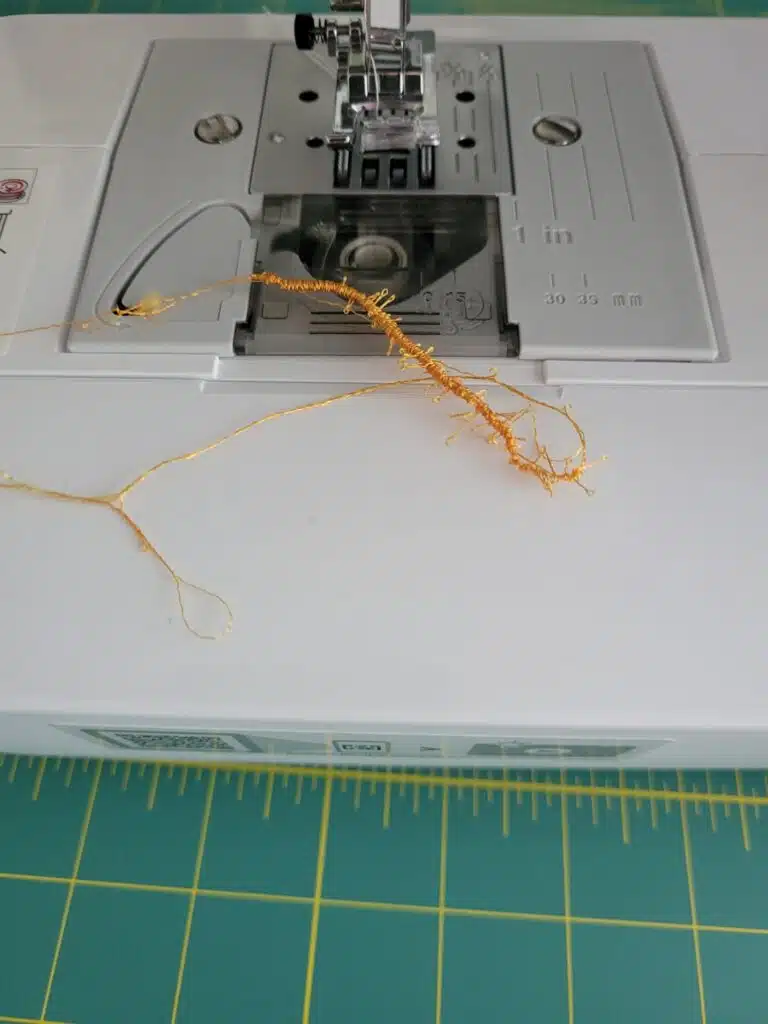
9 Reasons Thread Keeps Breaking on Your Sewing Machine
This post may contain affiliate links, which means I’ll receive a commission if you purchase through my links, at no extra cost to you. I sometimes receive free products for review. Please read disclosure for more information.
One of the more frustrating problems you can have when working on a sewing project is your thread continually breaking and shredding.
A snap here, a snap there, and the next thing you know, you’re ready to give up!
Thankfully, there are many reasons why thread keeps breaking on a sewing machine that can be easily fixed.
So, don’t despair–follow these troubleshooting steps and get your thread flowing through the needle as it should!

Why Sewing Thread Breaks and Shreds
Anything that prevents thread from freely flowing from the sewing machine’s top or bottom bobbin area can cause thread breaks.
Whether the problem stems from an incorrect sewing machine setup or from using the incorrect supplies, there are simple steps that can be taken to discover the cause and fix it.
Troubleshooting Sewing Machine Thread Breaking

Troubleshooting will be MUCH easier if you can determine the location where the thread breaks.
For example, is it breaking at the thread spool, around the tension discs or thread guides, below the throat plate, or near the eye of the needle?
If the location isn’t obvious, you can try to replicate the problem in slow motion by turning the handwheel on the right of the machine toward you to create the stitch. As you turn, watch and see what happens to the thread.
Can’t figure out what’s happening where?
Check out these common reasons why sewing machine thread breaks and how to fix these problems!
I’m splitting the reasons into first, why the needle thread breaks on your sewing machine, and then transitioning into why the bobbin thread breaks.
1. Check The Needle.

Many of the reasons that sewing machines skip stitches apply to why sewing machine thread breaks.
The more stitches skipped by the machine, the more the thread gets caught and shreds, which leads to breakage.
With both of these issues, the first thing to do is change your needle.

A bent, dull, damaged, or burred needle can cause issues with thread pickup and stitch formation.
While some needle abnormalities like the one above are obvious, sometimes the defects are not as easily visible.
When changing the needle, always make sure to insert it all the way into the needle clamp with the flat part to the back of your sewing machine.

Then, ensure you’re using the correct type and size of needle for your sewing project. While I often use an 80/12 universal needle out of pure laziness, it’s not always the best choice for every project.
For example, if you’re trying to sew with thick 12wt thread and using a needle with a small eye, the thread will constantly rub against the eye of the needle, leading to shredding and eventually breakage.
Also, specialty threads like metallics benefit from metallic or topstitching needles, which naturally have a larger, more elongated eye and other special features tailored to reduce friction on the thread.
2. Don’t Use Old or Poor-Quality Thread.

If your thread is ancient or you got it from the bargain bin at a thrift store, the problem might be with the thread.
To test the quality of your thread, hold a small piece of it between two fingers on each hand, and pull. If the thread snaps easily, it’s not strong enough to pass through your sewing machine.
Also, ensure the thread doesn’t have lumps or little knots that will catch in the thread path.
Also, sometimes my machine hates certain spools of thread, so try a different brand, type, or color of thread to see if you maybe had a dud spool.
Lastly, metallic threads for decorative stitching or embroidery are known for being particularly squirrely with breakage and threading, so check out these tips for working with metallic threads if your problem involves them.
3. Make Sure Thread Isn’t Getting Caught Near The Spool.

If the thread can’t get freely from the spool pin to the eye of the needle, it will break, and your needle might break, too!
The first location of breakage is at the spool itself.
I can’t tell you how often my thread gets caught underneath the spool cap, around the bottom of the spool, or even in the top of the thread spool on that little nick.
If your thread keeps getting caught, ways to fix this include:
- Use a spool cap slightly larger than the diameter of the spool top.
- Thread nets can help if you use decorative threads (metallics, glow-in-the-dark, etc.) and thread pools at the base of the spool.
- Thread stands can also be useful, as these allow you to stand thread vertically if you only have horizontal feed options on your sewing machine. (Different types of threads work better with vertical vs. horizontal feeding.)
4. Clean the Upper Thread Path to Remove Debris.

If you don’t routinely store your sewing machine under a dust cover, dust can accumulate and cause problems.
Furthermore, pulling thread backward out of the machine can cause buildup on the tension discs. (Instead, clip thread near the spool and pull the excess out thread through the needle.)
If the tension discs in the upper thread path (or anywhere else) are caked with dust or blocked with thread pieces, the thread can shred from the extra friction and eventually break.
Also, blockages can place too much upper thread tension, pulling bobbin thread to the top, mimicking a tension problem.
Furthermore, if the apparent tension is too high, the needle may not pick up the bobbin thread to form a stitch. Continually skipping sewing stitches can result in thread breakage, too.
Thus, to rule out upper thread path issues, visually inspect the area.
If you don’t see any damaged or nonfunctioning parts, then get to cleaning!
Use the small accessory brush that came with your machine in the areas it can reach. (You can also try a keyboard vacuum.)

Next, try running UNWAXED dental floss along the thread path to dislodge debris stuck in the tension discs. Run only from top to bottom without going backward, which can cause the floss to shred and worsen your problem.
5. Rethread the Machine Top.

Once the top of the machine is clean, rethread the upper thread path with the presser foot UP, at least until the thread reaches the eye of the needle.
Make sure the thread goes through each tension disk.
You can lower the presser foot for needle threading. Make sure the needle is threaded from front to back and there are no thread loops behind the eye of the needle.
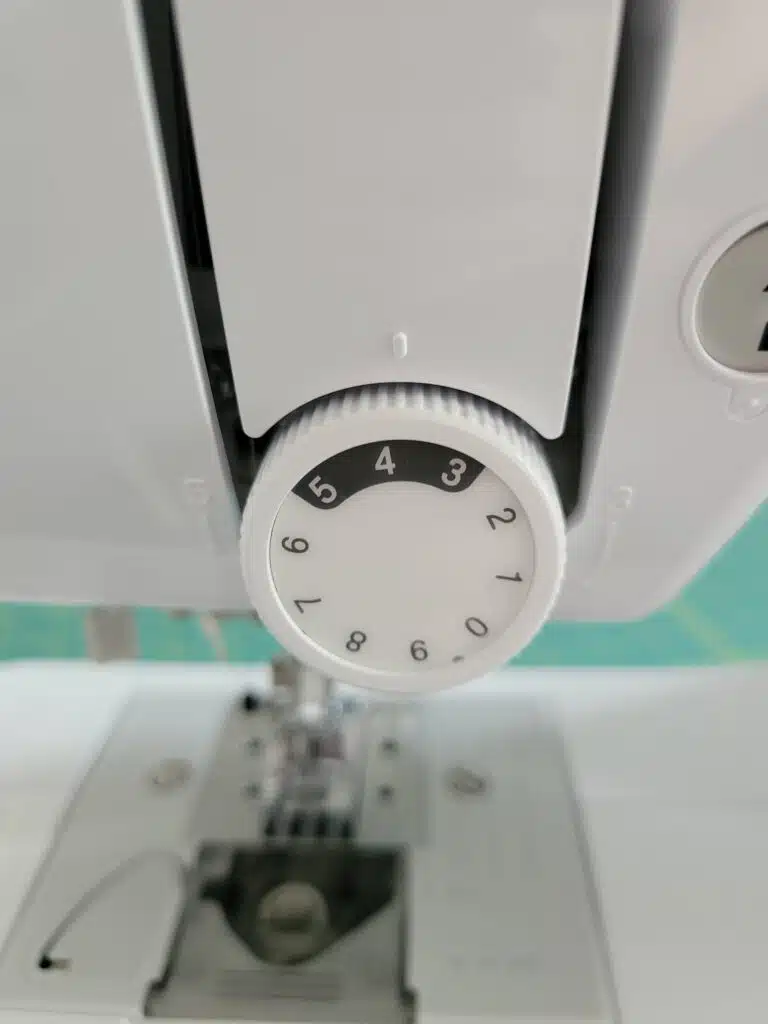
6. Adjust Tension.

While adjusting tension is usually a last resort for me, try decreasing top tension to decrease thread breakage and shredding of the needle thread.
Depending on your machine, tension adjustment will be made with a knob or dial or on the computerized interface of the machine.

Meanwhile, if the bobbin thread doesn’t stop breaking, you can try decreasing the bobbin tension.
On many Brother sewing machines, this involves using a screwdriver on the small screw on the bobbin case.
7. Check the Bobbin and Underneath the Needle Plate.

When I was a busy college student, I never took the time to clean my machine, as unscrewing the throat plate was just more effort than I was willing to put in on a routine basis.
However, whenever I started experiencing thread breaks and couldn’t fix them with top thread troubleshooting, I’d face my laziness and clean my machine.

Rule out the bobbin area causing lower or upper thread breaks on your sewing machine with the following:
- Remove the needle plate and bobbin. Clean the bobbin case with a small brush.
- Remove the bobbin case and clean under it. (I like using a keyboard vacuum, small brush, and tweezers when needed for stray threads lodged deeply.)
- Try a new bobbin, and make sure it’s threaded well (evenly and not too tightly or loosely), the right type for the machine, oriented correctly, and threaded through the small tension disk on the bobbin case.
- Check the bobbin case and hook for nicks or other imperfections. Consider having a second bobbin case on hand to switch out to rule out bobbin case issues.
- Try drawing up the bobbin thread by holding and gently pulling the end of the top thread with one hand while taking one stitch. If the bobbin thread isn’t coming up, the problem is below the needle plate.
Lastly, IF your sewing machine hasn’t been oiled in a while and it’s recommended to do so, oil it. Many newer sewing machines do not require oiling, so always check your manual before adding anything.
8. Check the Throat Plate For Imperfections.

Nicks or scratches in the wrong place on the throat plate can slowly shred thread as it passes through to form a stitch or can prevent top and bottom threads from interlocking as expected and forming a stitch.
Large imperfections may require buying a new needle plate (I always have an extra on hand), while small ones can be buffed out.
9. Take Your Machine In For Servicing.
If you tried troubleshooting with these steps and your sewing machine thread still keeps breaking, it may be time for a repair technician or a new machine.
It’s possible some part inside your machine is damaged or the timing is messed up, unfortunately. These are two things better serviced at an authorized repair location.
Hope these troubleshooting steps get you sewing breakage-free!
