
How to Combine DTF Printing and Machine Embroidery
This post may contain affiliate links, which means I’ll receive a commission if you purchase through my links, at no extra cost to you. I sometimes receive free products for review. Please read disclosure for more information.
When XTool gifted me their new Apparel Printer Plus to try, I immediately started dreaming of integrating it into my craft room.
As a primarily fabric crafter, I wondered whether I could use DTF designs as detailed, photorealistic “applique” and then add machine embroidery on top for thread-based texture.
There are already so many tutorials out there for creating faux 3D embroidery using just a DTF printer. What’s different about this tutorial is that the dimensional elements are actually stitched with an embroidery machine!
I’d already experimented with HTV as an applique material for machine embroidery, but I hoped my new DTF printer would open up another creative solution for custom embroidered projects and give me more versatility.
So, here’s how I merged these two crafting tools and learned how to use a DTF printer and embroidery machine together.
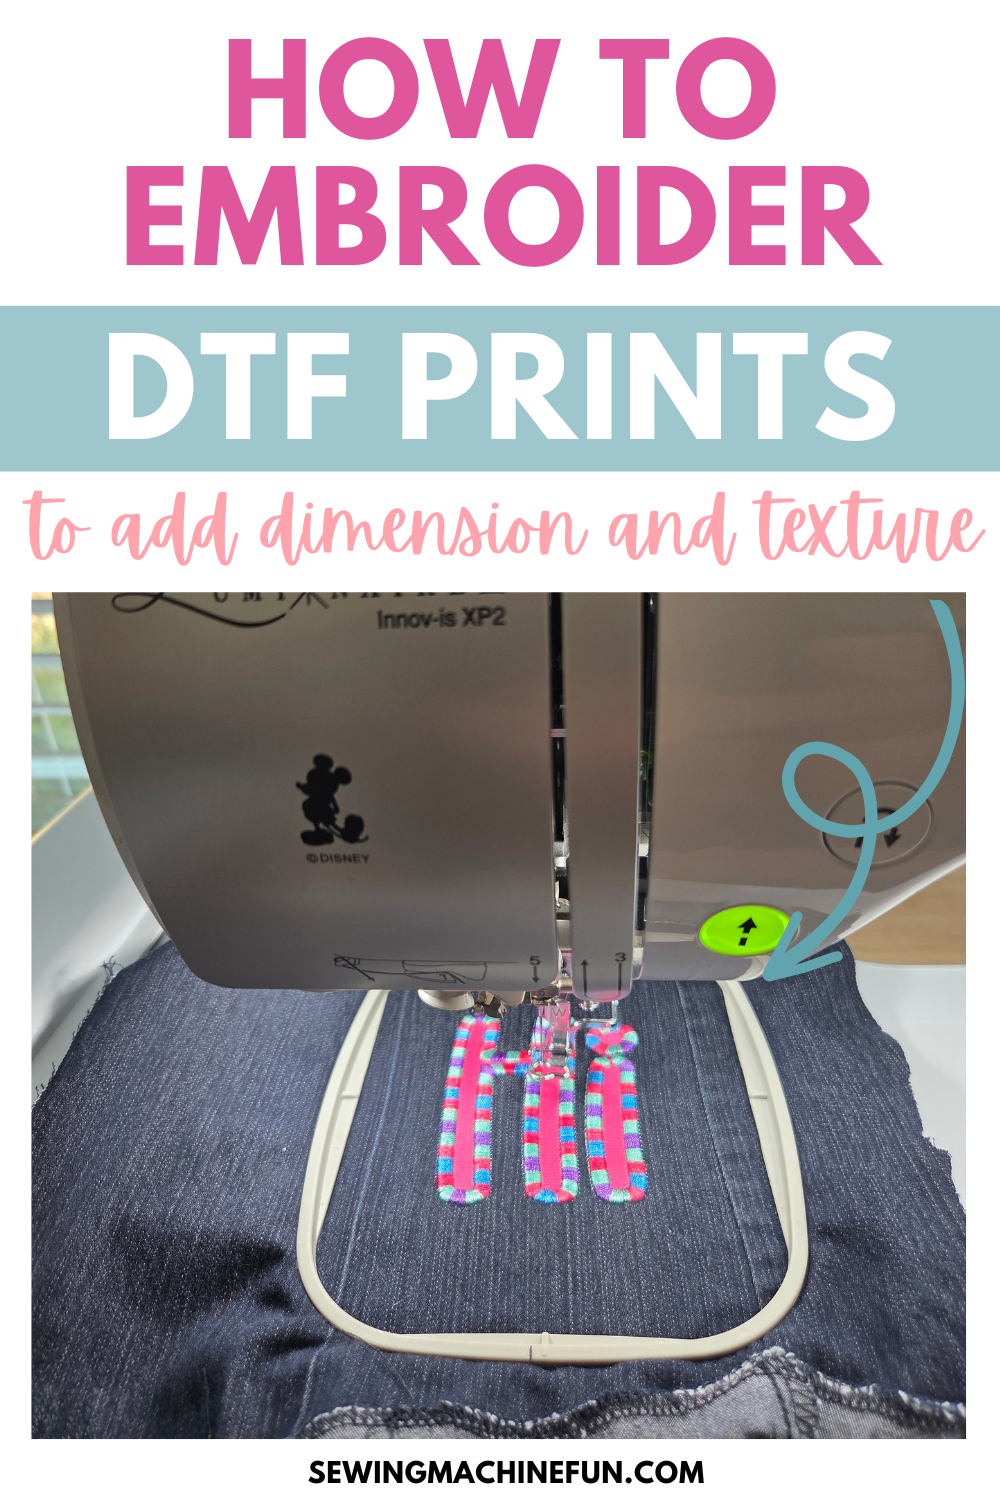
Planning the Printed vs. Stitched Design Portions
Now, because DTF is completely flat and embroidery has texture, it’s fun to figure out which parts get printed and which get stitched. I also think these two machines work best together when they aren’t duplicating the same pieces of a project.
I like to think of my DTF transfers as an “applique” fabric but with these advantages:
- I can create whatever design I dream and then print it at home. No need for browsing the fabric store or relying on Spoonflower.
- I can separate visual detail from embroidery. DTF can provide a realistic face, pattern, gradient, etc., and then the embroidery can provide outlines, facial features, dimensions, etc.
- Because DTF is printed and then fused to the blank, I don’t have to worry about an actual piece of applique fabric shifting and puckering while I’m stitching. Nor about said applique fabric shrinking after the first wash!
- DTF prints can be less bulky than a separate piece of fabric, so they often affect the blank’s drape less.
- There’s no worry about frayed applique fabric edges peeking outside satin stitches. Plus, no trimming pesky applique fabric in the first place!
Basically, instead of asking my embroidery machine to produce every tiny detail of a project with thread, I can let my DTF printer handle the fine-detailed artwork and reserve embroidery for where I want the texture.
Of course, you can use DTF for more than just an applique fabric substitute, but this is what I’m most excited about.
Now, I wouldn’t use DTF for every embroidery project. If the design is simple to embroider, adding a DTF layer really creates more work than it saves. I think the technique is most helpful when the printed artwork provides details that would otherwise require a large number of embroidery stitches.
Alternatively Using HTV
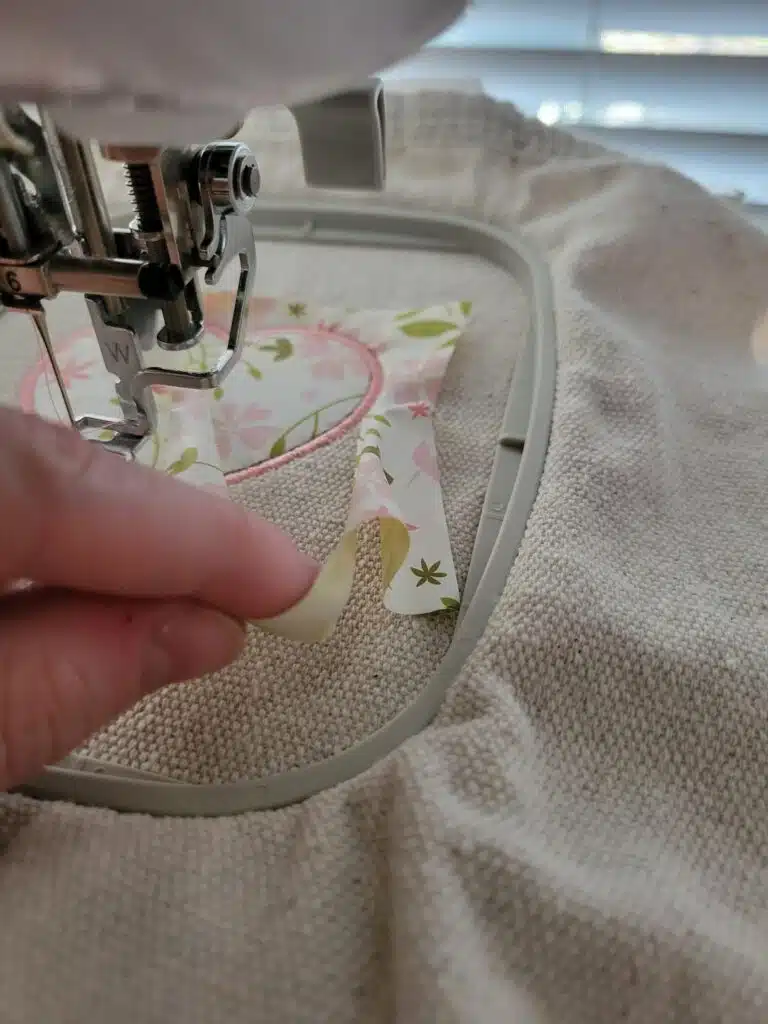
Before I used DTF transfers to create applique fabric for my embroidery, I worked with different textures using HTV and machine embroidery.
There are pros and cons to each method.
- With HTV, you’re limited by the vinyl you can purchase, but with DTF you can print your own designs.
- It’s significantly less expensive to buy a Cricut or other cutting machine.
- With HTV, you don’t have to fuse until after embroidering the applique. Not fusing makes tearing the HTV outside the applique satin stitch so easy! However, if you’re not using a satin stitch border, HTV applique designs require you to cut the HTV before applying; DTF obviously doesn’t.
The Tools I Used
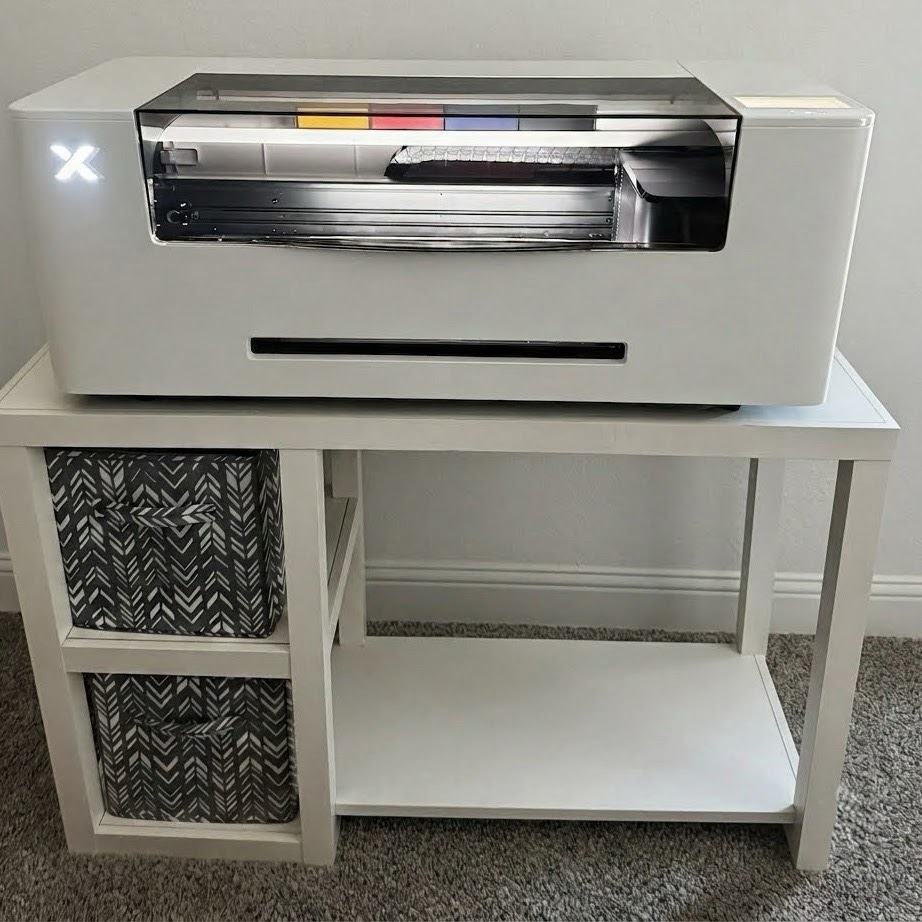
- DTF Printing: xTool Apparel Printer Plus, DTF film, and DTF powder
- Curing and pressing: xTool WonderPress and xTool SmartPress (alternatively, you could use the shaker oven attachment)
- Embroidering: Brother Luminaire embroidery machine, thread, needle, and stabilizer
Steps for Printing a DTF “Applique” and Embroidering On It
1. Design and Print the DTF Portion
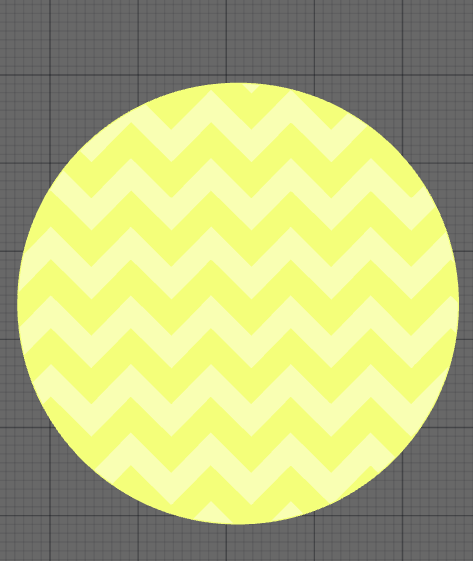
If using the xTool Apparel Printer Plus, design is done in xTool Studio.
For this tutorial, I created two designs.
- First was a yellow chevron circle that I intended to “applique” with a satin border and then stitch on dimensional facial features. Learning to create the chevron pattern was fun!
- The second was simply the word “hi” that I planned to outline with a satin stitch.
If you have an embroidery applique design that includes an SVG file for the applique portion, you can import it straight into the software to create your DTF file. (Just make sure your size is accurate!)
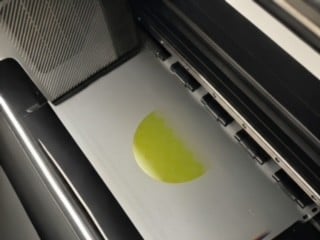
Once the design is created, print it on the transfer film.
2. Powder and Bake the DTF Print
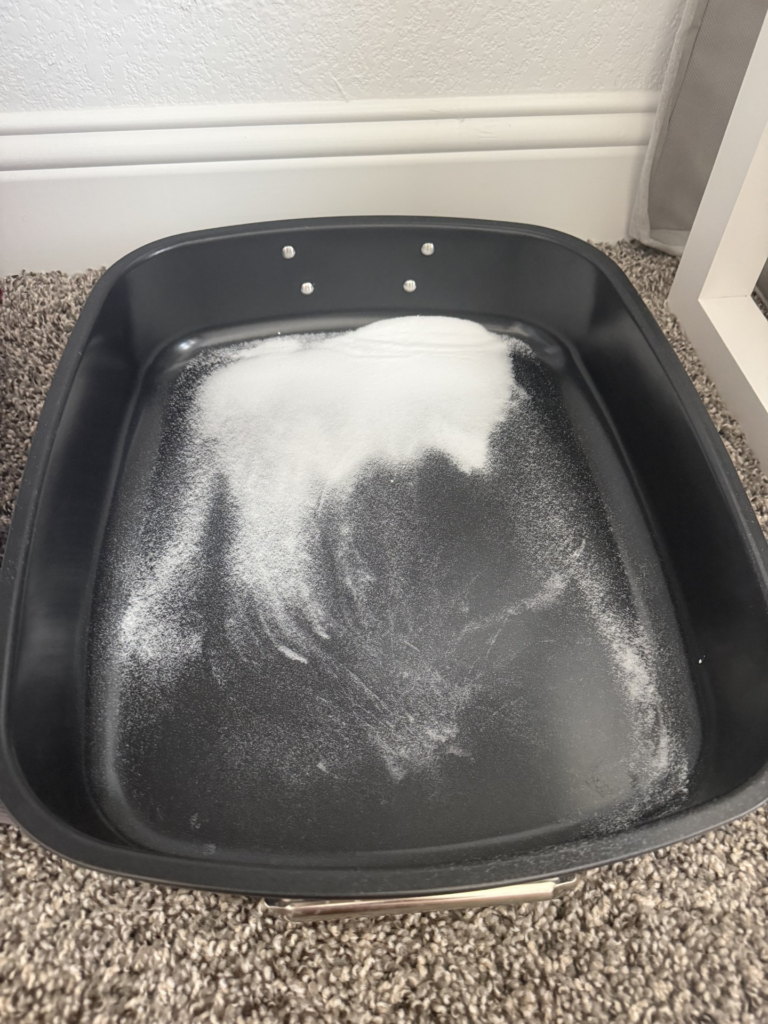
If you have an integrated shaker oven to cure, this is accomplished with a button touch. However, I’m not that lucky, so I have to powder the old-fashioned way!
Thanks to the expertise of fellow crafters, I’ve learned I can sprinkle the back of my design in a turkey pan. DTF powder is super fine, so take appropriate precautions when handling it in a well-ventilated area. The manual powder method is my least favorite part of the process, and an automatic shaker/curer would be significantly more convenient and safe. But alas.
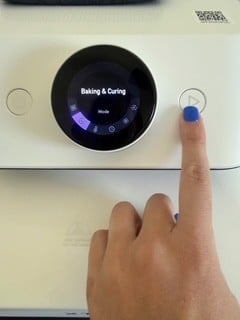
Next is baking, which I used my xTool WonderPress for. It’s so cool that the machine lowers on its own and runs the programmed cycle for the transfer. For this particular transfer, I used the WonderPress cycle of 410 degrees for 180 seconds. If you don’t have a WonderPress, follow the instructions of your curing device here.
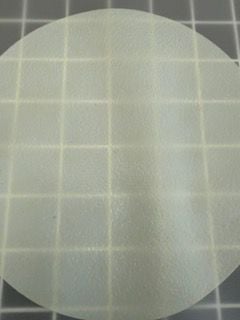
After the design is properly cured, it should have the melted, congealed appearance shown above.
3. Press the DTF Transfer Onto Your Embroidery Blank
My process so far has been placing the DTF transfer first and then adding the embroidery.
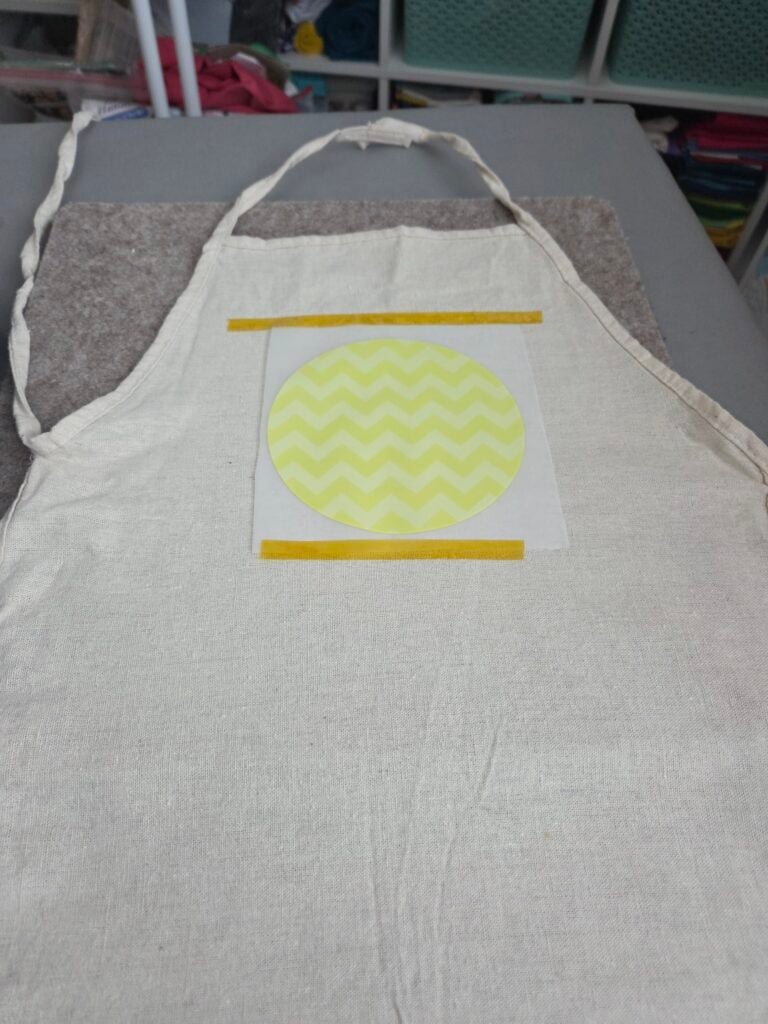
For this step, decide where you want the transfer on your embroidery blank. I like using heat-resistant tape to hold the film in place.
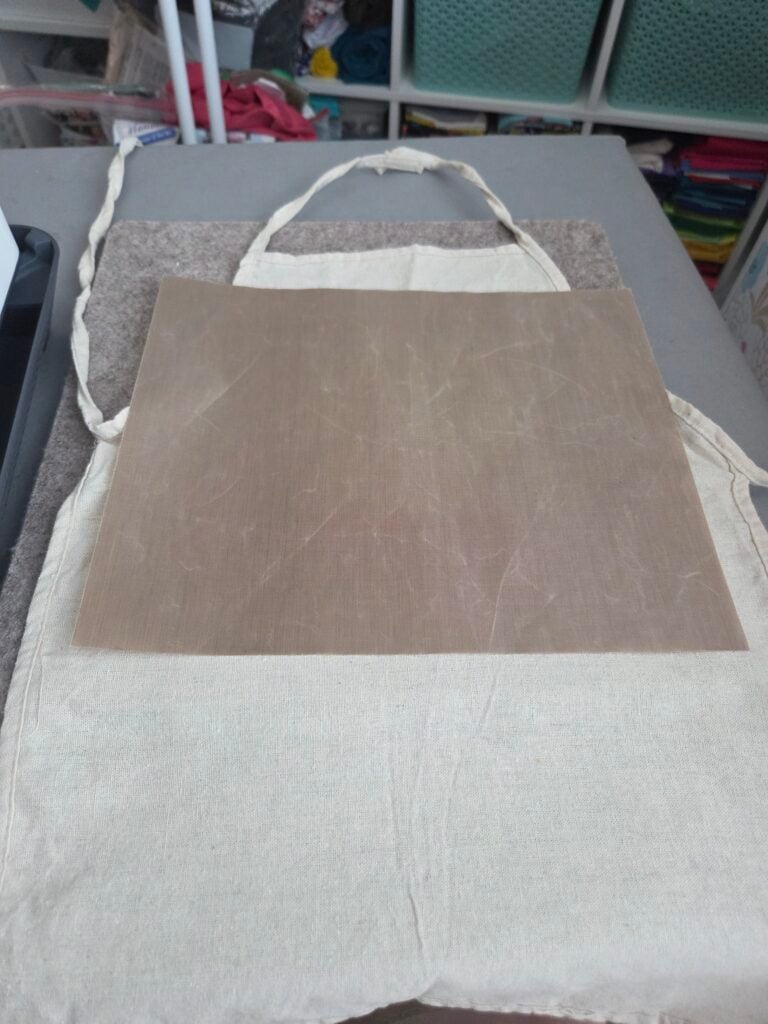
I also use a Teflon sheet on top of my transfer to protect both the transfer and my heat press. You can use any heat-resistant cover, and I know parchment paper is a favorite among crafters.
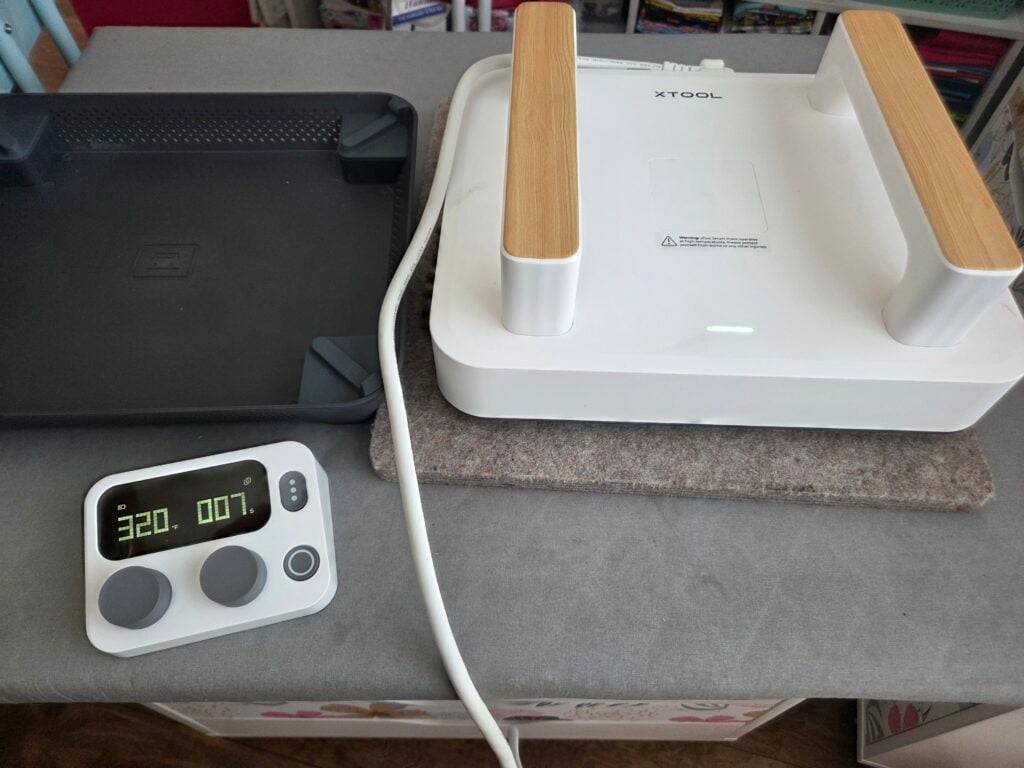
Then, following the instructions of your heat press, apply the DTF transfer. I used my xTool Smart Press for this since my WonderPress was being used for other designs by the time I got to this point.
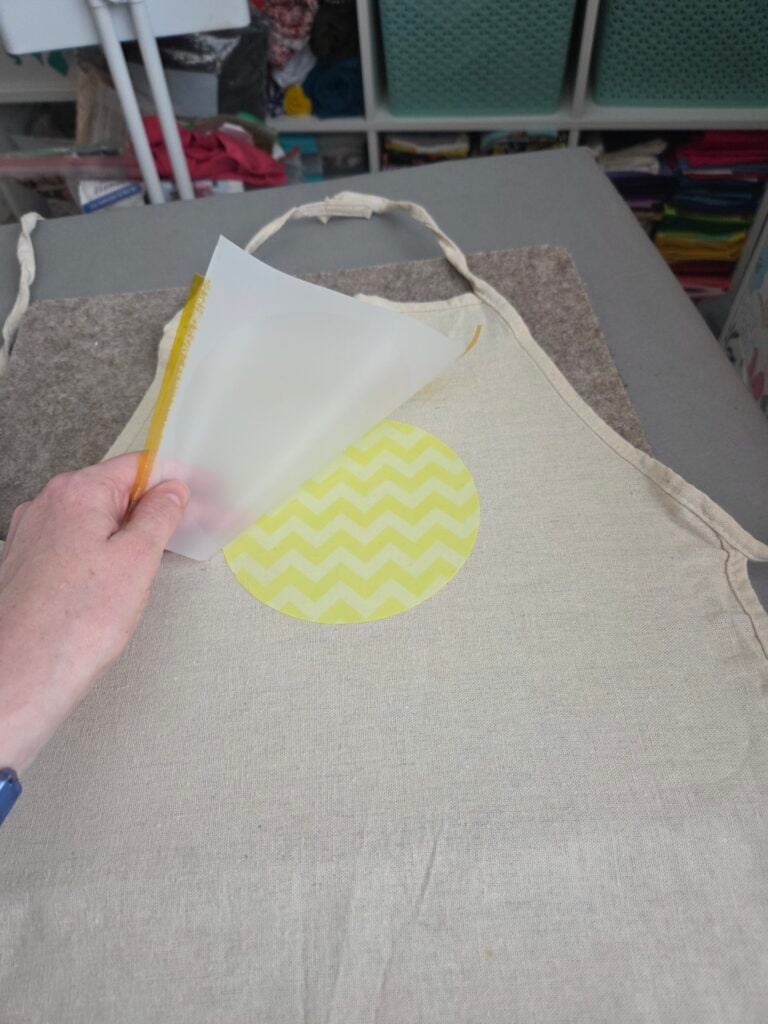
Let the film cool, and remove it from the blank.
4. Digitize the Embroidery Design
If you started with a DTF file rather than an SVG from an existing embroidery design, it’s time to digitize the embroidery portion. I forgot to take pictures of the smiley face process because I got so excited, so here we are with the hi!
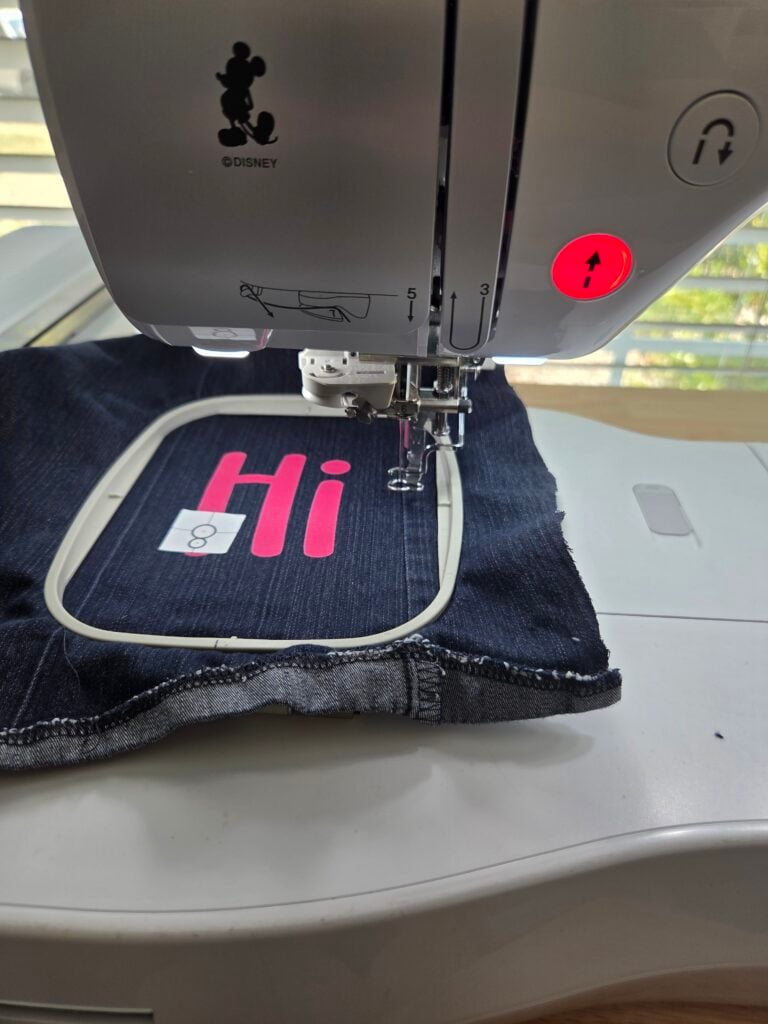
There are a couple of different ways to create the embroidery design portion:
- If you have a snazzier embroidery machine, you can scan the hooped DTF design as I did above. Then, have the machine create the satin stitch border on the screen. I used the Design Center on my Brother Luminaire to outline the stitch.
- For a more complicated design, you can use embroidery software. If you import a created DTF SVG, then you can use the software to trace and embellish the design. This is what I used for my smiley face design.
Make sure your SVG and embroidery design are identical dimensions or your stitched elements and printed design won’t align. This is especially important to pay attention to if your DTF art and embroidery design are created separately.
5. Hoop the Blank and Stitch the Embroidery Design
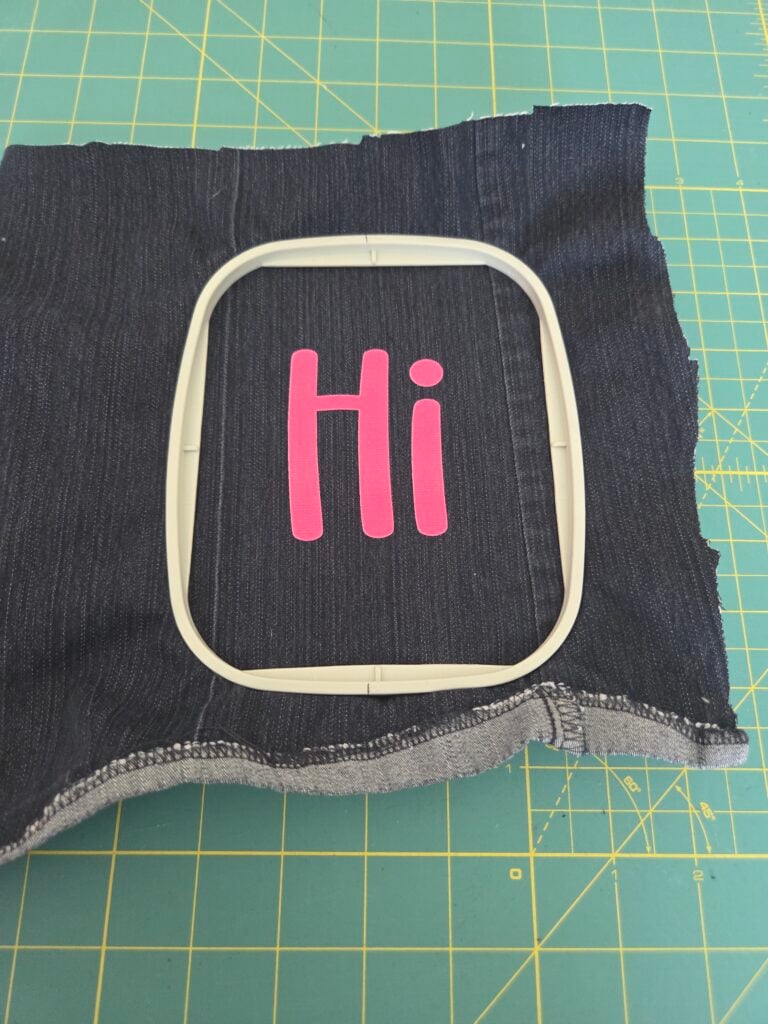
As mentioned earlier, the DTF applique layer doesn’t change the basic stabilization requirements of your embroidery blank. So, hoop the embroidery blank with the appropriate stabilizer as you would for any other project, considering the characteristics of the design and the blank fabric. I used a stable denim here with a tear-away stabilizer.
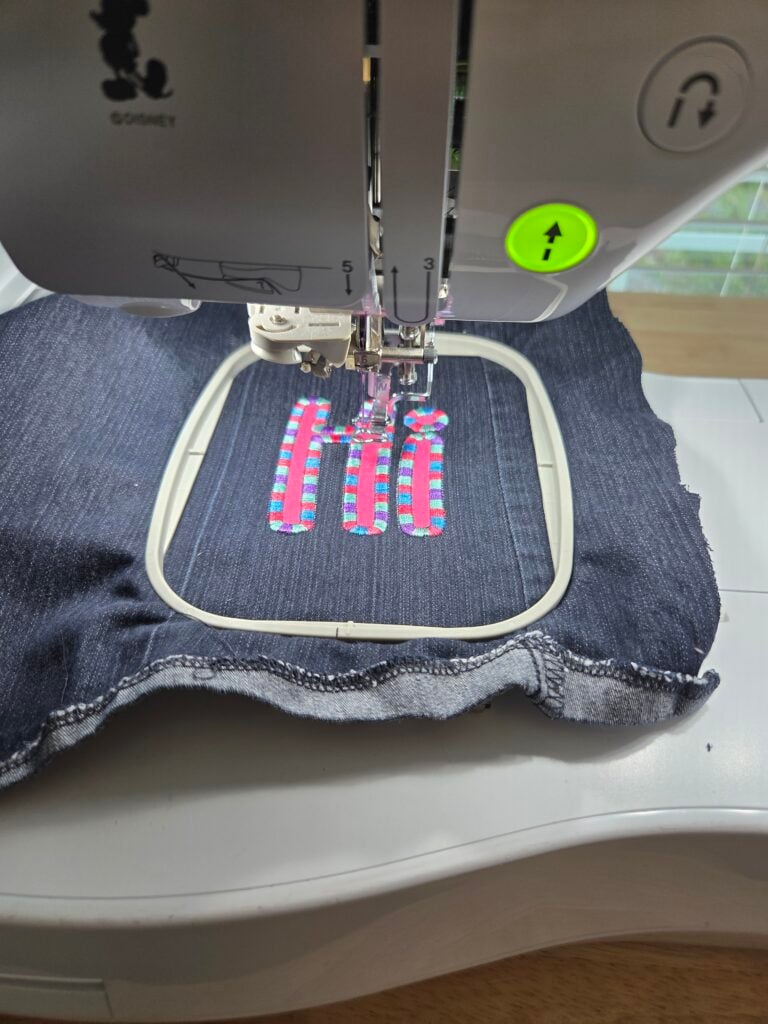
Finally, center your embroidery design over the DTF transfer. This is probably the trickiest part of this whole tutorial! I used my machine projector and scanner to perfectly align the embroidery design and DTF print. If your machine doesn’t do this, the usual positioning methods will work.
(If you’re working with an expensive blank, I recommend a test run first.)
Double-check your needle, thread, and stitch settings. Then, press go!
6. Apply the Finishing Touches
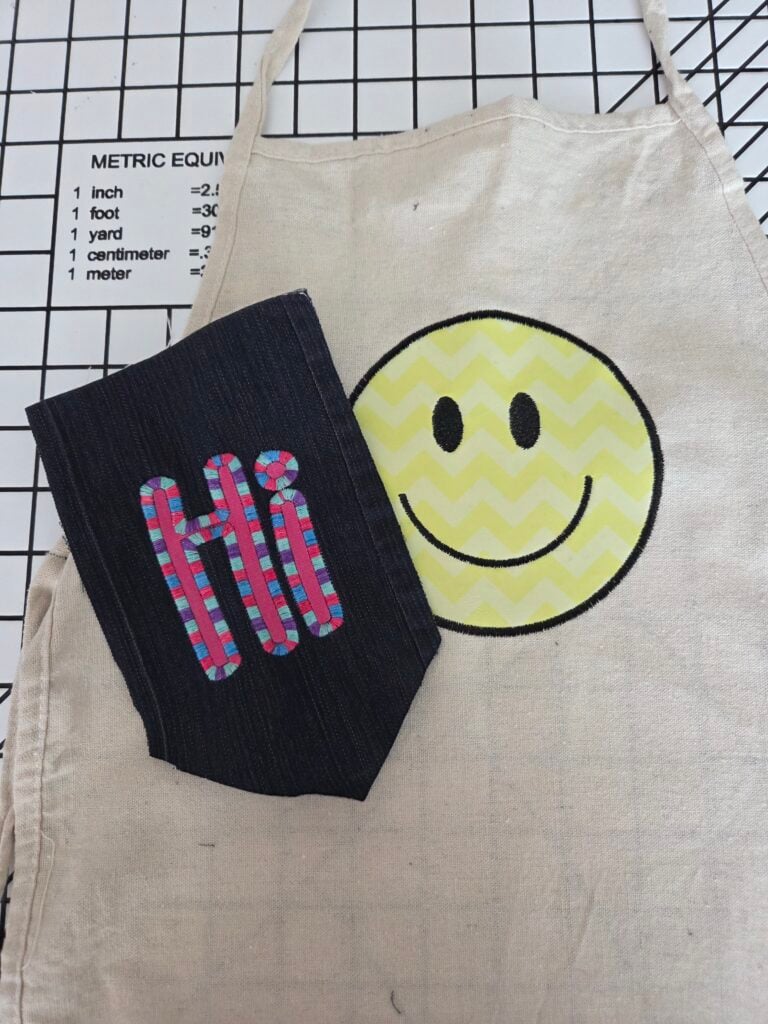
Remove the blank from your hoop. Trim any residual threads and remove unnecessary stabilizer and topper. Wonder at the marvel of the groovy design you just created!
So I’m still experimenting with this technique, but I already have several more ideas for combining DTF artwork and embroidery as well as using DTF printing in my fabric crafts.
I also used the same DTF printing process to make a DTF-printed quilt label with my xTool Apparel Printer Plus. And, this isn’t the first time I’ve combined my embroidery machine with another craft machine! I’ve also experimented with using my embroidery machine and Cricut together if you want to learn more about that combo.