
How to Make DTF Printed Quilt Labels
This post may contain affiliate links, which means I’ll receive a commission if you purchase through my links, at no extra cost to you. I sometimes receive free products for review. Please read disclosure for more information.
I’ve embroidered quilt labels, sublimated quilt labels, used my Cricut to cut printed quilt labels, and most recently, used my Xtool DTF Apparel Printer Plus to craft a quilt label.
I love how DTF quilt labels provide the look of a printed design on quilting cotton, and they take way less time than embroidering.
I’m always looking for new fun ways to craft labels, so here’s a quick tutorial for making DTF-printed quilt labels using the xTool Apparel Printer Plus that lives in my sewing room.
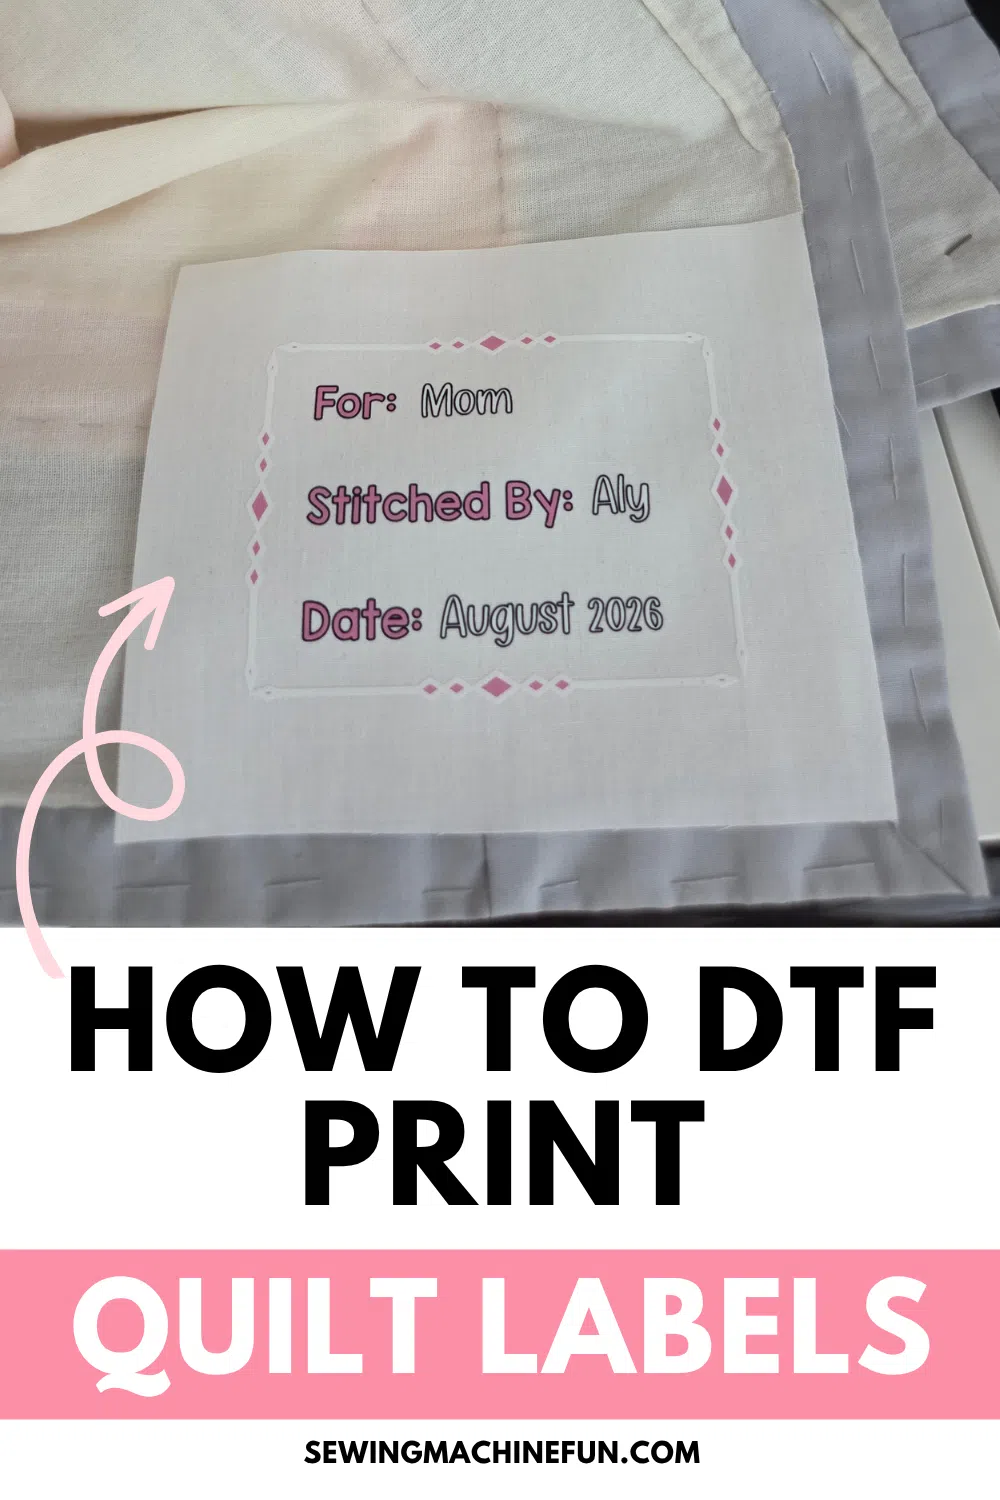
What You Need For This Project
Obviously, this requires a DTF printer. I’ve been using my gifted xTool Apparel Printer Plus. (It’s an expensive but really cool tool for business-minded home crafters that you can learn more about in my xTool Apparel Printer Plus review).
If you are also using the XTool family of craft supplies, you’ll need:
- For designing: xTool Studio software
- For curing: xTool shaker oven OR powder and xTool Wonder Press
- For pressing: xTool Wonder Press or suitable heat press
Other supplies (if not pressing directly onto the quilt back):
- Fabric with interfacing
- Scissors and thread
One fun thing about DTF printing is that, unlike sublimation, you don’t need to use polyester fabric. You can press your label right onto quilting cotton! My preferred fabric selection is light colored quilting cotton.
How to DTF Print a Quilt Label
Step 1 — Design your label
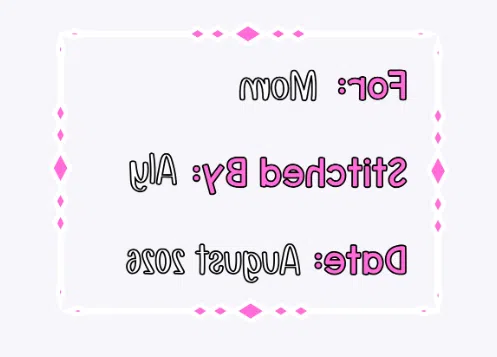
For XTool Apparel Printer Plus users, designing is done either:
- Directly in the xTool Studio software: my preference, as you can use your computer’s installed fonts and xTool’s built-in graphics.
- In outside software and imported in: If you prefer to create your own look or find a specific design, you can download and import an SVG file from sites like Creative Fabrica or Canva.
My quilt label for this tutorial is simple: it includes my name, date, and who the quilt is for.
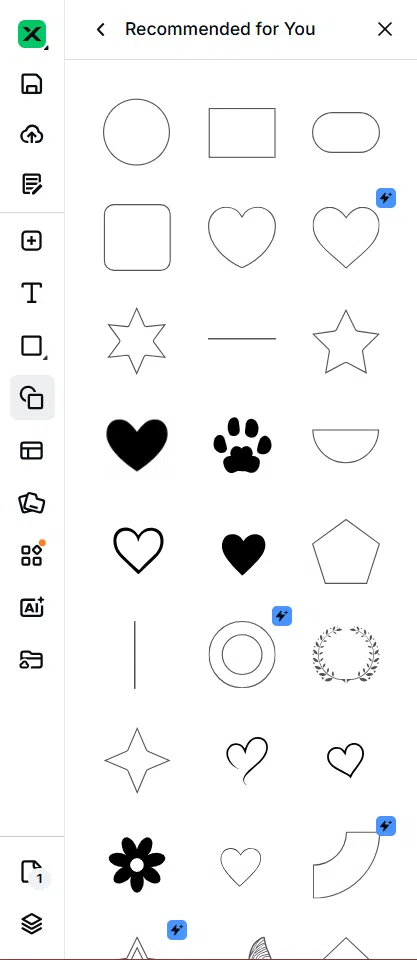
If you want to dress up your label, there’s a library of design elements within xTool Studio to add from.
As a quick note:
- If you use white fabric for your label, you can keep the background of the label transparent, as the white fabric becomes the background of your design.
- If using a dark backing fabric, you can make the label background opaque or use white lettering on a transparent background to make sure the text shows up.
Step 2 — Print & Powder the Quilt Label
Once your design is created and scaled in the software, print with the xTool Apparel Printer Plus. Learning to use the printer successfully took some time, but once I got the hang of it, creating projects has been very easy!
Now, I don’t have the shaker oven for a one-click workflow, so I have to cure myself.
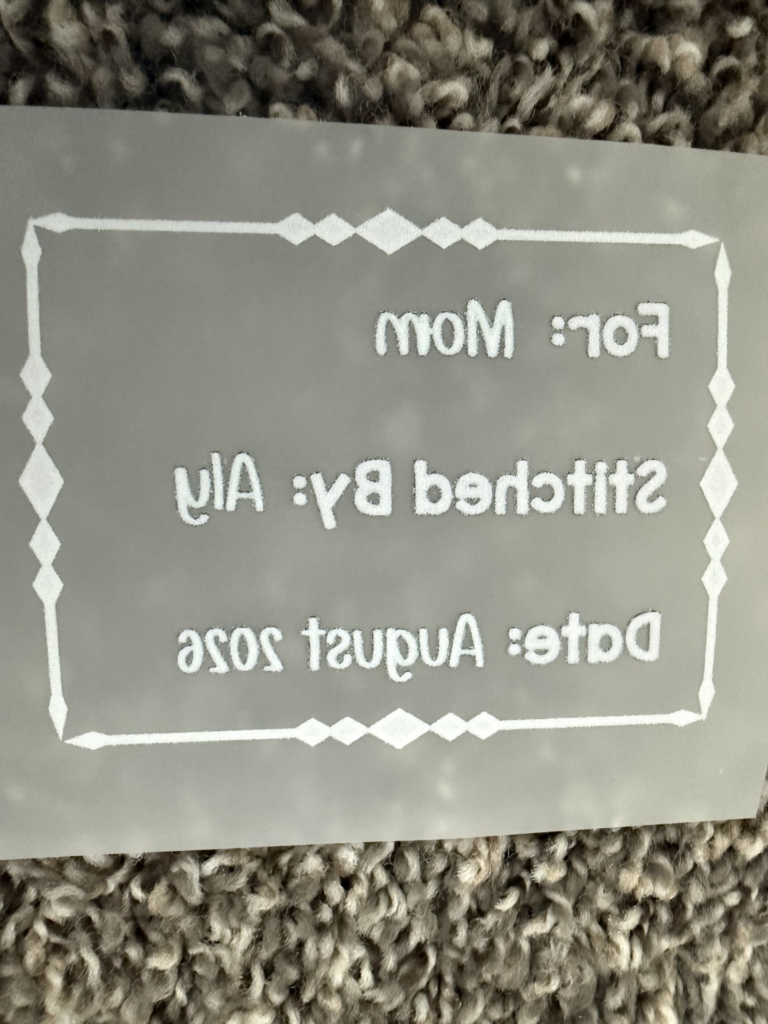
If you’re also doing this without an automatic shaker attachment, it’s a little more difficult. Thanks to recommendations of crafters who have gone before me, I sprinkled the powder onto the back of the film in a turkey pan. Be safe doing this, as powder is very fine and can create dust clouds!
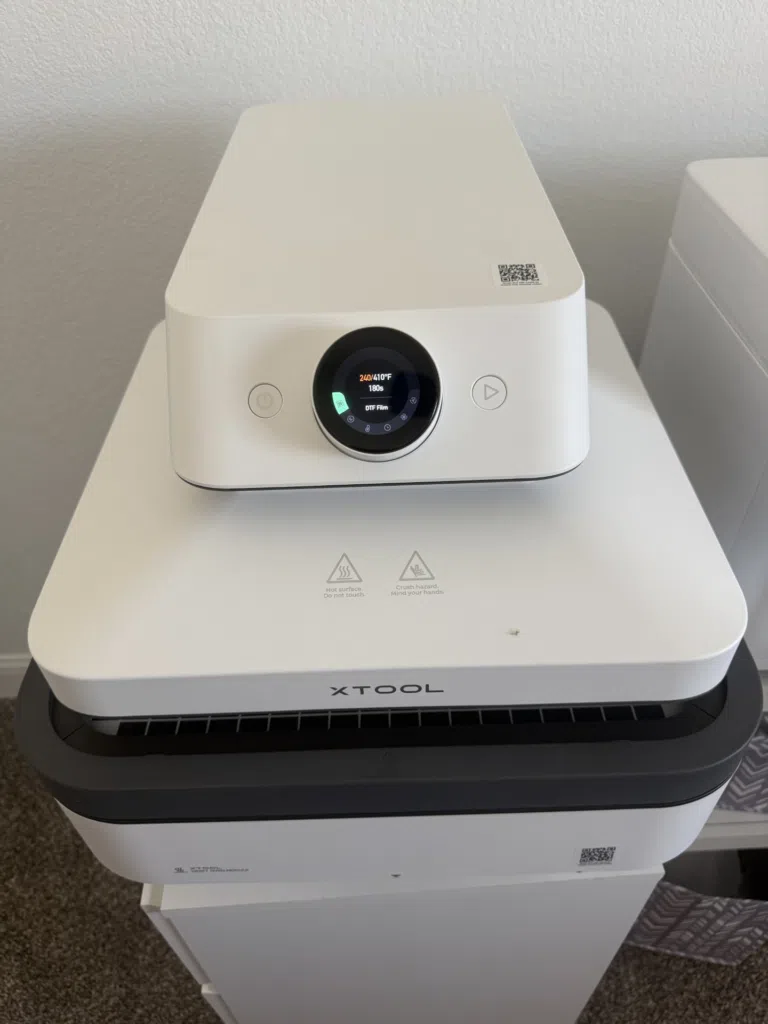
Next, place the DTF film on the rack, film side up. For my setup, the Wonderpress set the curing cycle to 410 degrees for 180 seconds. If you have a different film, powder, or even curing setup, follow the manufacturer’s recommended settings.
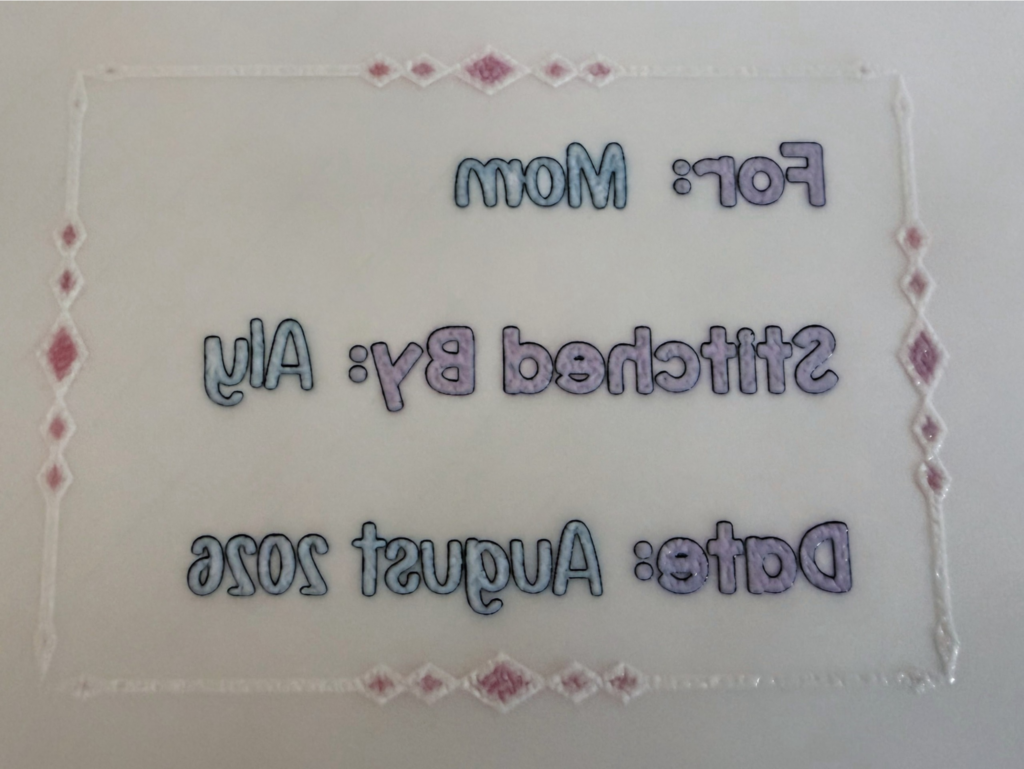
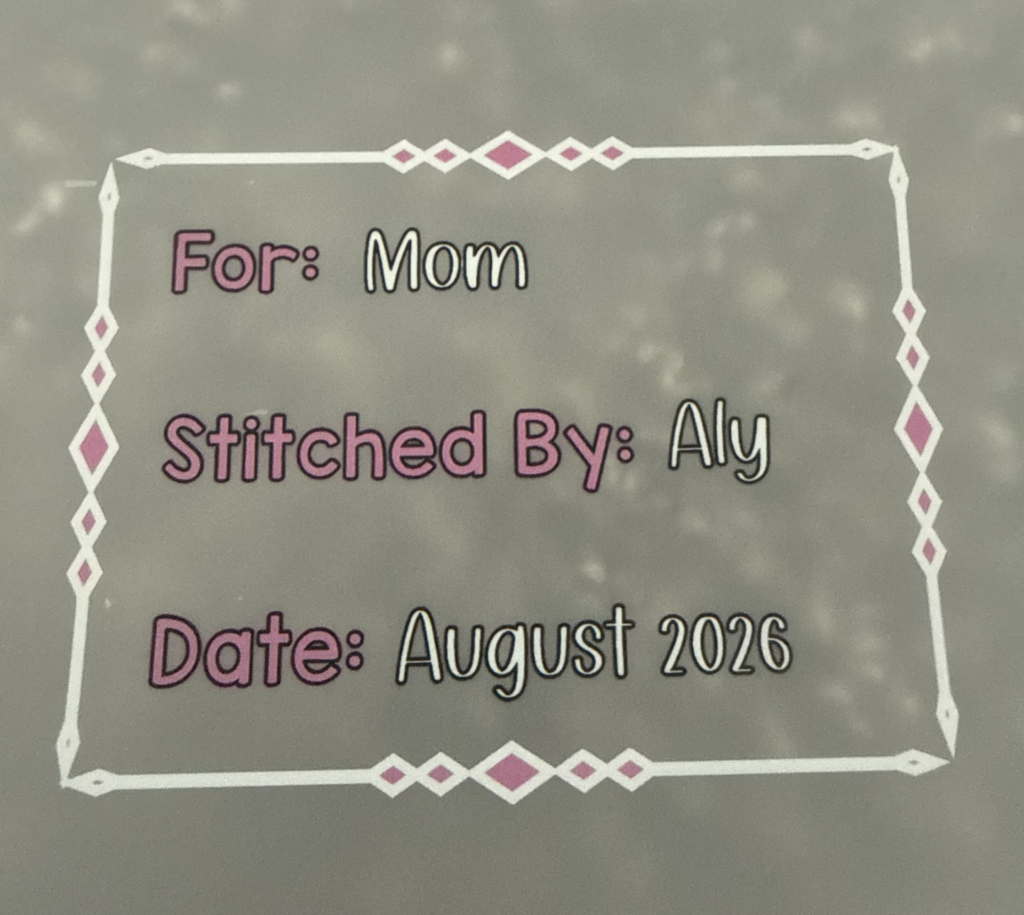
Above is what it should look like after powdering and baking. There’s a congealed look to the back, while the front is nice and smooth.
Step 3 — Press Label Onto Fabric
If you’re brave, you can press the label directly on the back of your quilt. I’m a big chicken, so I always press my transfers onto a piece of cotton fabric and then sew that onto the quilt.
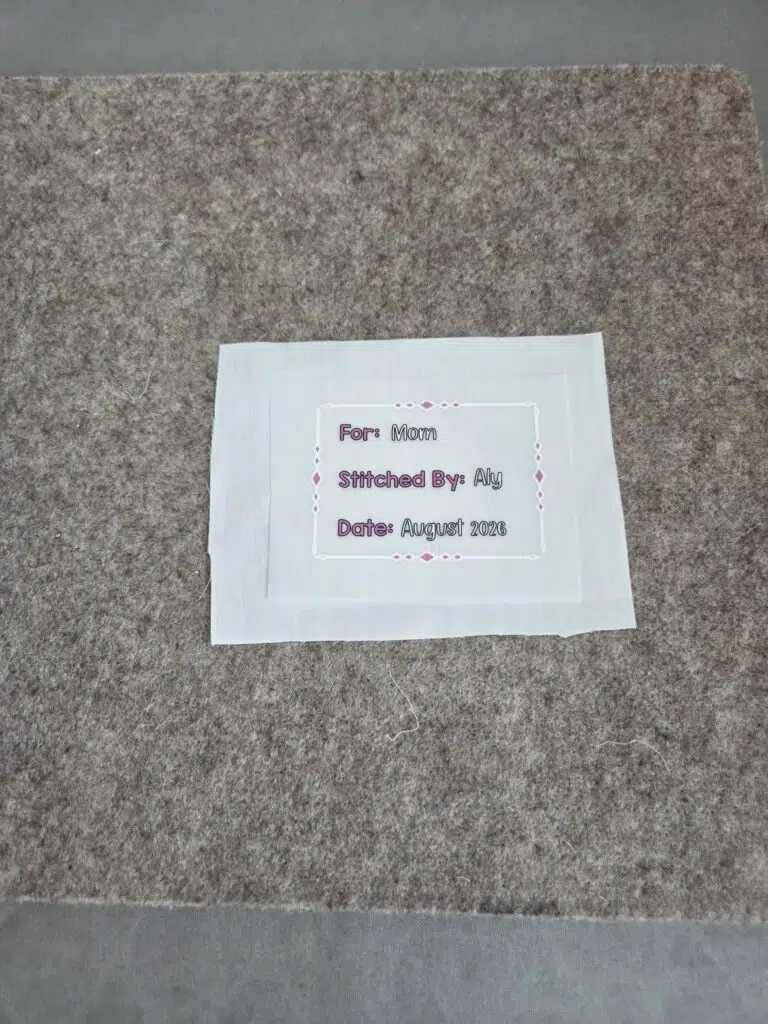
I also prefer to use light-colored quilting cotton for my labels that I’ve prestiffened by fusing interfacing to the back.
While not necessary, I like adding the interfacing to the back. It gives lightweight and see-through quilting cotton more body and makes the finished label less likely to fray at the edges, thus making it easier to trim and sew to my quilt.
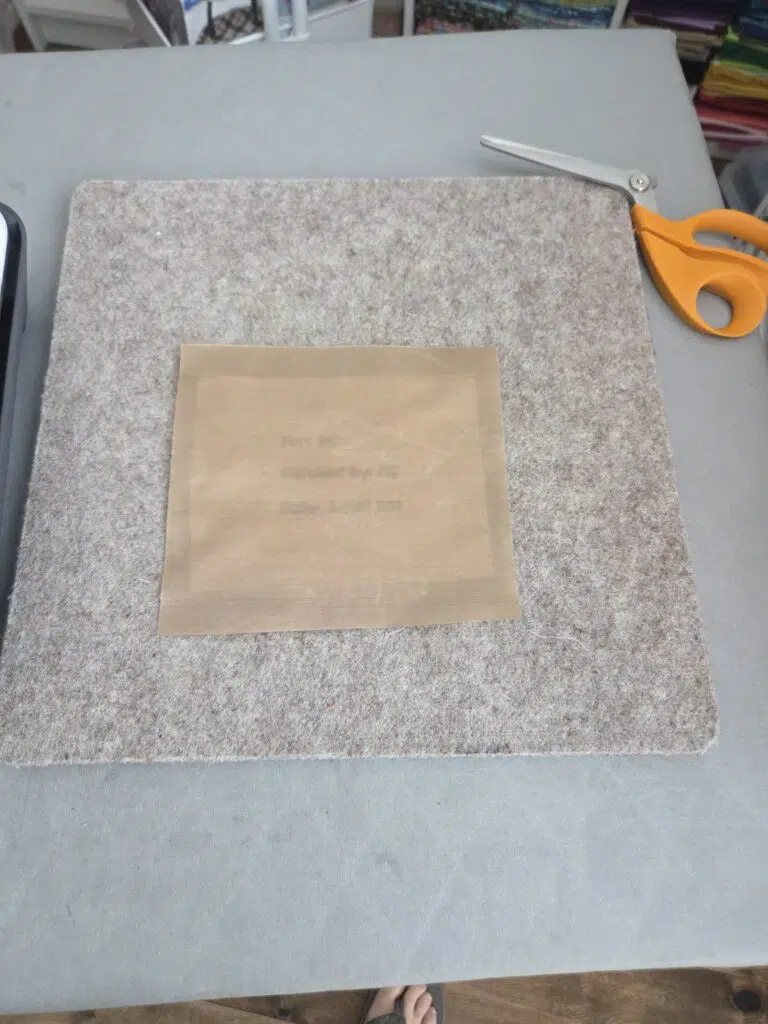
To fuse the label to the quilting cotton, place the transfer face with the congealed side facing down on the fabric. Then, place a piece of parchment paper or a heat-resistant sheet on top of the DTF film. I like the Teflon sheets I buy in bulk on Amazon.
If using the Wonderpress, it will heat accordingly from 320°F to 350°F and will automatically press for 15-20 seconds.
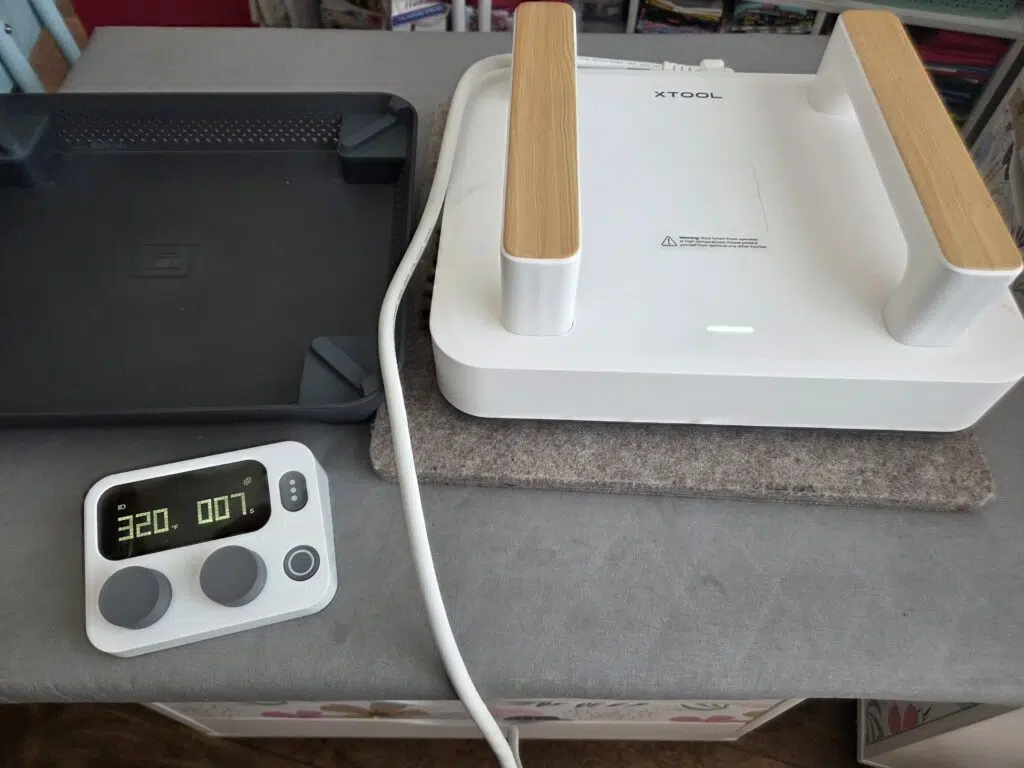
If not, follow the directions for your individual heat press when pressing on the label. I used my Smart Press for this part, pre-pressed the fabric, and then pressed both sides of the label.
Step 4 — Trim the edges and attach to the quilt
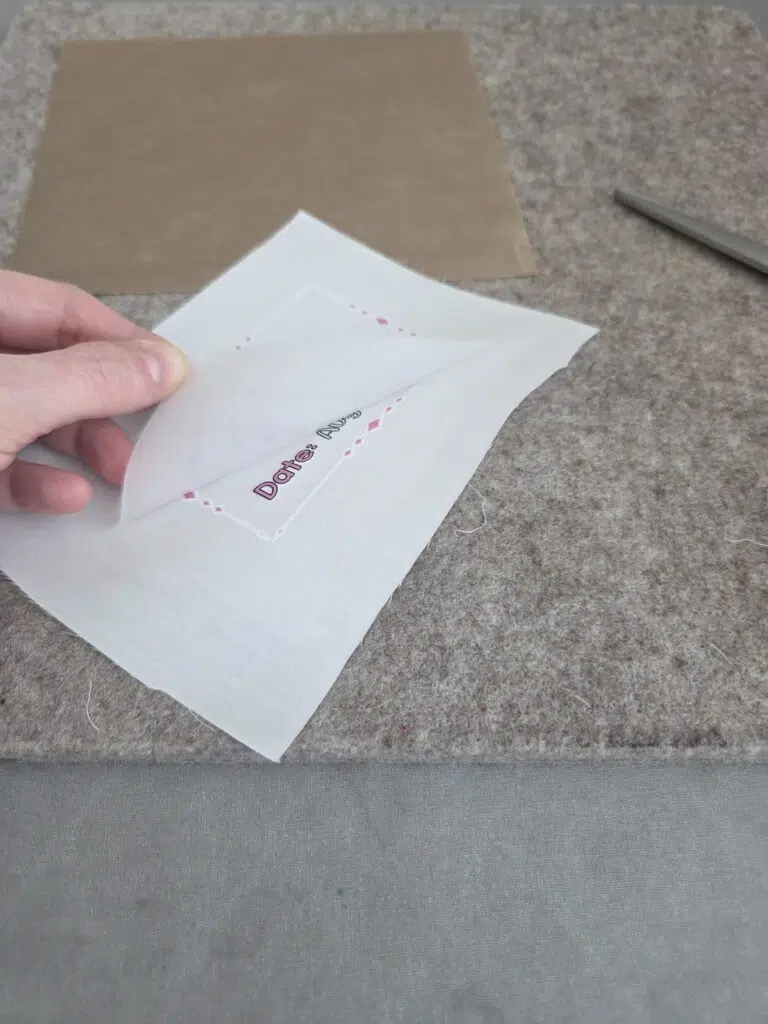
Remove the plastic film from the top of the fabric once the fabric has cooled. Do this slowly, and if you notice the ink peeling off with the film, apply heat again to try to fuse it better.
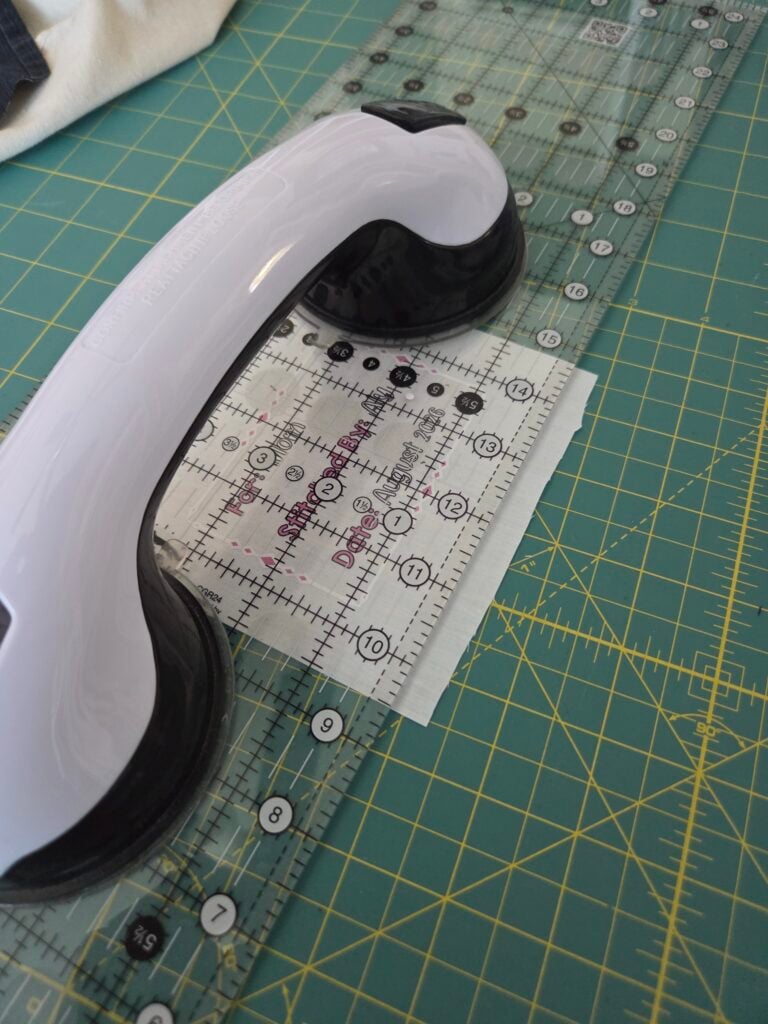
Then, trim the edges of your label with a rotary cutter to clean things up.
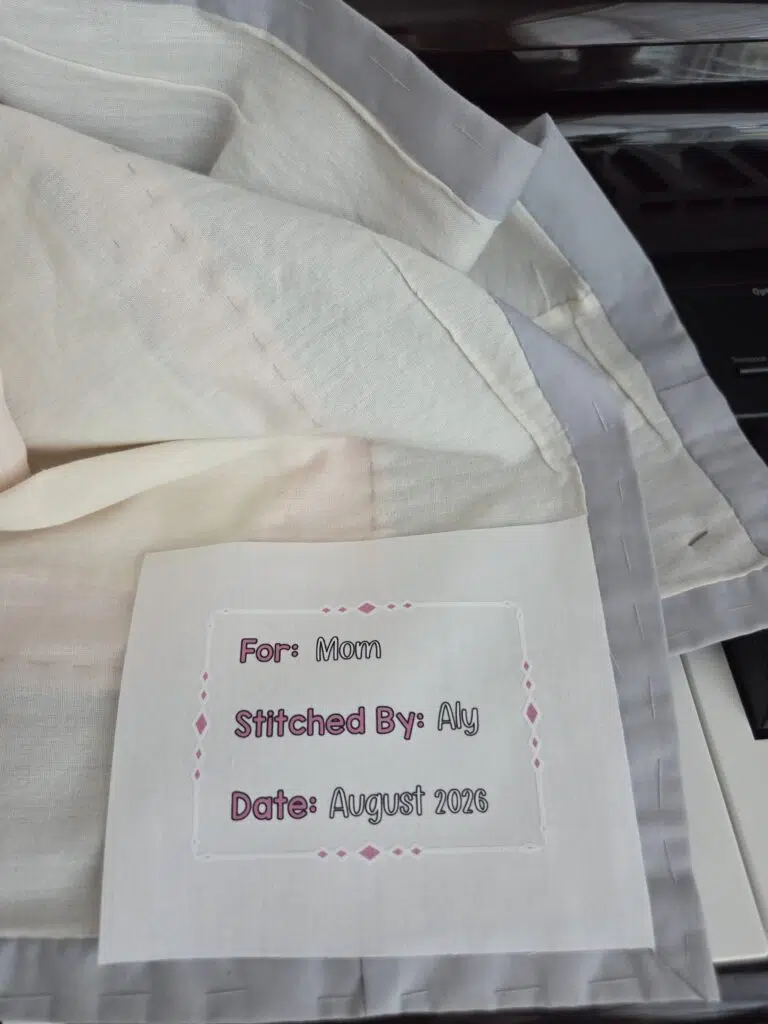
At this point, you can attach the label to the quilt:
- Sewing: This is my preferred method. I fold the raw edges to the back and hand stitch the label to the quilt. If I remember to make the label before the binding, I’ll stitch it on those sides with the binding.
- Fusible adhesive or fabric glue: More convenient if you don’t want to sew, but it might not hold up as well to frequent washings.
Pros of DTF labels vs. Other Label Methods
While this is arguably the most expensive quilt label-making method, it took much less time than embroidering my quilt labels, and it’s way more fun than printing a label on a fabric transfer and using my Cricut to cut it out.
Furthermore, sublimation only works on polyester, not cotton, so that’s a perk for using DTF to print durable quilt labels.
xTool states that its prints can withstand 50-100 washes, but obviously, I’ve not washed ANYTHING that much to test the claim. So, I can’t honestly compare the durability of DTF-printed quilt labels to sublimated or printed labels. So far, all of mine have held up to the infrequent washing I’ve subjected them to.
Lastly, the amount of detail you can get with a DTF label is much more than if you hand- or machine-embroidered.
When to Choose DTF for a Quilt Label
- Batch producing labels, as it’s super easy to print a ton at once
- Time-sensitive need for the labels, as embroidering takes more time
- Cotton is your required substrate
- Full-color or high-resolution design that would be difficult to embroider
- You already own a DTF print and are looking for another way to use a DTF printer in your sewing room!
When to Not Choose DTF
- Only making one simple label, unless you really enjoy this method
- You don’t have access to a DTF printer–seriously, not worth buying one just for this!
- You’re more traditionalist and prefer a hand-sewn or embroidered quilt label
Cost Per Label
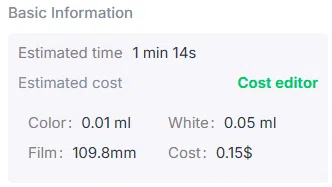
If you want an idea of the cost-effectiveness of this method, the price per label for mine was approximately $0.15. This included the cost of the consumables–ink and film only. For reference, my background was transparent, and the design was 3.6″ wide and 2.7″ tall.
Is it cheap to do? Considering the cost of the printer and continued supply costs, no. But if you already have a DTF printer, it’s fast and fun, and I love trying new things!