
xTool Apparel Printer Plus Review: Thoughts from a Fabric Crafter
This post may contain affiliate links, which means I’ll receive a commission if you purchase through my links, at no extra cost to you. I sometimes receive free products for review. Please read disclosure for more information.
In the past, when I wanted to add a design to clothing, I pulled out one of my trusty cutting machines. Machines of all types make my heart flutter, and I own way too many cutting machines: a Cricut Maker, Brother ScanNCut, and even a Silhouette Cameo.
I love creating HTV designs–although Cricut restricting many features to Access subscribers has me twitchy lately–but I don’t love spending hours layering vinyl and weeding out tiny details. And, there are limitations to the colors and complexity of SVG designs I can use for my cutters.
I’ve also dabbled in sublimation, but having to use polyester-based substrates is a real buzzkill for this crunchy quilter who prefers natural fibers like cotton.
When I received the xTool Apparel Printer Plus, I was so excited to try it out and see how DTF printing would change my crafting workflow.
While setting up the machine and getting to the point of printing my first design was a real booger, it’s been a big time saver and boundary pusher in my sewing room. The biggest plus: I don’t have to stare at a complicated design and think, “How many little tiny pieces of vinyl am I going to have to weed out of this one?”
It’s a big machine with a big price tag, and the automated shaker oven can make or break the experience. But, it produces excellent DTF transfers and has become a helpful addition to my sewing workflow.
If you’re considering the xTool Apparel Printer Plus, here are my thoughts on what’s worked well, what hasn’t, and how it can be integrated into a fabric and vinyl crafter’s workspace!
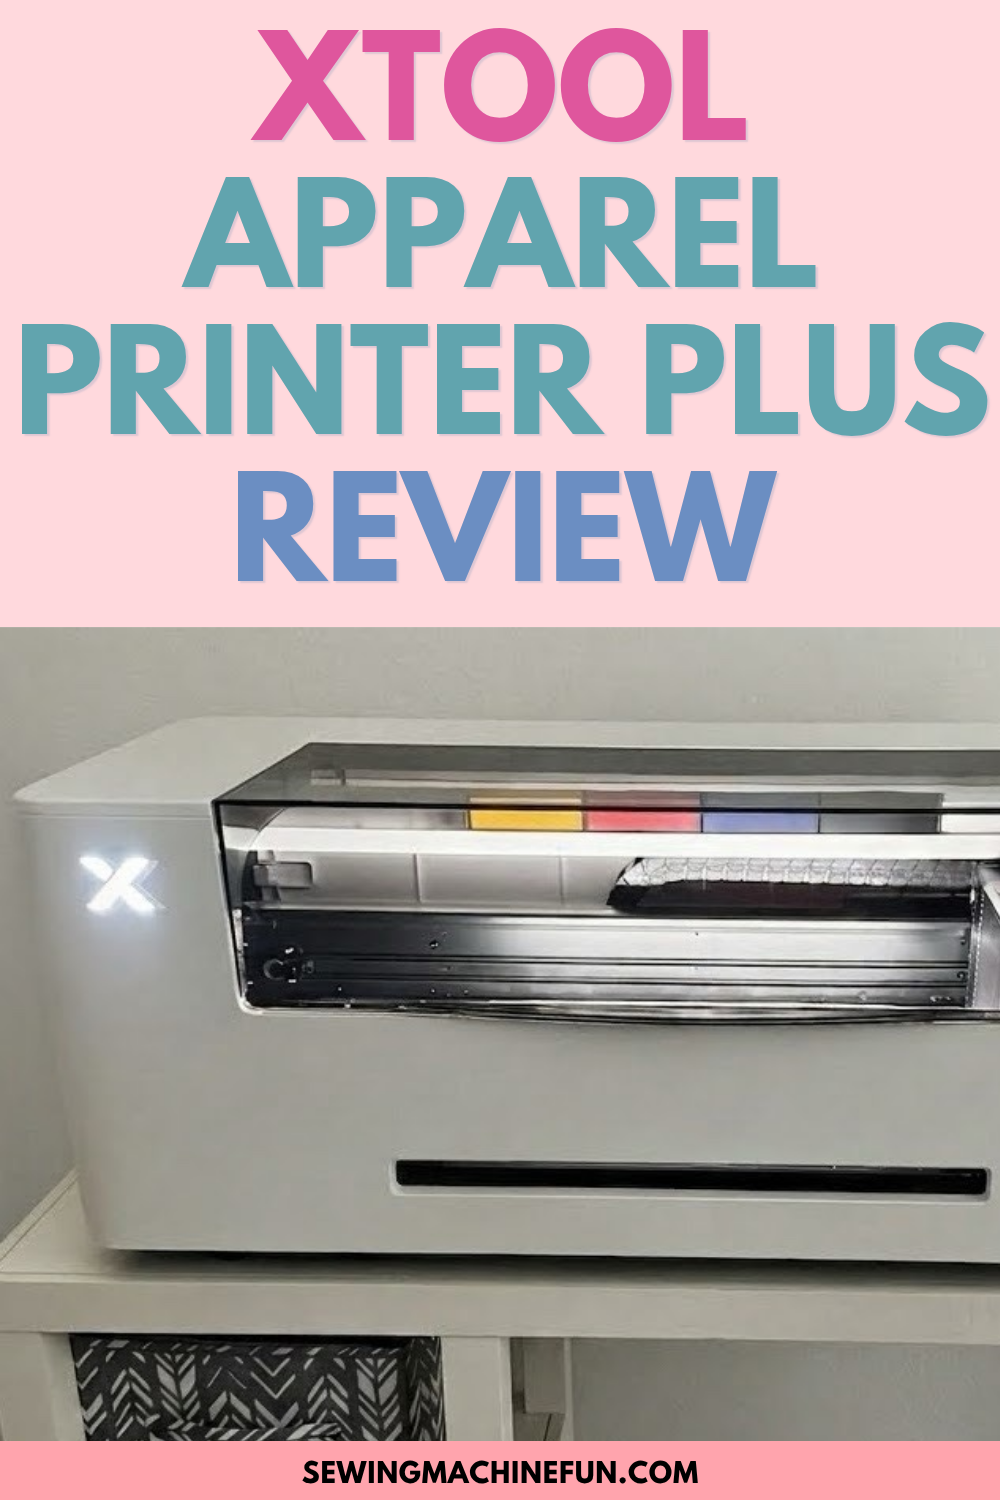
DISCLOSURE: xTool provided me with the Apparel Printer Plus for review purposes. As always, all opinions and experiences are my own.
The Down Low on What DTF Printing Is
DTF stands for direct-to-film, and as implied, a DTF printer prints a customized design directly onto a specialized DTF film.
This printed film is then powdered and baked, turning it into a design that can be heat-pressed onto a blank. Unlike sublimation, which becomes a part of the fabric, DTF transfers sit on top of fabric.
Thoughts on Unboxing and Setup
Unboxing
My first thought was, oh wow, the xTool Apparel Printer Plus is humongous.
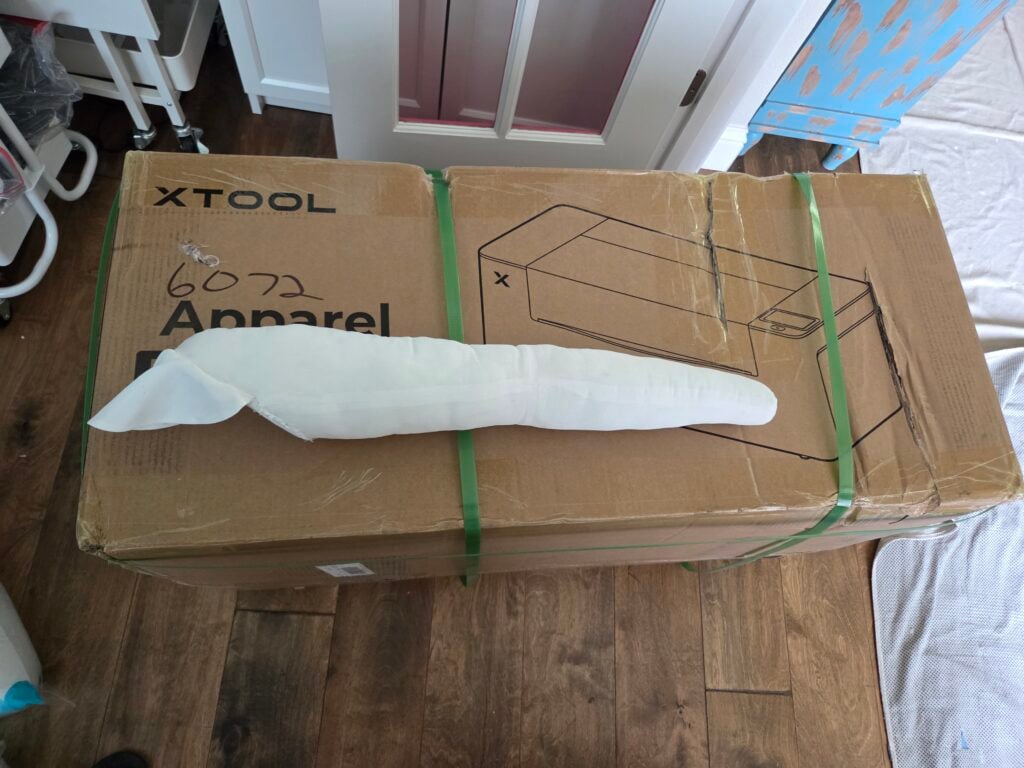
The box was too bulky for me to pick up by myself, so my husband and I had to perform the recommended double lift. He could probably have done the single lift himself, but I like being a team player and pretending I’m useful, ya know?
I also had to rearrange my craft room to accommodate the machine. Not only is the footprint wide, but it requires adequate space on the sides, which I had NOT considered before I unboxed it.
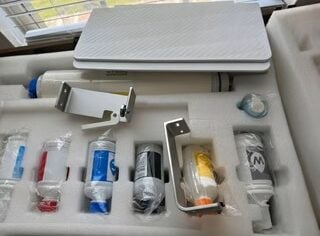
What came in the box was the printer itself, the ink colors and other liquids, the holders for the DTF film, and the output tray. (By the way, these things are packed really securely with foam. Our mailman must have a personal vendetta against our parcels, as NOTHING ever arrives without fairly extensive outside damage. Even though the box was beat up, as you can see in my arm-for-scale picture, the printer was unaffected.)
Initial Setup
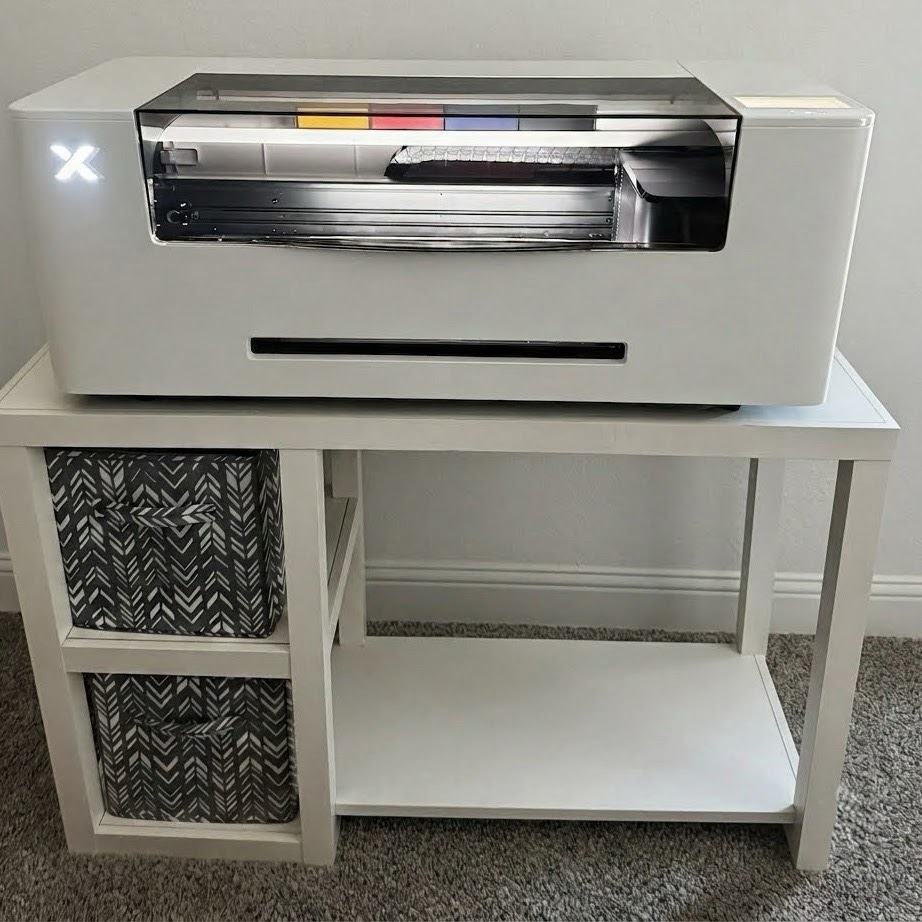
After unpacking everything, it was easy to attach the DTF film to the printer back and place the ink in each container. The same was true for situating the foam and the ink pads.
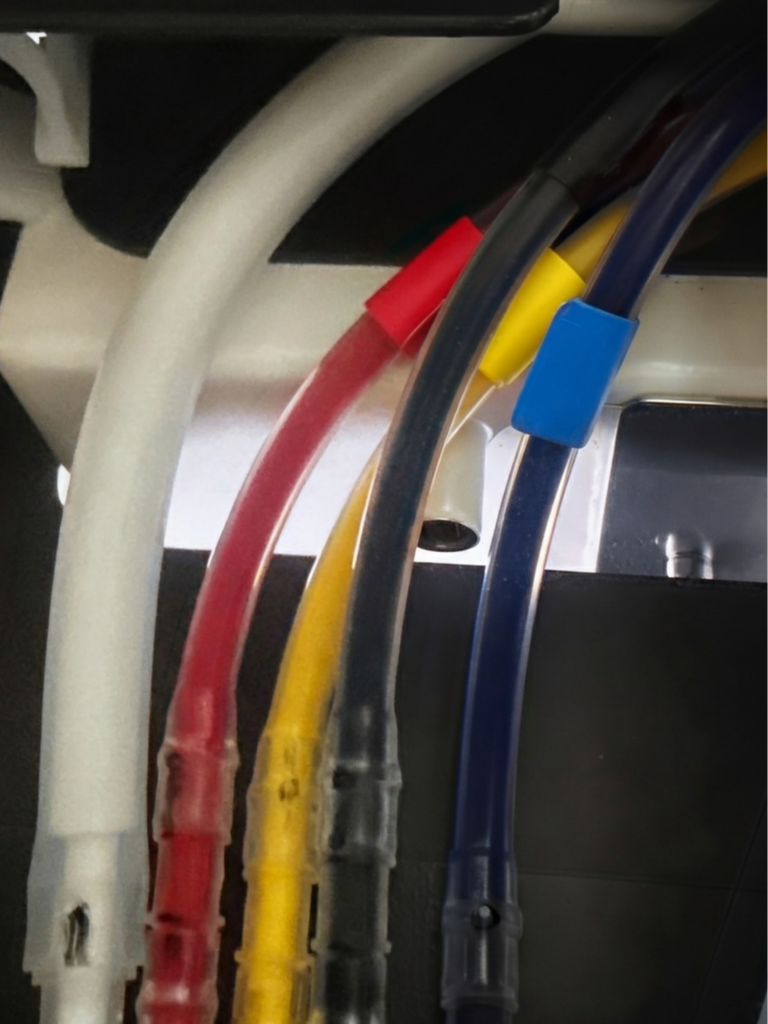
I like how the machine walked me through the first few steps of beginning the ink flow. Don’t gloss over this step. User error wasted a lot of time over here! As a pointer, if your ink is not flowing at first, rerun the initial ink setup, and it should start filling up.
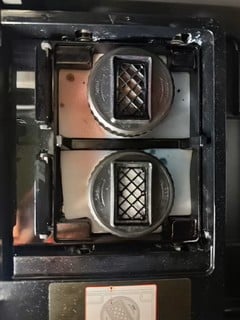
I also had an issue with just the white ink not flowing. If your machine is not producing a specific ink, check your ink pads. The diagram underneath the pads deceived me. They need to be installed in a vertical orientation (shown above) for the ink to flow. They came installed in the wrong direction–believe me, I was flummoxed until I realized that!
I highly recommend reaching out to xTool support if you have issues here rather than spending hours freaking out and Googling manically (pretending like I have no personal experience here, obviously.) There isn’t that much troubleshooting info online yet for the AP2, so xTool was instrumental in helping with the initial setup issues I had.
A Really Cool Offering by xTool
After setting up the machine all by my lonesome, I was browsing the xTool website and found some pretty rad offerings to share.
First, you can book free installation with an xTool-certified “host.” This would have been SO WORTH IT had I known.
The second is, if you’re unsure about purchasing the Apparel Printer Plus, you can also book a free demo with an xTool partner to view the machine in action! The only downfall here is availability. I live in the whoppingly large DFW metroplex, and at the time of writing, there are only 4 people for us 8.5 million that offer demos. If you’re in a well-populated area, you may get lucky and be able to book a free demo. Smaller cities likely won’t be as lucky.
How Actually Using the Machine Went for a Complete Newbie
Software
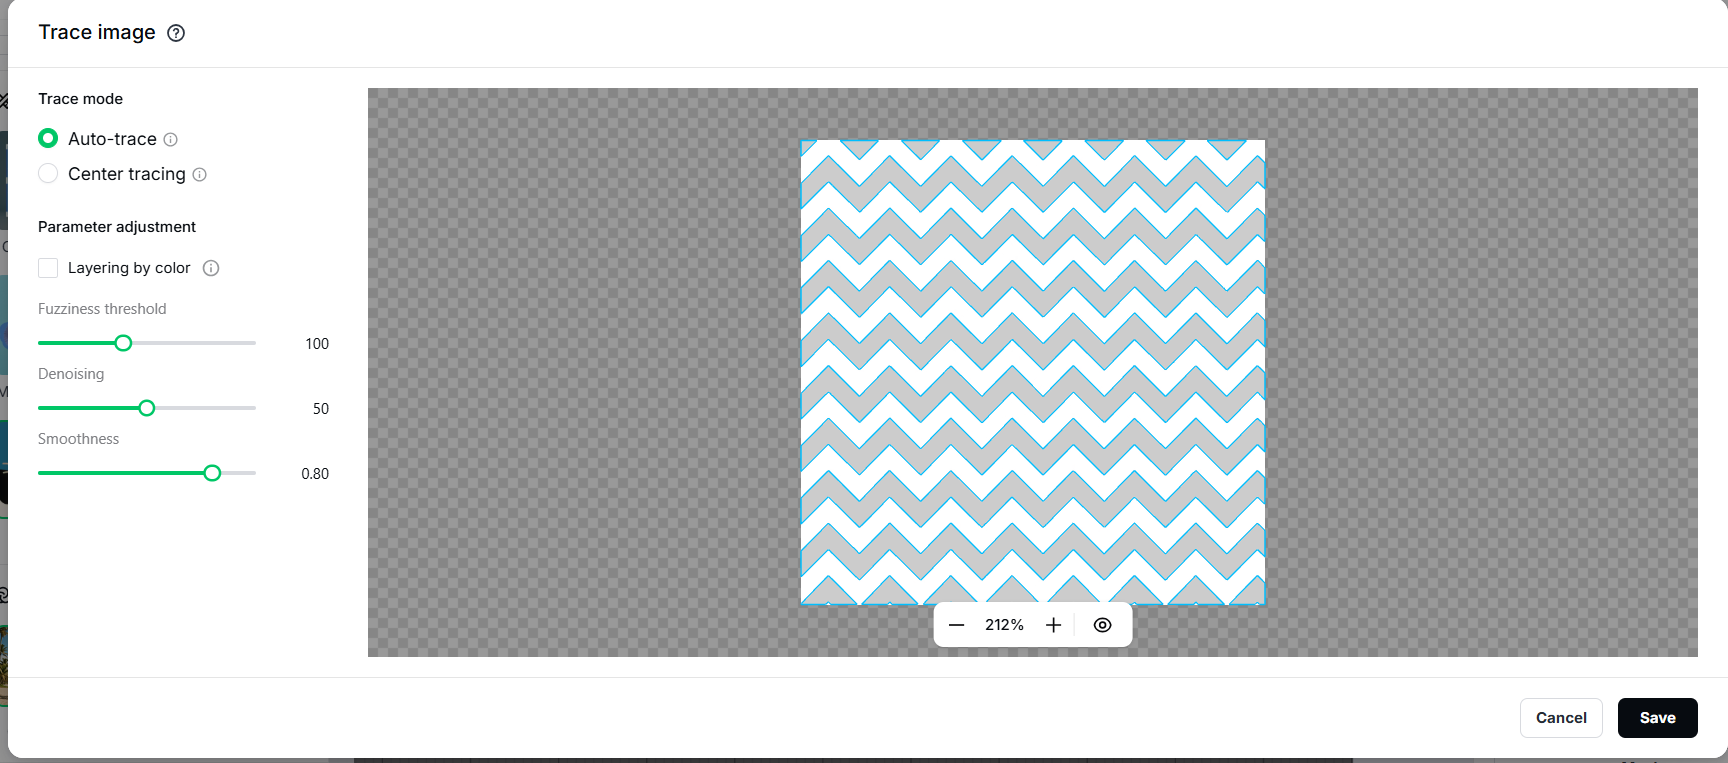
To use the Apparel Printer Plus, you must have xTool Studio.
Connecting the machine to my computer took some troubleshooting within the software. Turns out that the xTool Studio software version I needed for the xTool Apparel Printer Plus was not yet released. Oopsie daisies. After getting the correct version, connecting the machine to my computer was a breeze.
Overall, the software was easy to learn. It’s on par with Cricut Design Space’s difficulty, and it’s eons easier to learn than embroidery software.
The Lack of Shaker Oven and How That Affected the Process
Printing with the xTool Apparel Printer Plus isn’t difficult. The post-print process is more involved, though, without xTool’s Automatic Shaker Oven as a part of the workflow.
The shaker oven’s purpose is to safely automate powder application and baking. If you have disposable income, I highly recommend adding this to your Apparel Printer Plus, as it makes the process essentially one click.
The shaker oven is humongous and expensive, though, so if you also, like me, can’t afford or make space for one, don’t worry. The absence of a shaker oven doesn’t affect the quality of print–just the enjoyment of the post-DTF printing process.
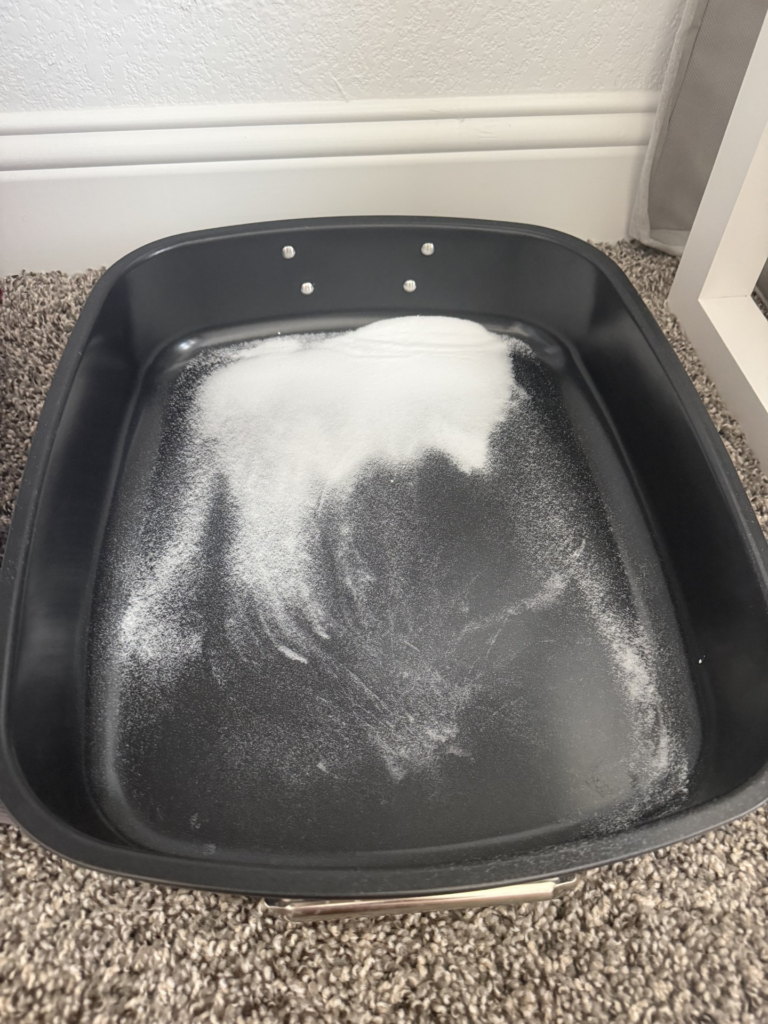
Manual powdering can be done in a well-ventilated area with a turkey pan, and the DTF transfers can then be baked/cured using a clamshell heat press. The downfalls of the manual method are that you have to be super careful with the powder, as inhalation can be dangerous, and you have to babysit your heat press during the curing.
Heat Press Requirements for Curing Transfers
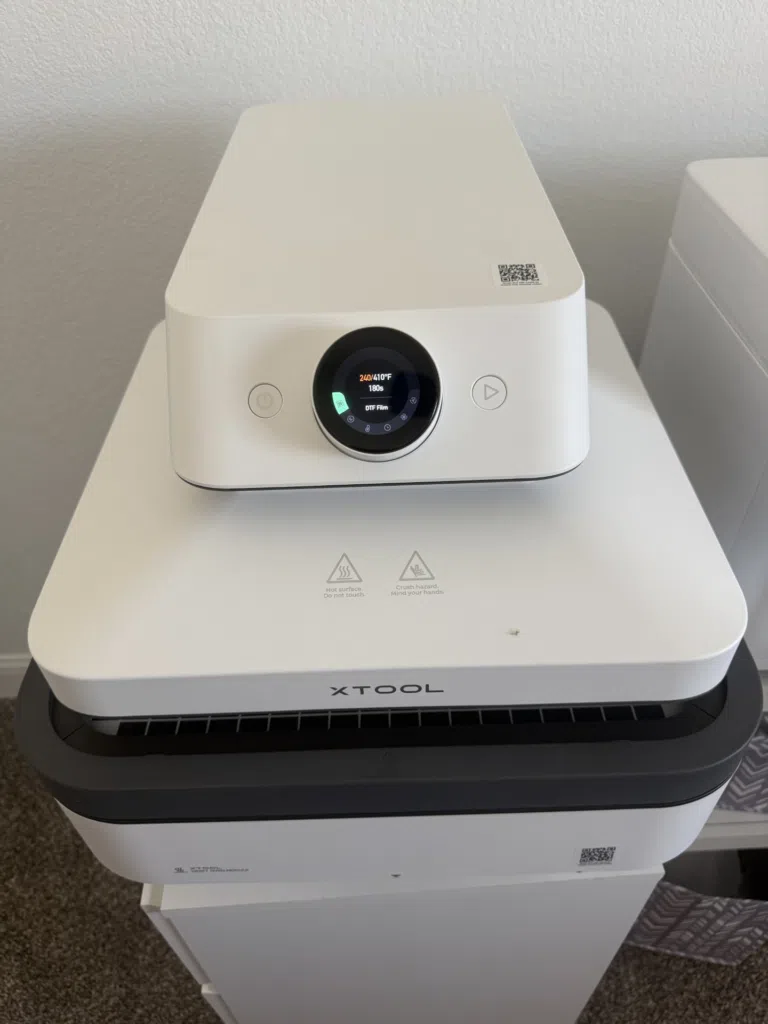
As mentioned, if you don’t have the shaker oven, you need an appropriate heat source.
It’s difficult to hover over the film with a manual heat press like the Cricut Easy Press or even the xTool Smart Press, and I failed to properly cure several transfers at first.
I ultimately ended up with the xTool WonderPress and Oven Attachment, and it solved my previous issues with baking and delivered perfect designs every time. I highly recommend a clamshell heat press for your baking. Hovering with a manual press won’t cut it.
My Favorite Things I’ve Made So Far
As long as I’ve properly cured the DTF print, I’ve had NO issues with designs showing up poorly. I’ve also tried several different blanks and have been pleased with the results.
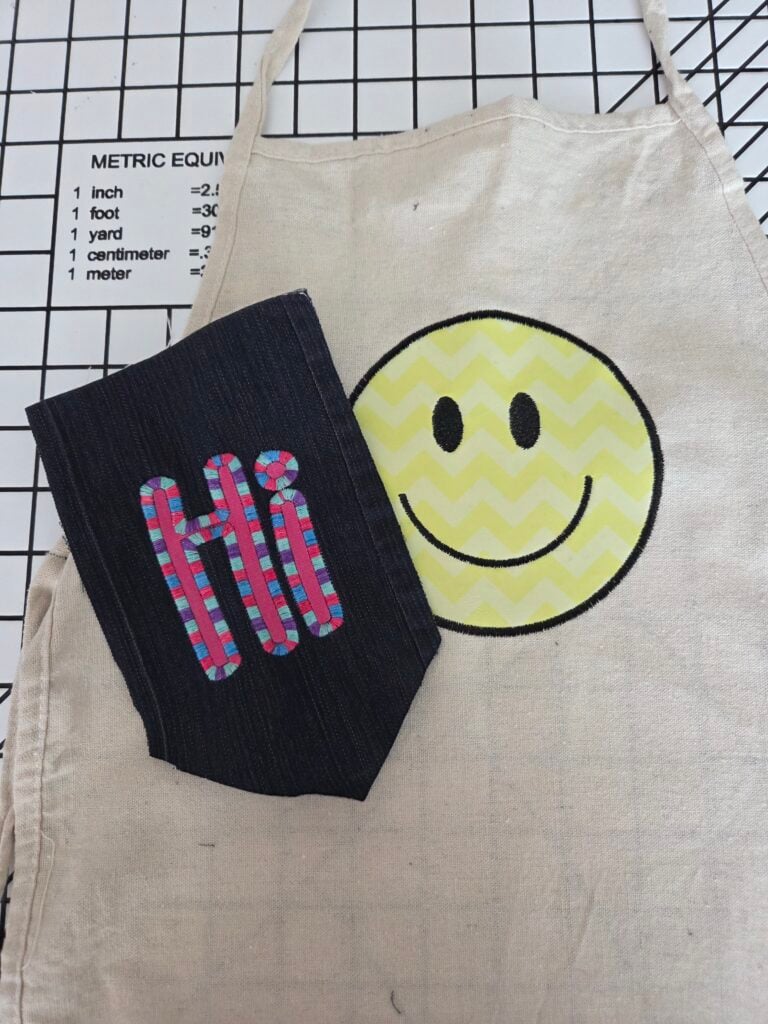
I applied DTF to both a canvas apron and denim fabric and embroidered over the DTF with great success.
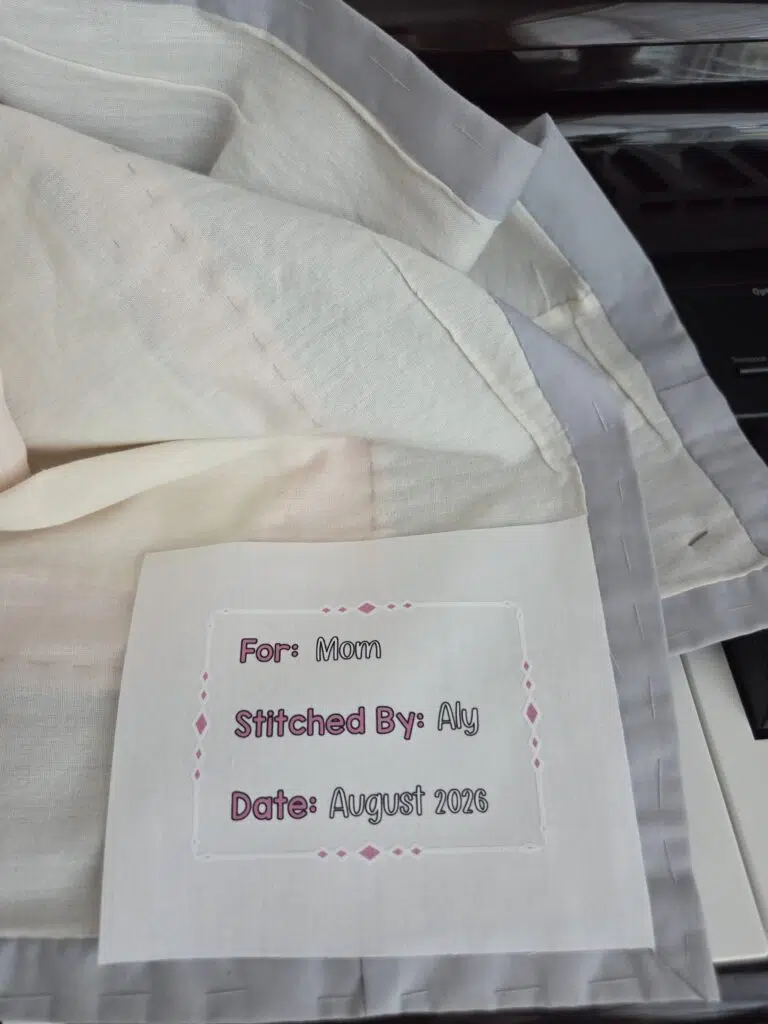
I also had success making a DTF quilt label using 100% quilting cotton. Being able to print directly onto cotton makes the quilter in me excited.
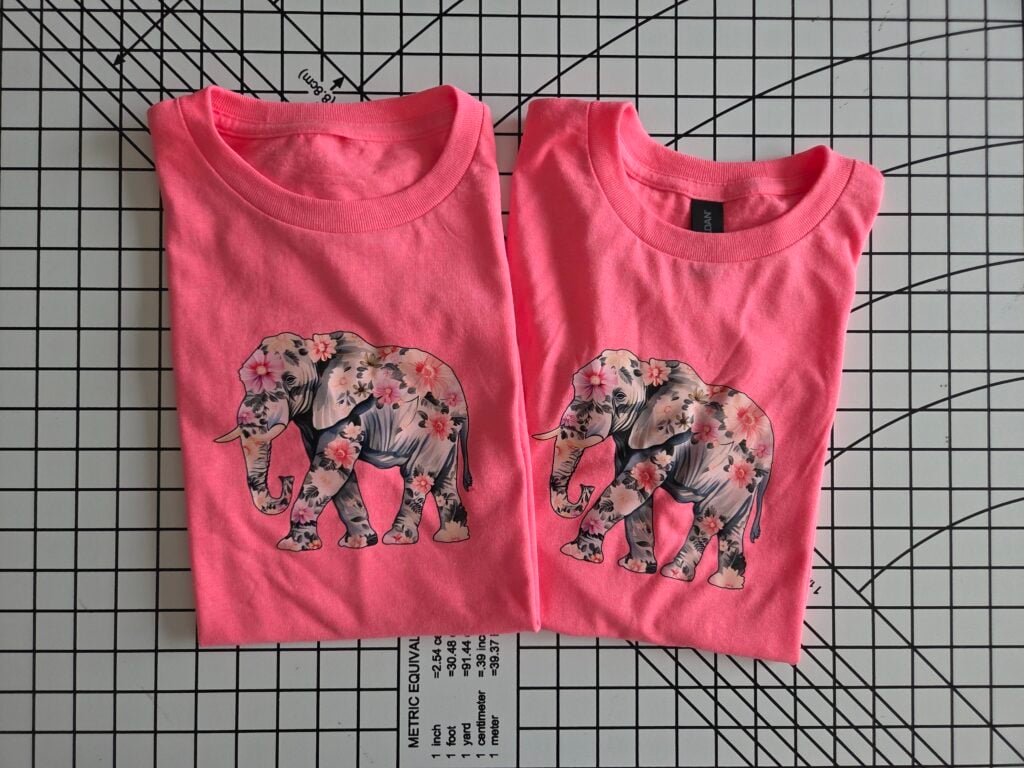
I’ve made TONS of t-shirts (both 100% cotton and cotton/polyester/spandex blends), and all have done well.
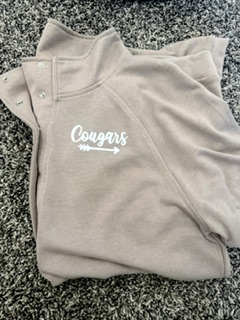
Same with the pullover I customized for my sister, who’s a teacher.
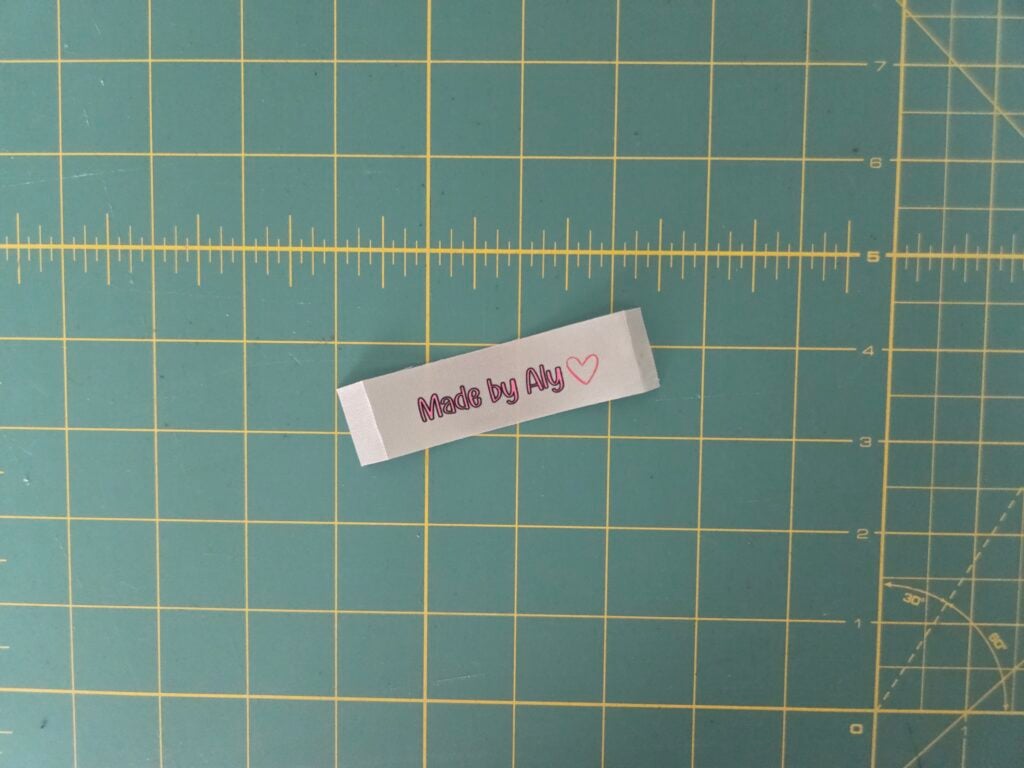
A more recent project was also applying DTF to 100% polyester ribbon to make DTF-printed clothing labels.
While the quality of the transfer has been amazing for every project, I will note that the more DTF you apply, the more the fabric hand and drape change.
Design Inspiration and Project Ideas for Fabric Crafters
Here are some more project ideas that I’m looking forward to creating as holiday gifts or just because:
- Teacher gifts like zipper pouches and T-shirts (my sister is an elementary school teacher and is ALWAYS buying shirts.)
- Christmas gifts for the neighbors
- Winter hoodies and sweatshirts
- Hats for my husband, because embroidering hats is a pain in the rump on a single-needle embroidery design
- Tote bags–because I have SO many that I’m dying to personalize and make cuter.
- Kitchen goodies like towels and pot holders–I’m curious to see how DTF will hold up on a frequently-used hand towel.
- Custom wooden signs
As for designs, if you don’t have a subscription to Creative Fabrica, I highly recommend one. I’ve subscribed for 5+ years now, and they’re my most reliable source for commercial-use designs for my embroidery machine, Cricut, xTool S1 laser cutter, and now the Apparel Printer Plus. A commercial license is absolutely necessary if you sell products.
Maintenance and Expected Ongoing Costs
The machine itself is a monstrous upfront expense. However, the cost per DTF print is reasonable. If you’re business-minded, the xTool site for the Apparel Printer Plus has a calculator that will tell you how long it takes to turn a profit.
What’s cool is that each time I print, xTool Studio software shows a breakdown of the amount of ink used, estimated cost, and time required for the design to print.
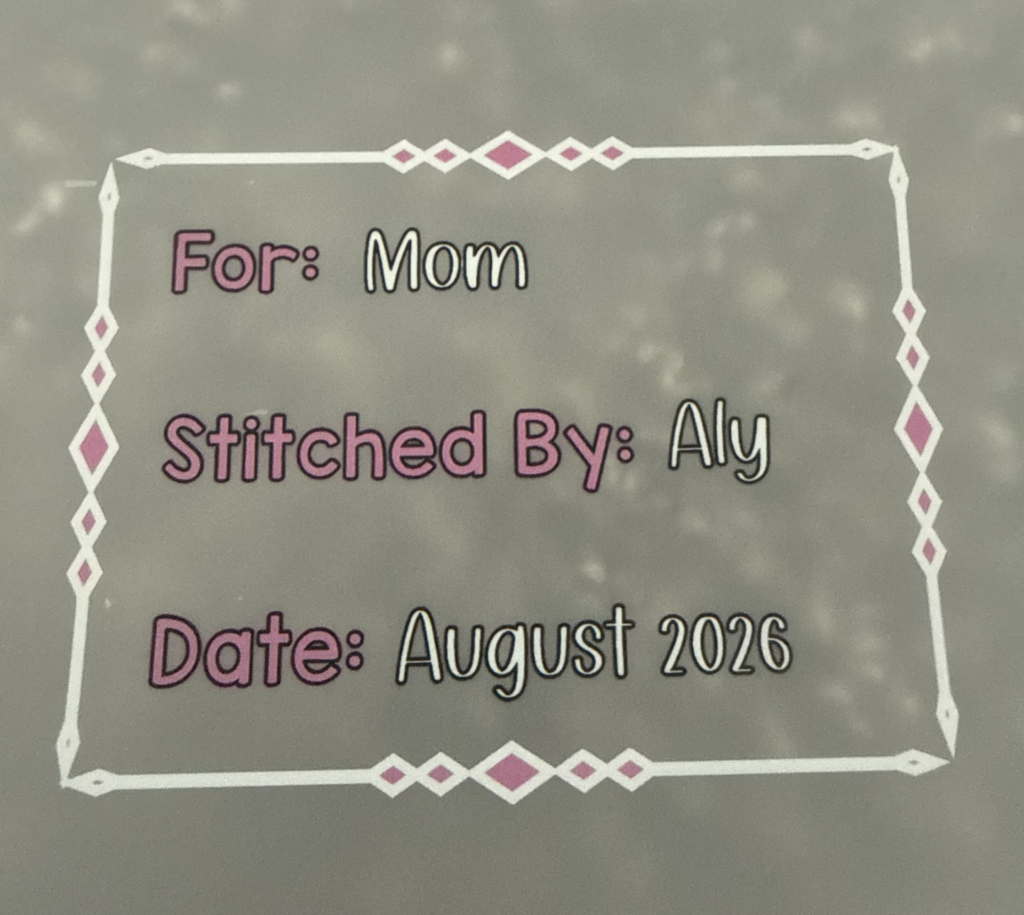
For reference, I made this simple quilt label, which was 3.6″ wide and 2.7″ tall.
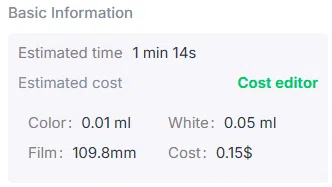
The cost per label is only $0.15, which isn’t bad considering I could make a batch of 30 in less than 45 minutes!
As for ongoing costs, I will need replacement ink, film, powder, moisturizing liquid, and cleaner as they run out. I’m still evaluating how frequently these replacements are needed, and I’ll let you know how often I have to troubleshoot and maintain once I’ve been at this for longer.
My Experience with DTF vs. HTV vs. Sublimation
| DTF | HTV | Sublimation | |
|---|---|---|---|
| Design versatility | Excellent | Limited by layering | Excellent |
| Weeding | Nope | Yes | Nope |
| Cotton? | Yes | Yes | Nope |
| How it feels | Thin layer | Thicker layer | A part of the fabric |
In terms of convenience and time required, DTF and sublimation are quicker, as they don’t require weeding.
For the most full-color detailed images, DTF and sublimation are also the way to go. For simple one-color designs, I will probably still turn to my Cricut if there’s not a lot of weeding required. It’s cheaper per project.
I’ve also noticed HTV can struggle a little with certain stretchy fabrics and begin to peel. I haven’t seen this as much with DTF, and since sublimation is in the shirt fibers, not on top, it’s also not an issue. I also think DTF and sublimation feel softer compared to HTV.
One place where HTV excels, though, is in the variety of blanks available. For example, HTV can be applied to glass, but a standard DTF printer made for fabric can’t bind to smooth surfaces like this. A UV DTF printer is required. And, sublimation is a big nothingburger if you try it on anything but polyester fabric.
Perks and Downfalls of the xTool Apparel Printer Plus
If you have the disposable income to purchase the machine, here are some of the pros and cons of the Apparel Printer Plus.
Major Perks
- After my initial troubleshooting hiccups, this DTF printer was easy to use with minimal opportunities for user error. Because the machine itself does most of the work, printing the transfer is foolproof once set up properly.
- So much versatility in the designs I can put on things! I can take artwork that would be miserable to layer or weed in HTV and print as a single transfer.
- Print quality is excellent,
- Can withstand up to 50-100 washes, according to xTool.
Things To Know Before Buying
- Manual workflow without the shaker oven is annoying and can be dangerous when powdering. Safer, automated workflow is possible with the shaker oven, though.
- It’s huge and requires space around it. As I mentioned, I had to rearrange my room to accommodate the footprint.
- Ongoing maintenance. For example, the humidifier, while it seems like an upgrade from the original Apparel Printer, runs through water quickly. Despite constantly refilling, I keep getting warnings that the humidity is low. When I add color bands to my prints, it helps with the humidity issue I’ve noticed so far.
Which hobbyists do I think would benefit from the AP2?
After using the xTool Apparel Printer Plus for a few months now, I don’t think it’s a machine every hobby crafter needs. It’s a big monetary investment, and for crafters only looking to put designs on fabric, there are cheaper, easier methods if you don’t mind a few hurdles.
However, I think it is fun and useful for:
- People who routinely customize apparel–be it for small business ownership or constantly making matching T-shirts, for example
- Sewing businesses who could benefit from a method of making tags and adding customization to items
- Cricut/ScanNCut/Silhouette users who hate weeding or can’t weed because of arthritis or other mobility issues
- Embroidery lovers who have big plans for detailing artwork with embroidered stitches
- Quilters and sewists who want to print fabric panels and don’t want to deal with sublimation’s polyester requirement
Final Notes
When upgrading my craft setup to include the xTool DTF printer, I found new, fun ways to use it in my existing craft room workflow. It eliminates the hassle of intricate weeding and layering with HTV, and it’s a quick way to create custom fabric when I can’t find the perfect bolt at the fabric store.
There were some definite startup problems I experienced. Getting through initial setup hurdles, encountering several user errors, and learning about routine maintenance took time.
However, my experience after setup has been positive, and I love how a DTF printer can create custom looks on a variety of fabrics while keeping production costs low. It hasn’t replaced any of my other machines–Cricut, embroidery machine, or sublimation printer, for example–but it’s filled a gap and has turned out to be surprisingly useful!
So do I recommend it? For the hobby sewist who only wants to occasionally put a design on a shirt, probably not. A Cricut, sublimation printer, or even using purchased DTF transfers someone else made are more cost-effective options.
But for a fabric crafter who routinely personalizes custom apparel and handmade goods or wants to incorporate detailed, colorful artwork into projects, I think the Apparel Printer Plus is a great fit!