
9 Ways to Make Quilt Labels
This post may contain affiliate links, which means I’ll receive a commission if you purchase through my links, at no extra cost to you. I sometimes receive free products for review. Please read disclosure for more information.
At the end of a quilting project, after slogging through the binding, the last thing I want to do is make the quilt label. However, to check that quilt completely off my to-do list, I begrudgingly press on to accomplish the task.
Depending on the quilt (and how motivated I am), I use several different quilt label-making methods. Some look more professional, while others maintain a handmade touch.
Here are 9 ways to make quilt labels at home–with and without fancy equipment!
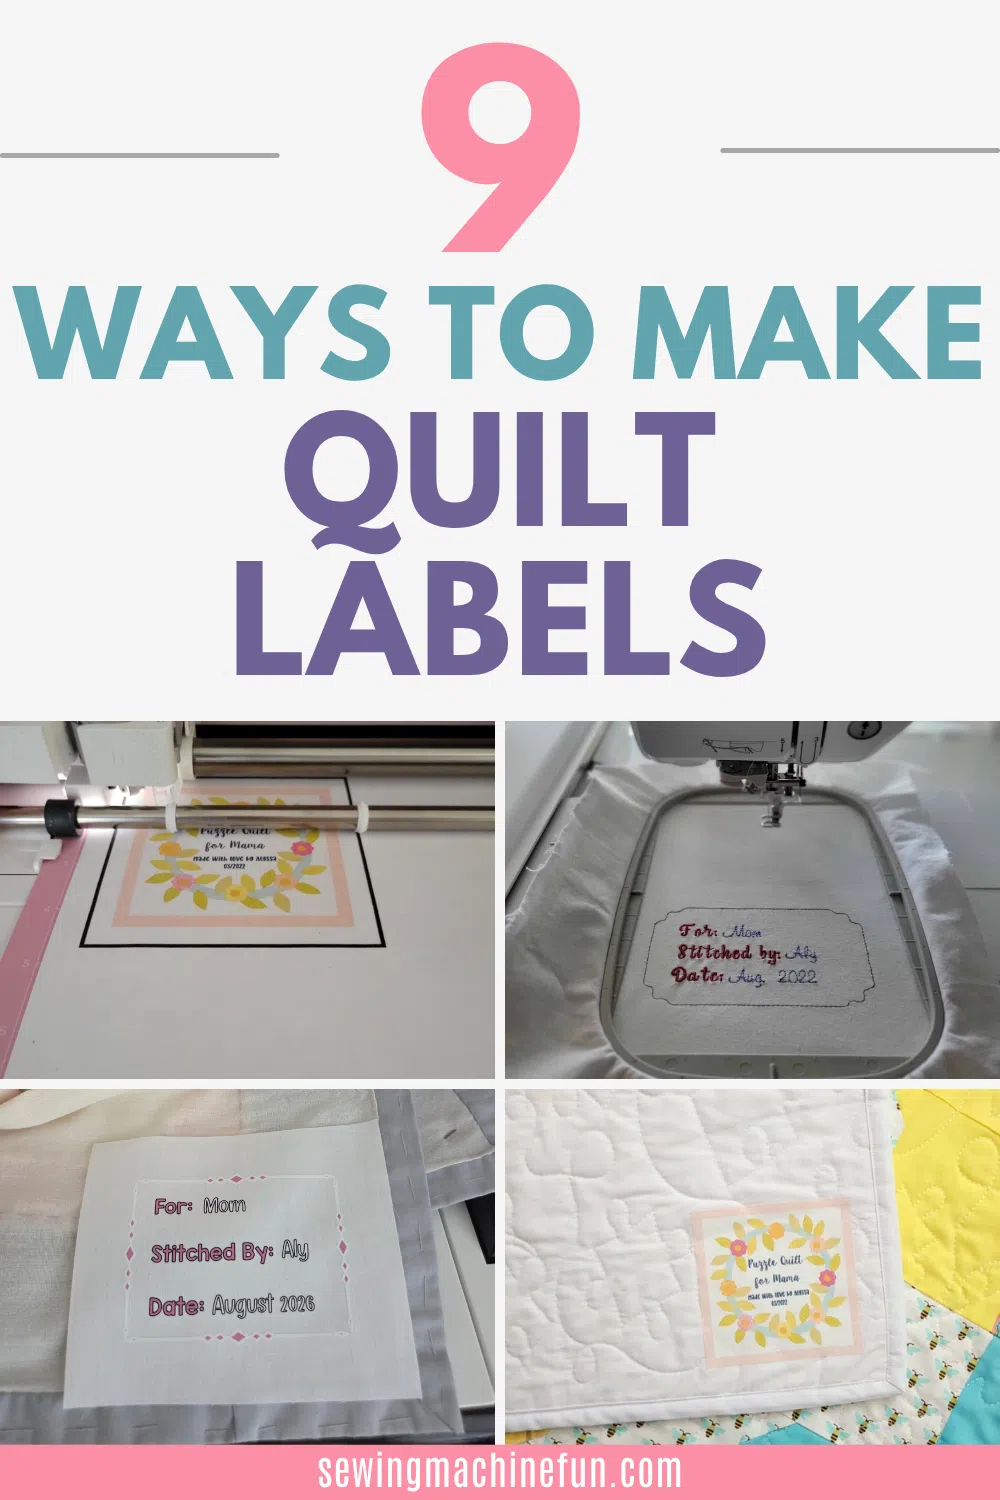
What to Include on the Label
The beautiful thing about quilt labels is they can be as simple or as complex as you want! Here are some options of things to include on a quilt label:
- Name (yours and of anyone who helped)
- Name of recipient
- Date completed
- Reason for gifting: birthday, wedding, birth, etc.
- Quilt name and/or pattern used
- Location, for example address and phone number (required for quilt shows that I enter)
- Care instructions
- Total hours worked
- Construction method: machine, thread, and fabric used or other pertinent details
- A few thoughts for the recipient or a favorite quote
Future generations will (hopefully) appreciate all the details you can provide, but if space on the quilt label is tight, prioritize the names and date.
9 Ways to Make a Quilt Label
There isn’t one “best” way to create a quilt label, and the method you choose can depend on your craft room supplies, expected future quilt care, and the look you want to achieve for the label.
Of course, you can purchase quilt labels that others have already created, but these quilt label ideas are all ways to make them yourself!
1. Printable Fabric (Sew-In or Fusible)
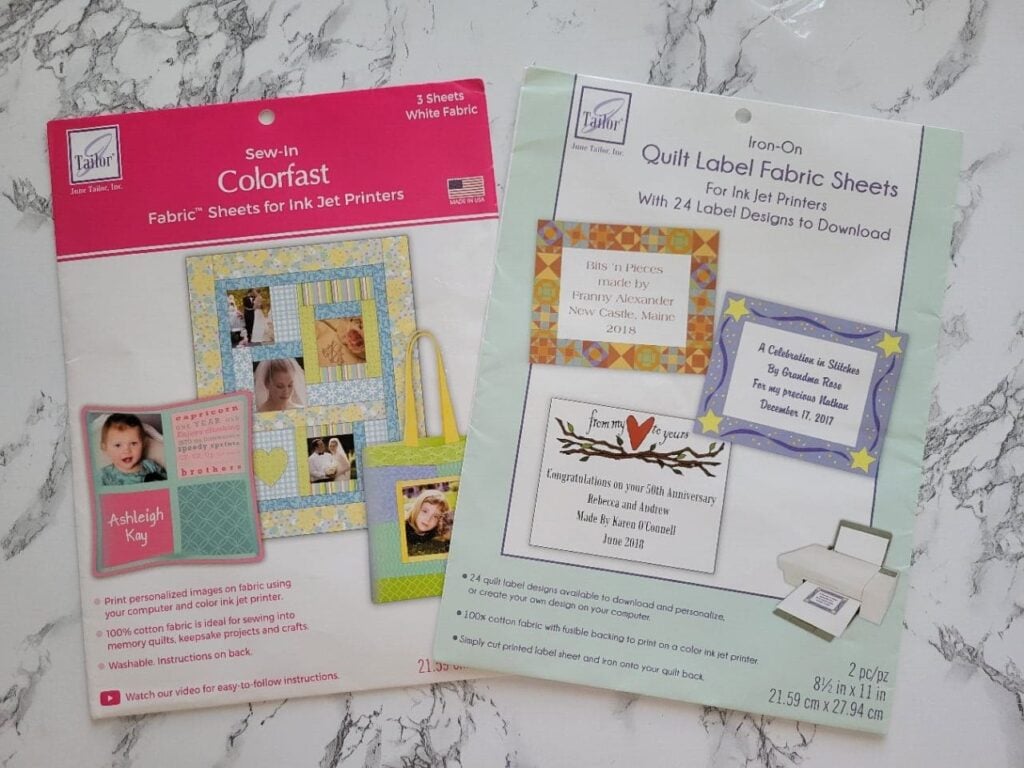
Thanks to products like June Tailor’s Iron-On or Sew-In Quilt Label Fabric Sheets, you can print directly onto fabric from your inkjet printer.
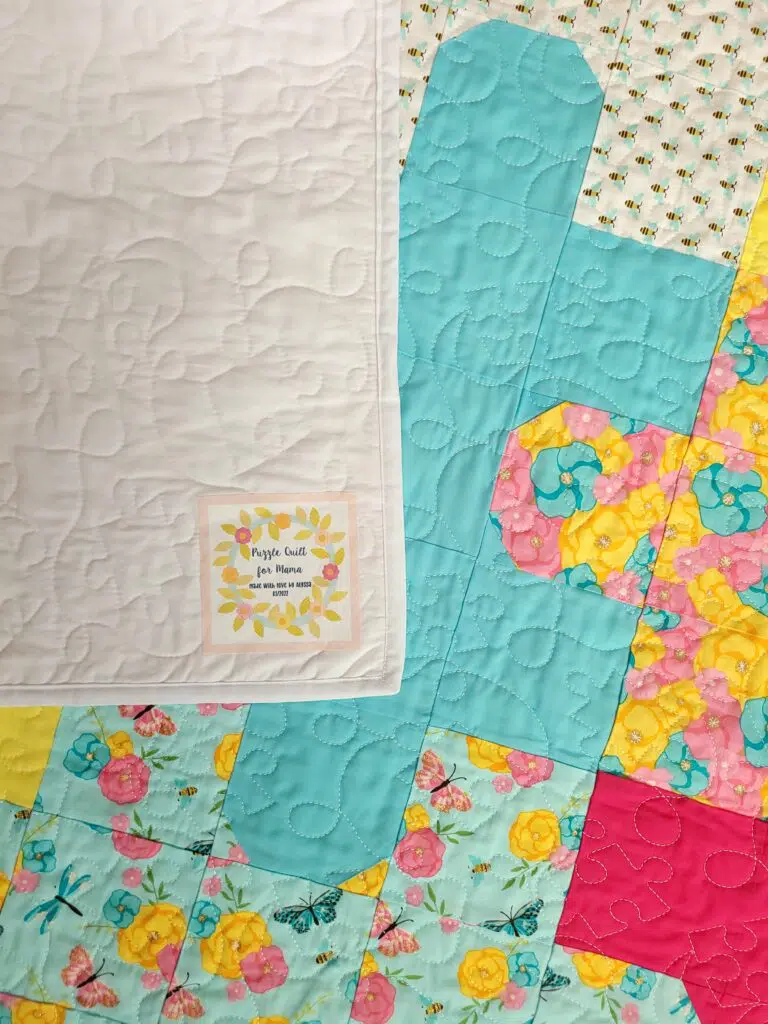
Then, you can cut the label and fuse or sew it in.
I particularly enjoy using the Print then Cut feature on my Cricut Maker to make a perfect cut around the quilt labels. This is much easier than using my Cricut to cut heat-transfer vinyl, which I’d have to spend forever weeding before finally applying to create a label.
One thing I will note here is I’ve never washed the labels in hot water in the washing machine, so I can’t guarantee this is the best quilt label-making method for frequently washed quilts. I mostly use it for quilts I know will be displayed and thus be infrequently laundered!
2. Machine Embroidered Quilt Labels

Making quilt labels with an embroidery machine is my go-to when I have the energy to create the design and stitch the label. Even though I have several quilt label embroidery design templates that I can quickly fill in and stitch, the stitching process itself still takes time.
My go-to fabric, thread, needle, and stabilizer are:
- Fabric: Good-quality quilting cotton or muslin
- Thread: 40wt or 60wt machine embroidery thread; thinner for smaller letters
- Needle: 75/11 embroidery needle or smaller, depending on letter size
- Stabilizer: Fusible no-show mesh
If you want to try this method, you can create a quilt label that can be stitched on like a patch (or appliqued to backing fabric) using Kreative Kiwi’s free quilt label design.
3. Sublimation Quilt Labels

Sublimation is not ideal on natural fibers like cotton, so choose polyester fabric–like polyester twill–for sublimated quilt labels. (Yes, there are sprays and ways to get around the no cotton rule, but using polyester is the best option for the longevity of the quilt label.)
You must have a sublimation printer with sublimation ink that prints on sublimation paper. The printed design can then be heat-pressed to fabric, which is stitched onto the quilt, or heat-pressed directly onto the back of the quilt if you’re feeling adventurous.
One handy thing about sublimation is the dye becomes embedded in the polyester fibers so there’s no transfer layer to peel off with repeated washings.
4. DTF-Printed Quilt Labels
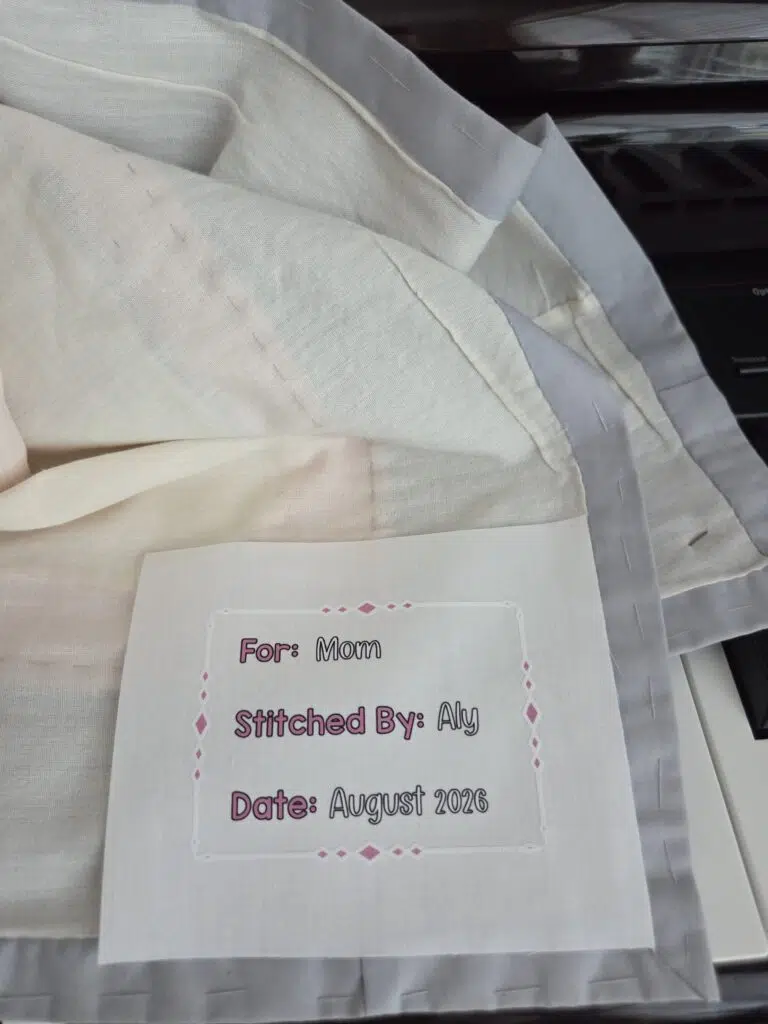
My newest fascination, especially when I want to produce in bulk, is making DTF printed quilt labels. DTF stands for direct-to-film and requires a DTF printer (I like using my gifted xTool Apparel Printer Plus).
Designs are created on a computer and printed onto special transfer film using DTF ink. Powder adhesive is then applied to the printed design and cured. The transfer is then heat-pressed directly to the quilt or a separate fabric piece that can be attached to the quilt.
Perks of DTF quilt labels include:
- DTF labels can be fused onto quilting cotton, unlike sublimation, which requires polyester fibers for the dye to bond properly.
- In my experience so far, my DTF-printed products have held up well to repeated washings. Some of the methods that use inkjet printers are not as durable with frequent washings.
- Colors are vivid and super small details can be achieved with high resolution.
- Great for batching.
5. Sewing Machine Monogramming Font
If you don’t have an embroidery machine but still want that perfect stitched look, try using a sewing machine with a monogramming font.
Use a monogramming presser foot and stabilize the fabric well. Stitch on a larger piece of fabric first, and then cut to size after you’ve stitched.
6. Hand-written with a Sharpie or Fabric Marker
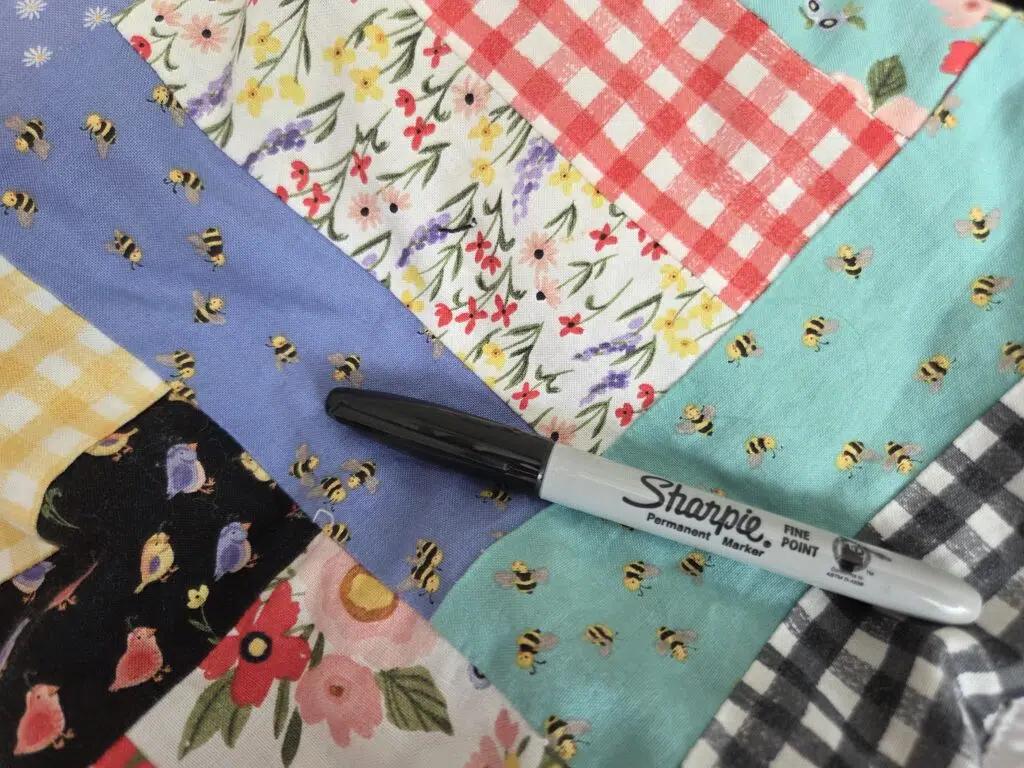
There’s nothing easier (and arguably more personal) than taking a piece of fabric and handwriting your quilt label details with an appropriate marker.
I love having handwritten notes and cards from relatives who have passed; a handwritten quilt label, while not as “fancy,” can be more sentimental!
Choose a marker that won’t bleed, and apply heat afterward to ensure the ink sets properly.
Also, while it might seem like a good idea at the time to write directly on the quilt, consider instead writing on a separate piece of fabric that you later sew on or adhere to the quilt.
7. Hand Embroidered or Cross-Stitched Label
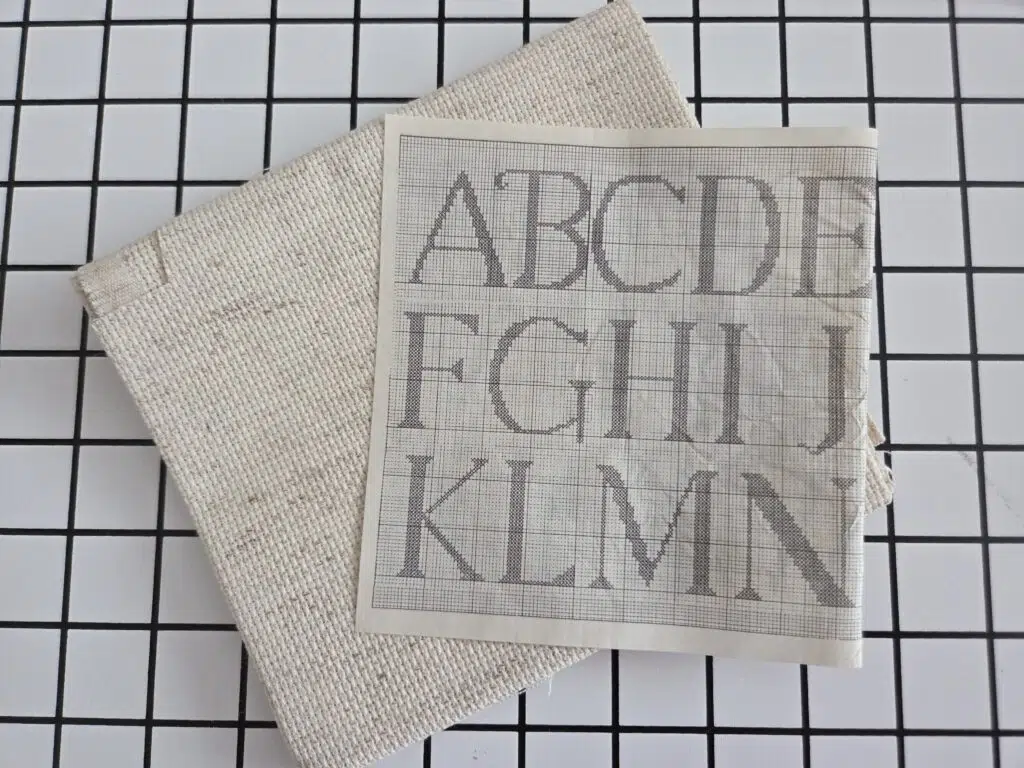
Don’t ask me to hand embroider anything–I’m much better at creating digitized designs for a machine to stitch. However, if you’re a pro with a needle and thread, you can hand embroider the information you want on the quilt label and add some decorative details while you’re at it.
Either that or cross-stitch if you have Aida cloth or another suitable substrate lying around.
This is another way to add a more personal touch that is a little neater than writing with a pen.
8. Transfer Artist Paper
A unique method I’ve not tried is printing on Transfer Artist Paper and then pressing to transfer the ink to the quilt label.
This is another heat transfer method, kind of like sublimation, but using a regular inkjet printer. If you want to try, you can read the tutorial from Sew Can She and grab a free quilt label template also!
9. Clear Vinyl Pocket with Enclosed Card
A more unconventional option for quilt labels is to sew a clear vinyl pocket on the quilt back. Then, write or type your quilt label information on a cardstock card (or other paper) and slide it in the clear plastic pouch.
This is a useful option for kids’ quilts or quilts where the label info could change or need updating.
How to Attach a Quilt Label
For most of these quilt labels, you can hand or machine sew them onto the back right corner before (or even after) adding the binding.
Alternatively, you can apply fusible adhesive to the back of a label and adhere it to the quilt.
Final Notes
Whether you prefer to handwrite your quilt label or embroider, sublimate, or DTF print it, adding a quilt label is the last finishing touch to all those hours of labor. While I usually procrastinate on making mine, at least there are many ways to create one when I’m finally ready to check “finish quilt” off my to-do list.
What method do you like to use for making quilt labels?