
How to Make Custom DTF Clothing Tags
This post may contain affiliate links, which means I’ll receive a commission if you purchase through my links, at no extra cost to you. I sometimes receive free products for review. Please read disclosure for more information.
My daughters are apparently still young (or lazy) enough that they can’t look at an outfit and determine the front and the back. Thus, every time I sew them a shirt or pair of pants, I have to add a tag in the back so they know how to orient their clothes.
In the past, I’ve purchased woven clothing tags from Etsy and Amazon, and I’ve also sublimated my own clothing tags on the cheap. However, after receiving an xTool Apparel Printer Plus, I’ve started making my own DTF-printed clothing labels instead.
DTF clothing labels are durable, have fewer design constraints than pre-purchased labels, and you can customize them at home! Here’s how I use my DTF printer to make custom clothing tags.
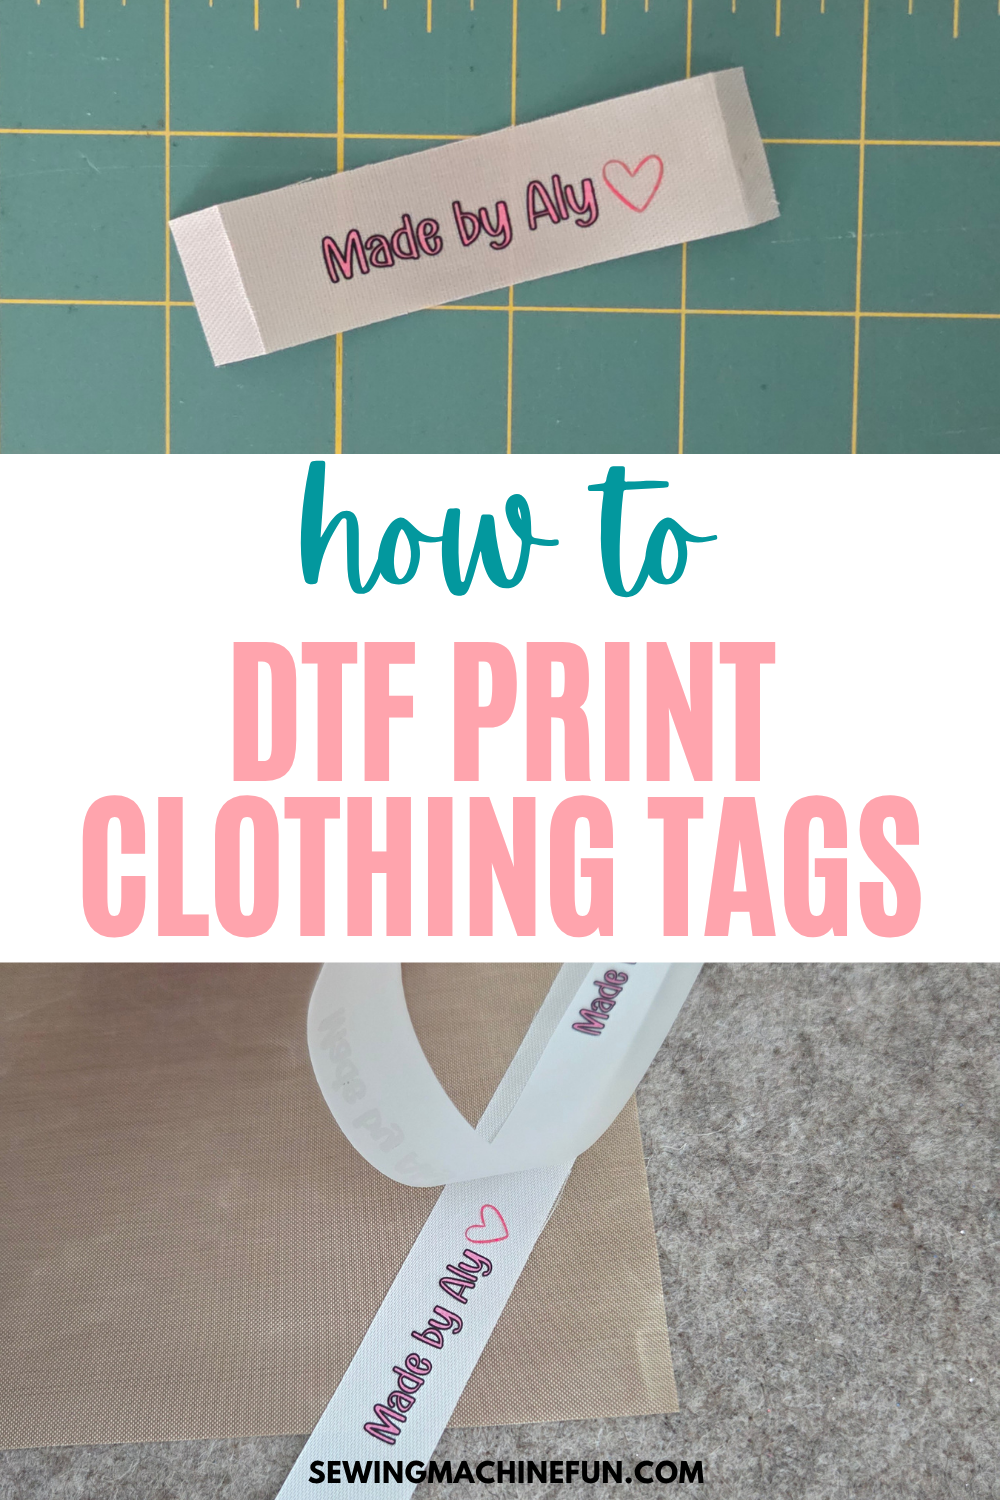
Tools I Used
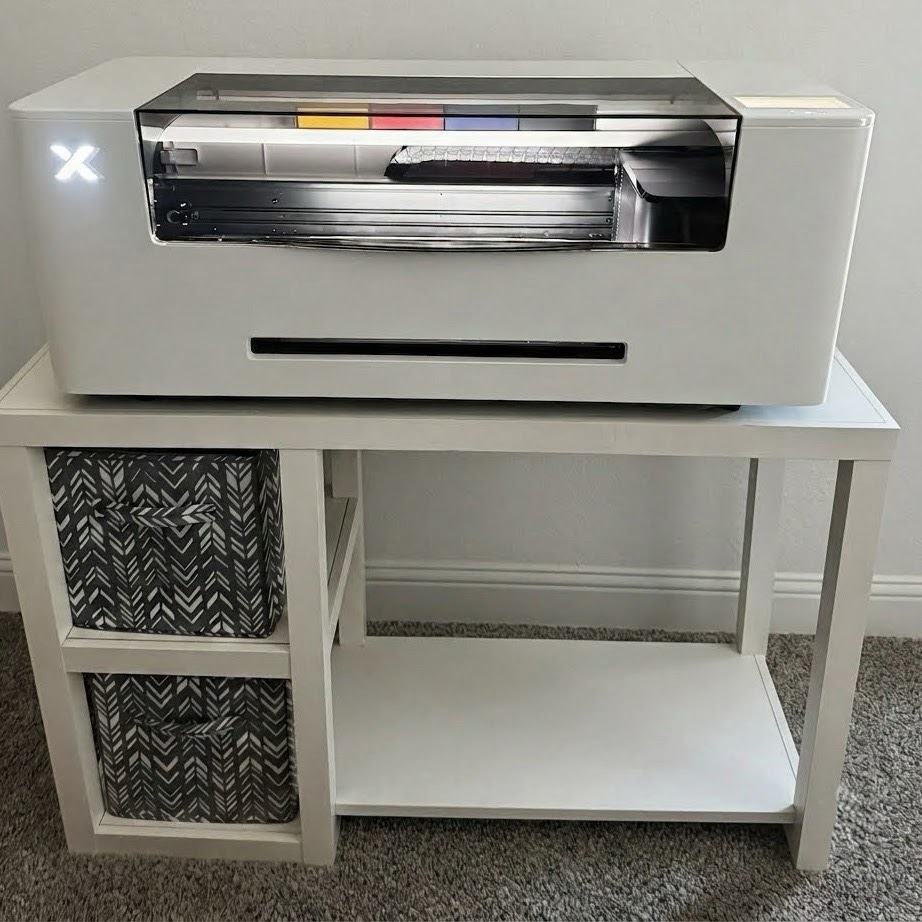
- Software: xTool Creative Studio and Canva
- Printing: xTool Apparel Printer Plus, DTF film, DTF Powder, and turkey pan or Oven Shaker Attachment (you can read my review of the xTool AP2 printer here.)
- Curing and pressing: WonderPress and xTool Smart Press
- Tag material: fabric scraps (like quilting cotton!), ribbon, twill or cotton label tape, or whatever your heart desires as long as it’s compatible with a heat press. I love how I’m not constrained to only polyester here as I would be if sublimating my clothing labels.
How To DTF Print a Custom Clothing Tag
Step 1. Create your Label Design
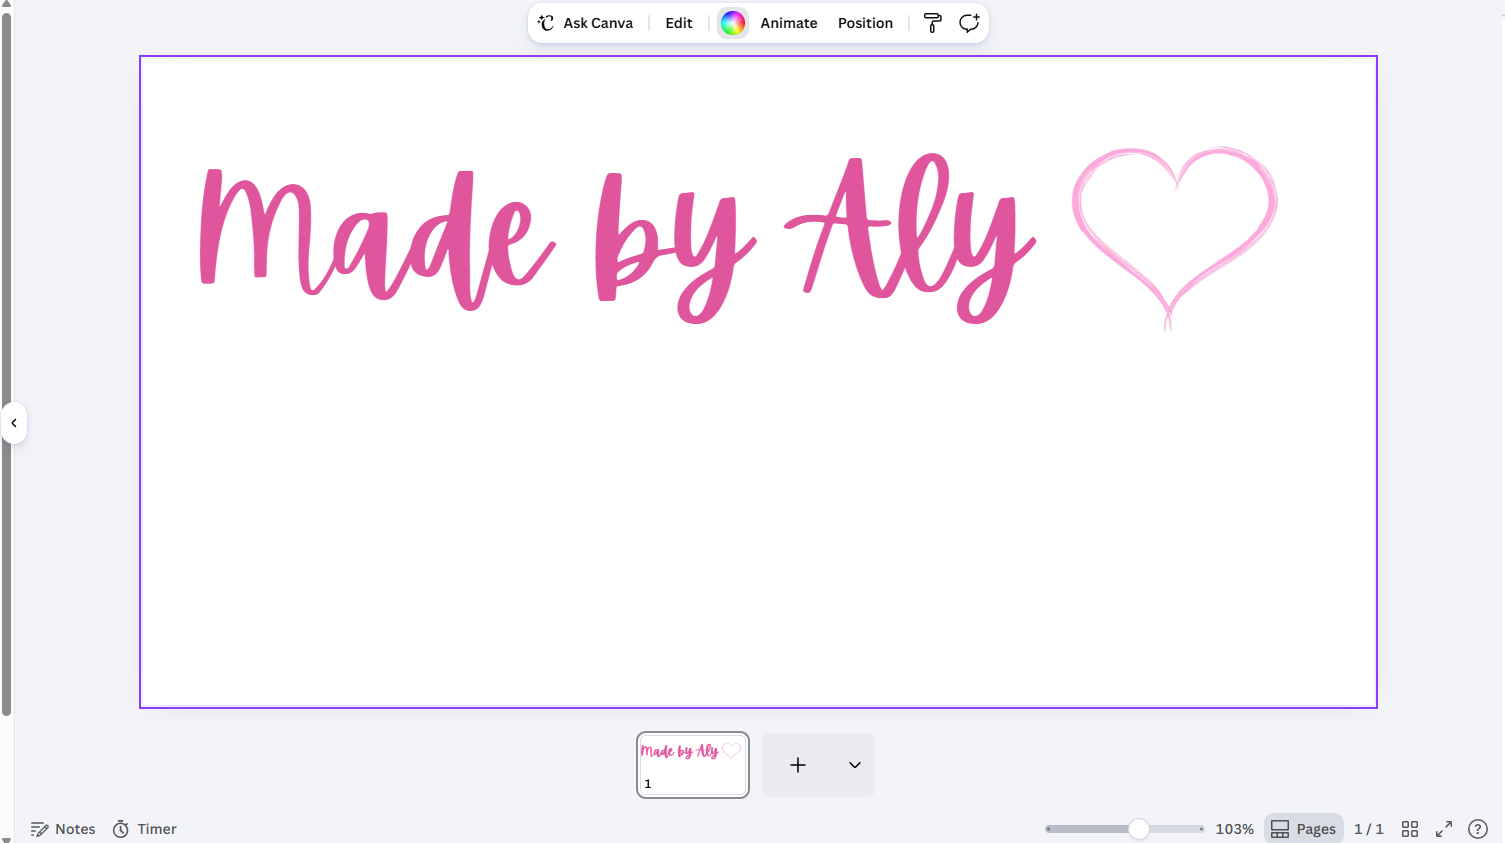
If you own an xTool DTF printer, the design of the tag is done in xTool Studio.
I usually create things directly in the software, but I also like to use Canva if I can’t find the perfect graphic or font in xTool Studio. Designs from outside programs can be imported into xTool Studio and worked with that way.
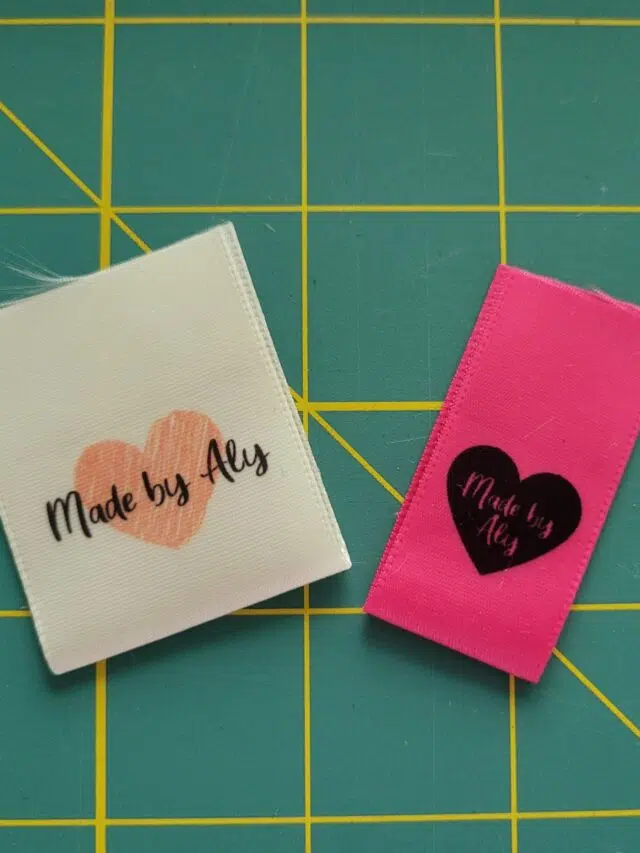
Things to pay attention to when designing:
- Sizing: Clothing labels are small, so choose a font that stays legible at your chosen size. Garment print care instructions will require more resolution as they have more lines of text in a small space than simple “made by” labels. Swirly and fancy fonts don’t usually look as pretty when minimized to tag size as they do on screen!
- Contrast: A high-contrast design is a must! For example, dark print on light labels or light print on dark labels.
- Direction: Hotdog vs. hamburger style! (Long and skinny vs. short and wide.) I usually do mine in the direction of the sublimated ones above, but I thought I’d try something different with these DTF labels and see how that worked with sewing them into my girls’ pants.
What I’ve put on (or thought of writing on) my clothing labels:
- Made by…Aly, Mommy, etc.
- Handmade with love or Handmade by Aly
- Garment size (helpful if I make identical garments for my daughters of two different sizes!)
- Child’s name (preschool required kid names on clothes, and I never wanted to write these in permanent marker if I would hand them down to someone else.)
- Care instructions for gifted items
- Business or brand name if you have one
Step 2. Print the Design
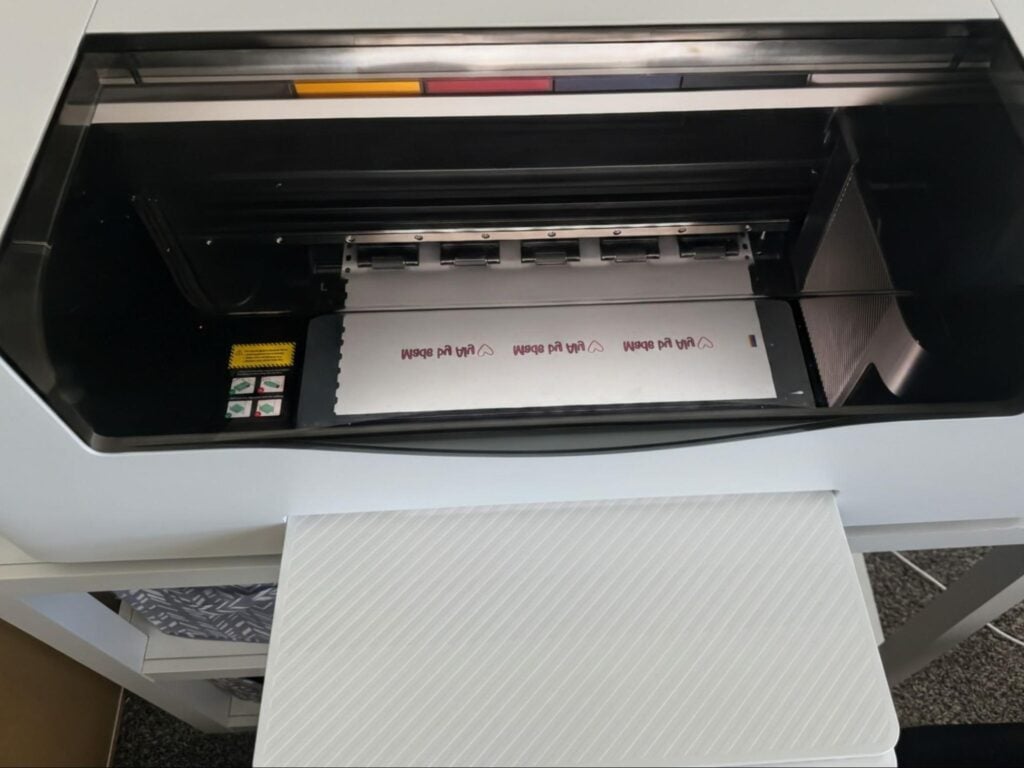
Next, print the design using your DTF printer. This is a straightforward task, and what’s so great about DTF printing tags is you can print pages and pages of them easily. Perfect if you have a small clothing or sewing business and need bulk and want to make your own tags at home.
Step 3. Powder and Bake the DTF Print
If you have the shaker oven for the xTool, the entire curing step can be automated. If you don’t, like me, there are workarounds.
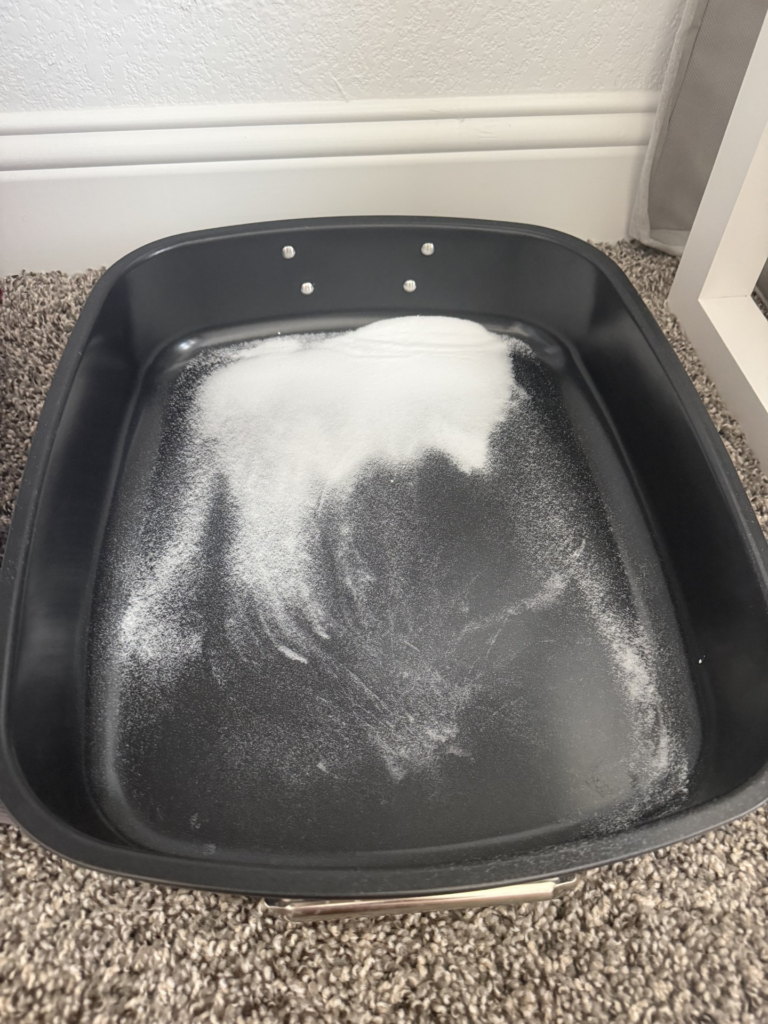
Thanks to the advice of crafting buddies, I’ve been powdering my prints using a turkey pan. I do need to note here that safety is a concern as the powder is super fine and should not be inhaled. Work carefully in a well-ventilated area!
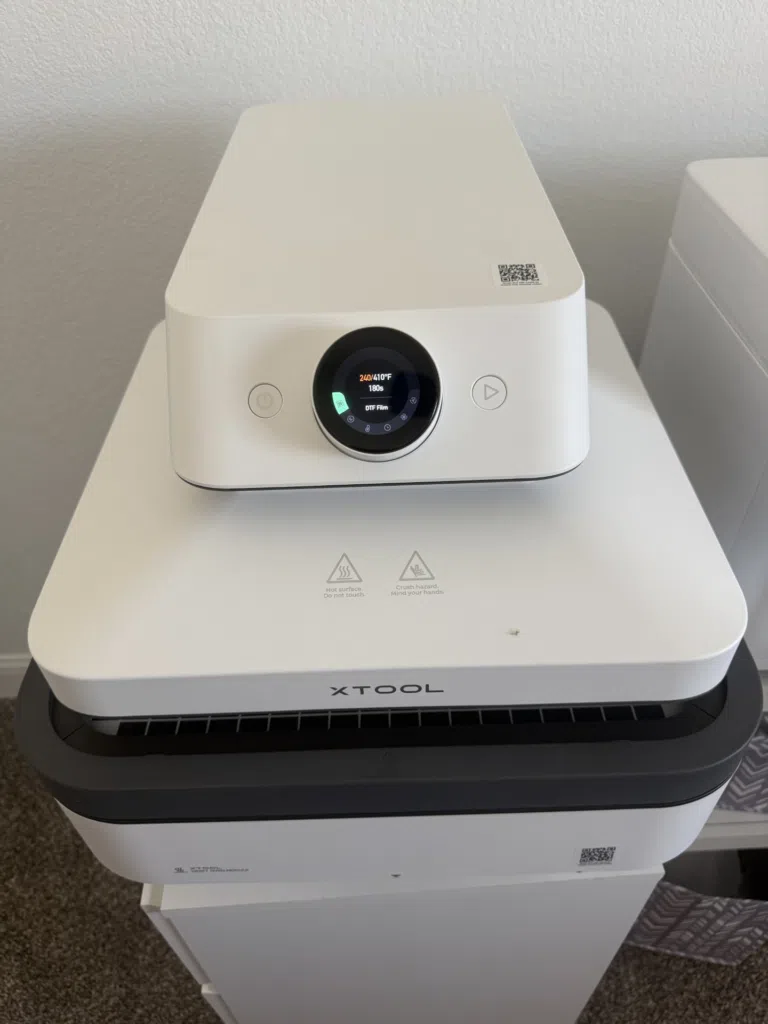
For baking, I used my xTool WonderPress at 410 degrees for 180 seconds. If you have different equipment, follow the manufacturer’s instructions for yours.
It’s important to check that tiny DTF prints like these tags are well cured, especially around the edges, or it’s bad news bears at pressing time.
Step 4. Adhere to Tag Base
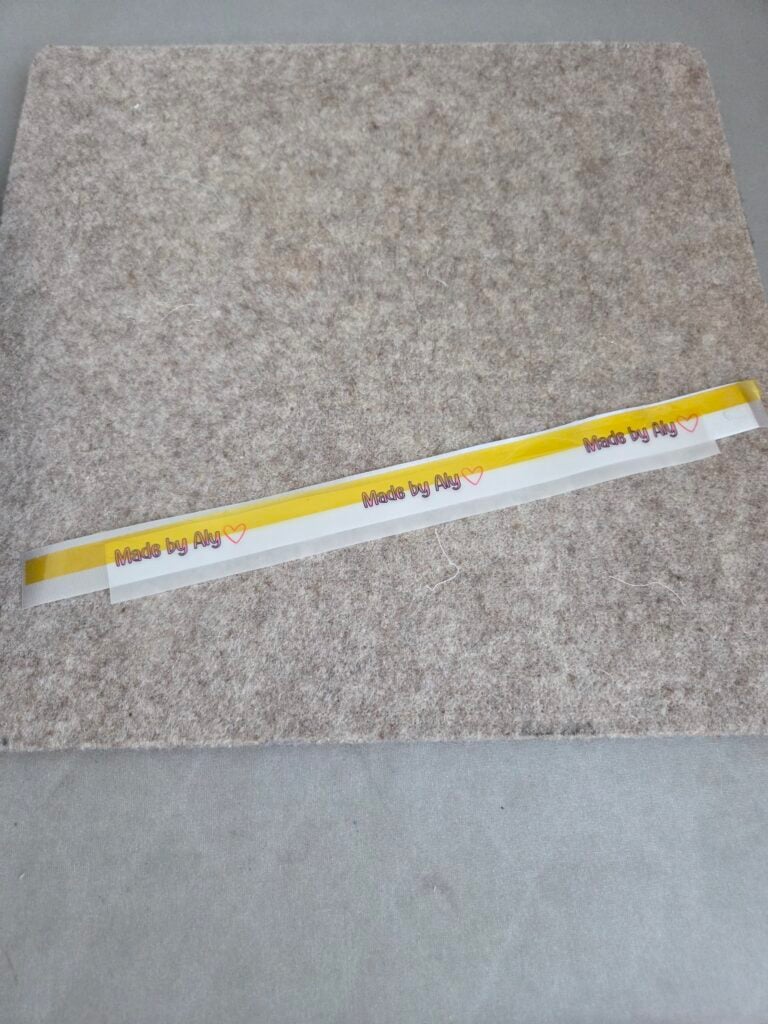
Next, position the DTF film over your ribbon or tag fabric. I like to hold mine in place with heat-resistant tape. If I’m not using a clamshell press, my manual pressing can cause the film to shift as I lower the press myself if it’s not well-secured.
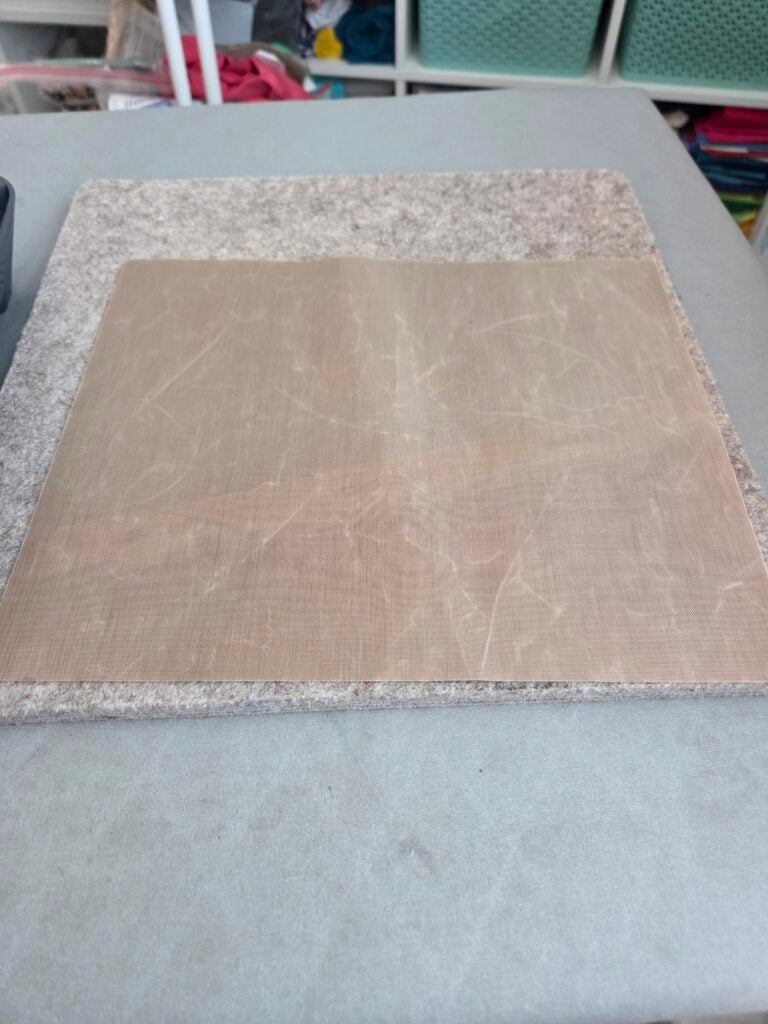
It’s important to have a heat-resistant layer between your heat press and DTF film. I prefer the Teflon sheets you can buy in bulk on Amazon.
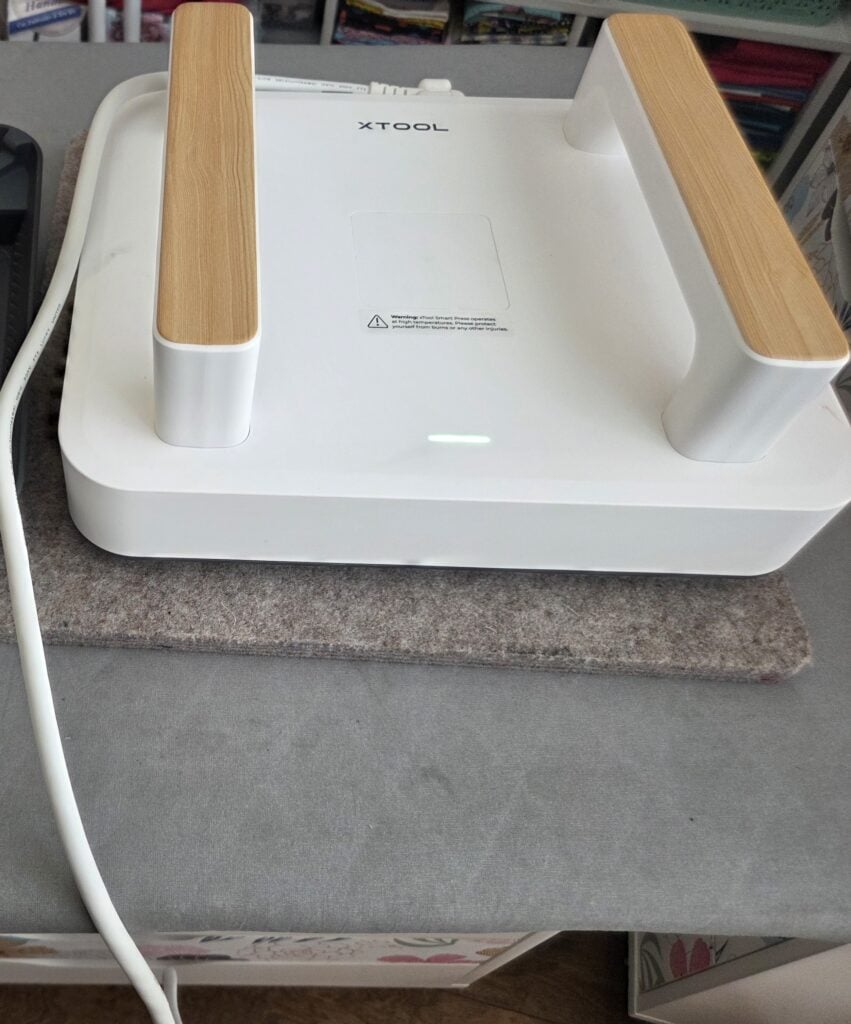
Press your tag according to the manufacturer’s instructions for your heat press. I used my xTool Smart Press for this part since it was more easily accessible once I got to this part.
If you’re using a new tag material, test heat on a small amount first. I’ve definitely made some unfortunate smelly messes when pressing a material not rated for the heat I was using.
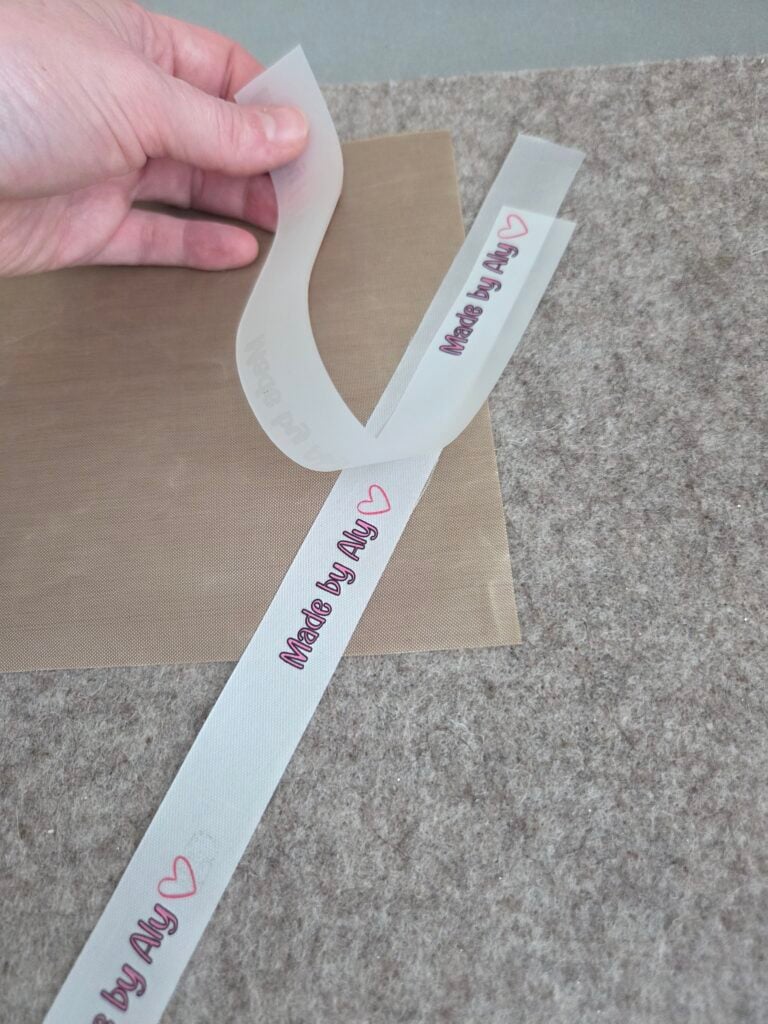
Once the film has cooled, carefully peel it away from your tag fabric. If part of the design starts to come off with the label, press again for better adherence.
Step 5. Attach the Tag
Fabric tags can then be sewn in or ironed on. The method I use depends on the project I’m working on.
- Sewing in: For ribbon tags like this, I cleanly cut the edges, apply some Fray Check if it’s a particularly fray-prone ribbon, and then fold the edges back. Then, I stitch it into the garment with either hand or machine.
- Ironing on: Here, I use a pressing cloth again and apply an iron-on/adhesive backing appropriate for my tag material to the back. Then, I iron it onto the clothes.
Also, if I’m proactive enough and it’s possible, I’ll stitch the tag in during garment construction, but most often, I end up attaching it after the entire project is complete.
Final Notes
DTF-printed clothing labels are durable, allow for fine creative detail, and can withstand many washes intact. I wouldn’t buy a DTF printer solely for making labels, but if you have one already, it’s a practical way to use your DTF printer in your sewing projects.
One other fun thing I’ve learned to do is make quilt labels with DTF printer, and I love embroidering using DTF prints as applique fabric!