FREE No-Sew Doll Skirt Pattern & Tutorial
This post may contain affiliate links, which means I’ll receive a commission if you purchase through my links, at no extra cost to you. I sometimes receive free products for review. Please read disclosure for more information.
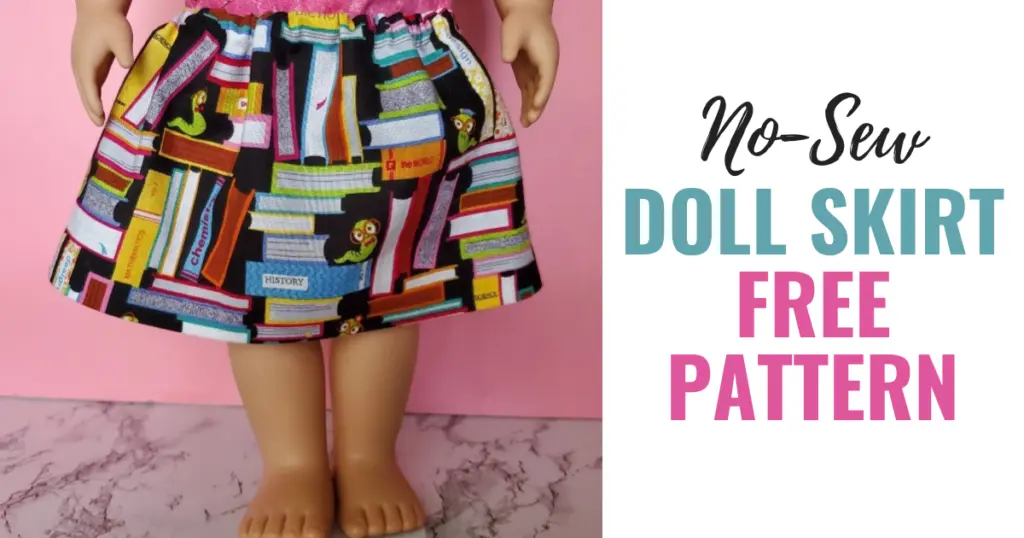
If you don’t have a sewing machine, don’t know how to use yours, or just don’t want to get it out, this no-sew doll skirt pattern and tutorial are perfect for you.
I’ll show you how to make an easy no-sew baby doll skirt using just fabric, hem tape, elastic, and a few accessories. Easy peasy, and done in less than 15 minutes!
While the pattern dimensions are for 18″ dolls, I also have instructions for altering the pattern to fit smaller dolls.
Let’s get started!

Doll Skirt Supplies

Here is what you want to gather before starting to construct this no-sew doll skirt.
- One piece of woven fabric, cut to 8″ x 21″ (This is easy to cut with a rotary cutter and plastic ruler. And, if you’re not sure where to start with fabric selection, check out this list of best doll clothes fabric types.)
- 5/8″ hem tape (I used 5/8″ Stitch Witchery.)
- Iron and pressing surface (I used my Steamfast mini-iron and tailor’s board.)
- 11″ of 1/4″ elastic
- Bodkin or safety pin for elastic
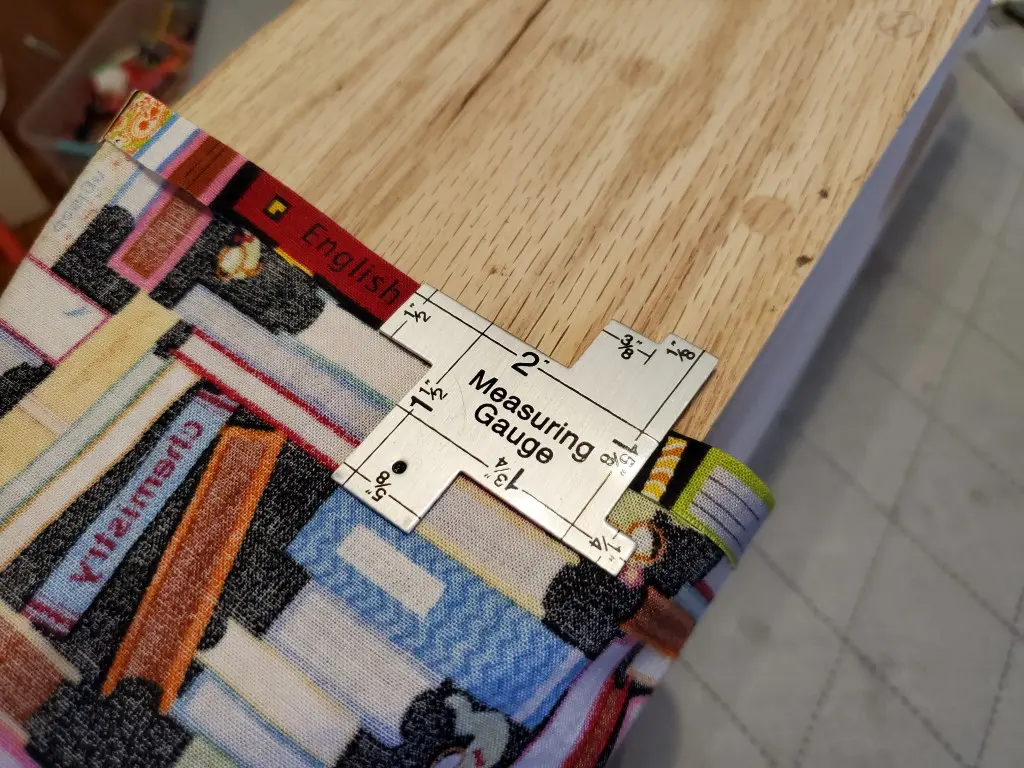
- Seam gauge or measuring device (I like my 14-in-1 measuring gauge.)
- Sewing scissors
Notes:
*I used 5/8″ hem tape for this tutorial. There are different widths of hem tapes, so you can adjust your seam and hem allowances depending on the width of the fusible web you use.
**If you don’t want to double fold your hems, you can decrease the length of the fabric you cut.
Sizing for Different Dolls
I specifically used an Our Generation 18″ doll for measurements for this no-sew doll skirt pattern. (Her measurements are similar to many American Girl dolls.) The Our Generation doll’s waist is around 11.5″-12″ in circumference; the finished skirt is also roughly 5 1/8″ in length and falls right above her knee.
If your doll has a different height or waist measurement, you need to adjust the fabric size you cut. Barbies are likely too small around for this pattern because the waistband casing will be too difficult to fuse.
To recalculate the necessary fabric dimensions for other dolls, here’s what you do:
- Measure the circumference of your doll’s waist and multiply that number by 1.75. That will be the width of the fabric you need to cut.
- Then, decide the length you want the dress to be, and add 2 7/8″ to that measurement to get the final length of the fabric.
No-Sew Doll Skirt Pattern Tutorial
Here are the steps in order with pictures!
1. Fusing the Side Seam

First, fold the fabric right sides together to make the fabric 10.5″x8″.
Cut a piece of hem tape approximately 8″ long and lay it where the raw edges of the fabric meet. (I’ve unfolded my fabric a bit to show the placement.)

Fuse the seam with an iron according to the package instructions on your hem tape.
Then, fold the seam to one side and press from both the front and back to get it to lay flat. If you want to neaten the appearance of the seam, you can clip it with pinking shears.
2. Creating the Skirt Hem
Now, it’s time to make the hem! I like double-fold hems because the raw edges of the fabric are encased. You can eliminate one of the folds if you prefer less complexity and don’t mind the raw edges showing on the inside.

To construct a double-fold hem, first, fold the bottom 1/2″ of the dress fabric up with the wrong sides together. Press in place to form a crease.

Then, fold another 5/8″ up and press to create a crease. Then, within that pressed area, insert hem tape right into the crease as shown above.

Press and fuse the hem in place with your iron. Over the side seam you created earlier, you may need to press the hem from the right side of the fabric in addition to the wrong side to get the hem tape to fuse properly.
3. Creating the Waistband Elastic Casing
It’s time to construct the waistband of the skirt! This is done by forming a small tube of fabric for the elastic called a casing.

First, fold 1/2″ of the fabric at the top of the skirt down with wrong sides together and press, just as you did when constructing the hem earlier.

Then, fold one more time, using a 1 1/4″ fold this time around. Press a crease.

Next, place fusible hem tape around the bottom edge of the casing. Essentially, you will fuse the bottom of the folded fabric with the tape, leaving the top remainder of the casing for the elastic.
Do not place hem tape in a 1.5″ – 2″ portion of the folded fabric, though. This will be where the elastic enters the waistband.

Press the waistband fabric to fuse.

Now, it’s time to insert the elastic. You can use a bodkin or place a small safety pin at the end of the elastic to help guide it through the casing.

Pull the elastic all the way through, making sure both ends are visible outside the casing at the end. Also, make sure the elastic isn’t twisted anywhere.
Before the elastic is fused, this is a good time to test the fit of this no-sew skirt on your doll. If you need to add more elastic or make the length smaller, you can change this before fusing the casing.

It’s now time to fuse the two ends of the elastic. If you have a needle and thread, that will provide the most secure attachment.
However, if you truly want this to be a 100% no-sew doll skirt pattern, here are two no-sew options!
- Overlap the elastic 1/2″ and cut a piece of hem tape down to 1/4″ x 1/2″. Press the tape in the elastic overlap. Don’t use high heat, and don’t hold the iron there for too long. Press from both sides.
- As an alternative, tie a small knot where the two ends of the elastic meet. Don’t worry, it won’t be too noticeable in the skirt waistband.

Next, cut a piece of hem tape the size of the casing opening. Then, slide it up into the opening. Press the hole closed from the wrong and right sides. Lastly, distribute the elastic evenly through the casing with your hands.

And that’s it! I hope this 18″ doll skirt tutorial has given your favorite doll another fun outfit in her wardrobe.
Also, looking for more project ideas and tutorials?
Check out these other posts: easy no-sew doll clothes pattern ideas, doll clothes sewing patterns printables, 20+ free Barbie clothes patterns, and how to sew clothes for dolls.

