8 Essential Embroidery Supplies (List for Beginners)
This post may contain affiliate links, which means I’ll receive a commission if you purchase through my links, at no extra cost to you. I sometimes receive free products for review. Please read disclosure for more information.
Before using your new embroidery machine, you must purchase basic machine embroidery supplies such as stabilizer, thread, and needles. However, beginners might not know where to start when determining the rest of the must-haves–I know I was a little confused at first!
So, for newbies, here are the supplies you need for your embroidery machine before you start stitching.

Supplies for Machine Embroidery (Must-Haves To Get Started)
These are the items I consider essential to getting started with machine embroidery. (The following section then discusses things that aren’t necessary but are convenient.)
And, if you don’t want to buy everything separately, you can grab the Embroidex Embroidery Machine Starter Kit, which has almost everything you need to get started!
1. Stabilizer

Embroidery stabilizer is the material that goes in the hoop on the back of the item you plan to embroider.
Stabilizer is one of the most essential machine embroidery supplies, ensuring your designs stitch accurately and efficiently on the fabric. There are many different stabilizers available; each type has its intended usage.
My printable machine embroidery stabilizer chart has more in-depth information, but below is a summary of the types of stabilizers.
A. Tear-Away Stabilizer

Tear-away stabilizer works best for non-stretchy, stable fabrics such as terry towels, canvas, twill, and more. I prefer pre-cut stabilizer sheets for my smaller hoops, and I purchase rolls of tear-away stabilizer for my larger hoops.

After you stitch on the tear-away stabilizer, you gently rip it off from the back of the fabric.
B. Cut-Away Stabilizer

Cut-away stabilizers are great for knits and other stretchy fabrics because they have less stretch and thus stabilize better. They also work great for densely stitched designs to prevent puckering. Simply cut it away from the design after embroidery.
C. No-Show Mesh Stabilizer

No-show mesh stabilizer (also known as PolyMesh) is a soft, strong cut-away stabilizer that is great for knits when minimizing show-through on light fabrics. When deciding which no-show mesh stabilizer to choose, you can select between a fusible option to iron on or a non-fusible option.
D. Sticky Stabilizer

Sticky, self-adhesive stabilizer has one sticky side that grips your fabric, eliminating the need for adhesive spray or other methods to secure fabric. I like using this type of stabilizer when floating embroidery blanks or embroidering tricky items like caps.
You can purchase sticky tear-away, sticky wash-away, or even sticky cut-away stabilizer.
E. Water-Soluble Topping

Water-soluble topping is a MUST-HAVE when embroidering on fleece blankets, towels, or fabric with fluff or nap (and many other fabrics, such as certain knits!)
This topper–my favorite is Sulky Solvy Water Soluble Stabilizer–keeps embroidery stitching from falling into the top of the fabric and becoming lost.
Once embroidering is done, the topping dissolves with water. But, if you’re in a hurry or can’t wash your fabric, you can also purchase a heat-dissolving topping that crumbles away with an iron.
F. Wash-Away Stabilizer

While water-soluble topping goes on the top of fabric, wash-away stabilizer goes on the back of hooped fabric. It also washes away with water after embroidering and can have either a papery appearance or thicker clear plastic like Sulky’s Ultra Solvy.

It’s popular for its use when embroidering patches and free-standing lace, and I even recently used it when embroidering tulle.
G. Embroidery Backing

Sulky Tender Touch backing is one example of an embroidery backing that you iron onto the back of your finished embroidery design.
I add this to every one of my girls’ outfits I embroider to keep the hard stitching from rubbing their soft little bellies.

And, if you’re totally overwhelmed with all these possible stabilizer combinations, you can purchase something like the Embroiderer’s Compass to take the guesswork out of stabilizer selection.
2. Embroidery Items and Applique Fabrics

Embroidery blanks are your blank t-shirts, onesies, towels, hats, etc., that you plan to embroider. My list of the best places to buy blanks for machine embroidery showcases my favorite websites, big-box stores, wholesale distributors, and online apparel suppliers.
If you plan to applique, you also need applique fabric. While quilting cotton is my favorite for ease of use, I also like repurposing items around the house as fabric sources.
3. Embroidery Needles

While you can use sewing machine needles for many projects, specialized machine embroidery needles are usually better. (Learn more in my post about how to choose the best machine embroidery needle.)
There are different sizes (70/10 to 90/14 and larger), points (ballpoint, sharp, or universal), and different finishes. When in doubt, a size 75/11 universal embroidery needle is a good place to start, and then fine-tune from there, if needed.
4. Embroidery Thread and Bobbin Thread

While you can sew with embroidery thread, it’s not advised to embroider with sewing thread. Thus, you need to purchase additional colored machine embroidery threads.
The most common fiber types of machine embroidery thread are polyester, rayon, or cotton embroidery.
There are many, many options for thread brands, but I recently switched to the budget-friendly Brothread threads without any issue. (I prefer the color selection of my Exquisite threads, though.) Read how to choose the best embroidery machine thread to learn about weights and materials!

In addition to the upper thread, you need bobbin thread for your machine. For most embroidery designs, the bobbin thread color does not matter, so I prefer to use pre-wound bobbins of white thread rather than winding bobbins myself.
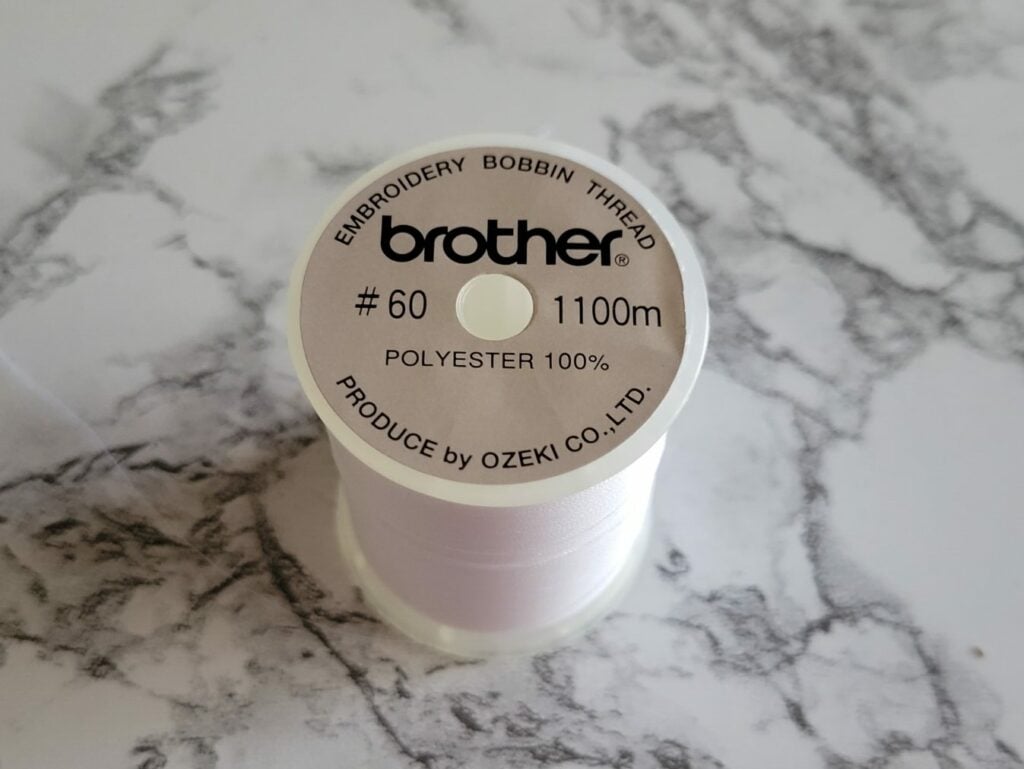
However, if you wind your own, consider purchasing additional bobbins for your machine and special bobbin embroidery thread. Check your machine manual for the preferred weight and type of bobbin thread.
5. Marking Supplies or Placement Tools

In many cases, it is important to temporarily mark the center of your embroidery blank so you know where to position your embroidery design.
I like to use a washable marker to mark the center on lighter-colored fabrics. The temporary ink washes out with water after you have finished the design.
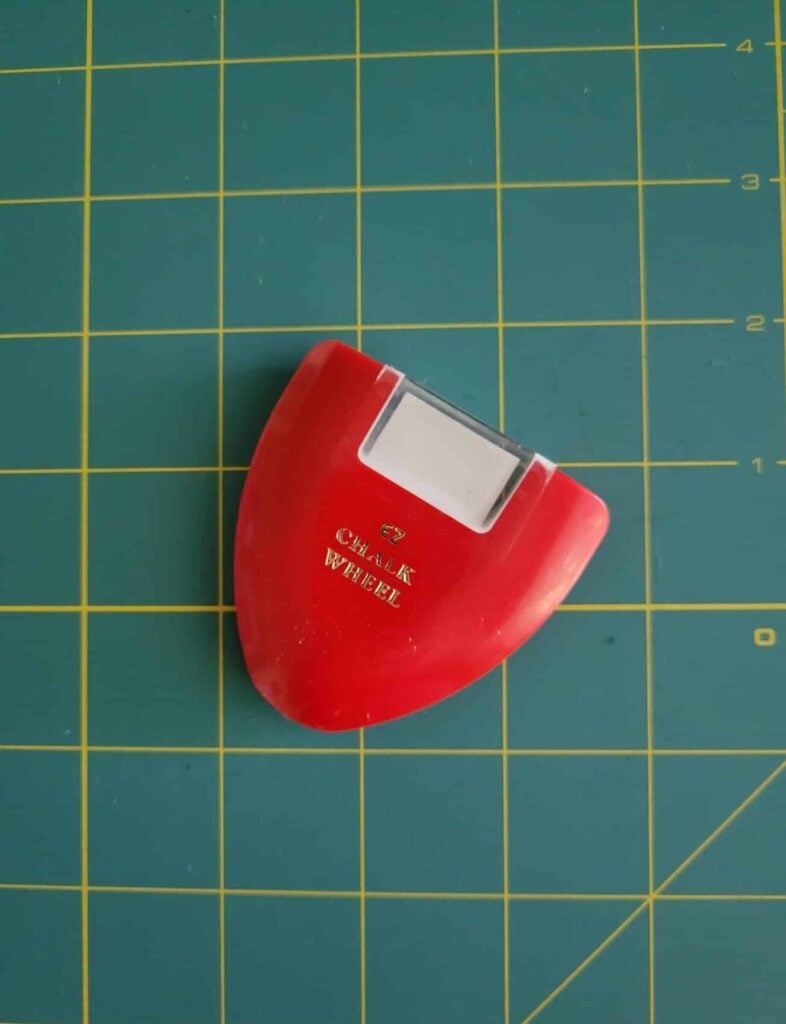
For darker fabrics, I prefer to my chalk wheel.

I also use embroidery placement stickers for projects I don’t plan to wash after embroidering.

I also have placement helpers, like the above one from DIME, that make it so I don’t have to mark certain blanks!
6. Embroidery Scissors

Embroidery scissors are small, specialized scissors that super close threads and appliques to trim them.
MANY different types of scissors are specialized for embroidery work, such as double-curved embroidery scissors, duckbill applique scissors, and embroidery snips. You can learn more about the different types, plus when and how to use them in my best scissors for machine embroidery article.
7. Temporary Adhesive

There are several instances when you will need a way to adhere fabric to your embroidery stabilizer. One example is fabric that’s floated.
To temporarily adhere tricky fabrics to my stabilizers, I prefer temporary fabric adhesive spray. (My current favorite is Odif 505 spray.) The beauty of temporary adhesive is you can remove and reposition your items several times without the stickiness wearing off.
You can also use pins, painter’s tape, a basting box, or other methods for adhering embroidery items that aren’t easily hooped.
8. USB Drive
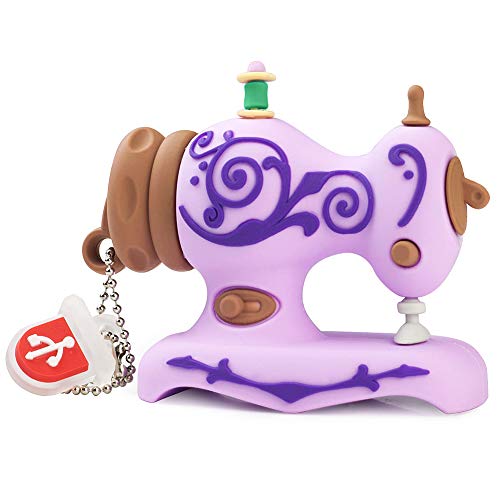
One of the necessary Brother embroidery supplies for newer machine models that don’t use WiFi is a USB. And, even though my newest machine has WiFi design transfer, I still install updates to it via USB.
Just check your machine manual to learn the import methods and any required specs for USB drives. (Hint: huge drives with millions of files take forever to load on my machine!)
Not Essential Supplies (That You Might Still Want!)
Embroidery Software

All in all, embroidery software is unnecessary if you use your machine’s built-in embroidery designs and editing features or download designs off the Internet. However, there are MANY times when having at least basic embroidery software is nice. Here’s a quick overview.
A.Free Software
First, I have a list of the best free embroidery software for digitizing and editing. Just be aware that the more full-featured free ones are not as easy to use as premium software.
The most extensive free embroidery software is Ink/Stitch, which is an extension of Inkscape. This is free, open-source software that rivals many paid programs.
I like to use Inkscape to create SVG designs for my Cricut and then sometimes use Ink/Stitch to transform them into embroidery patterns. It does not come with much user support or tutorials and is difficult to learn for novices.
B. Premium (Paid) Software
The most beginner-friendly software is paid software.
Spend some time learning the options and figuring out what you want to embroider and which software will get you doing what you want to do. (Learn more in my reviews of embroidery machine software options.)
- For beginners who want to edit and customize designs, Sew What Pro and Embrilliance Essentials are two of the most popular editing software.
- If you want to auto-digitize (which does have many limitations), consider SewArt.
- If you want to digitize manually (this produces the best results), Embrilliance Stitch Artist and Hatch 3 Digitizer are very popular and easy to use! I prefer Hatch, but that’s just me.
Extra Hoops

If you are working on more than one project at a time, it’s nice to spend active stitching time setting up for the next project in a new hoop. Furthermore, if your included hoop size with your embroidery machine is huge, it’s nice to have smaller hoops to use to hoop small items like baby onesies.
I have a set of 3 Sew Tech embroidery hoops to also use with my machine.
When buying extra hoops, make sure you check that they’re compatible with your machine!

I also really like magnetic hoops, which I use when adding quilting stitches and working with other hard-to-hoop items.
Hat Hoop

If you think you’ll want to embroider hats, having a special hat hoop can help keep the hat stabilized on single-needle embroidery machines. It’s not necessary to have a hat hoop, and I’ve had decent success without using one as well on my Brother SE1900.
Thread Stand Holder

If you plan to purchase extra-large spools of thread or use cones to save money when embroidering, you will not be able to fit them in a horizontal spool holder and will need a thread stand.Also, if you’re interested in embroidering with metallic machine embroidery thread, at least a single thread stand will help with even feeding.
My Embroidex thread stand above is a monster (and a mess!), but it’s really helpful to line up multiple thread colors for an embroidery project.
Alignment Laser

If you have difficulty centering blanks and your hoop, one helpful tool is an embroidery laser like the PAL from dime. At first, I wasn’t sure if it would have much use in my embroidery room, but it’s been SO helpful with difficult blanks.
Books

If you like reading print text, check out some of my favorite machine embroidery books! I read every book I could find and listed the ones I thought were most helpful for beginners.
Embroidery Removal Tool

All beginners make embroidery mistakes, and removing machine embroidery is difficult! However, embroidery tools like the Stitch Eraser or Stitch Ripper make the job much easier. Not easy…but easier.
Spool Huggers and Bobbin Clamps
These are in no way necessary but are REALLY nice to have around to keep things tidy and organized.

These thread spool huggers wrap around your threads and keep the ends from unraveling.

Meanwhile, bobbin clamps do the same thing for bobbin threads.
Please let me know if you have any other suggestions for machine embroidery supplies for beginners to add to my list! And, if you’re feeling like splurging on yourself or dropping hints to people who love you about more fun things, check out my big list of unique gifts for embroiderers.
Thank you this is been very helpful! What kind of thread do you use for just sewing?
Thanks! I used to use cotton thread for sewing, but I’ve gotten away from that and generally use all-purpose polyester thread now.
Thanks so kindly I learned a lot regarding stabilizers. I am a beginner and I have the se600
Thank you so much. I learned a great deal. I appreciate the time and thoughtfulness you provided in explaining the necessary items a beginner should purchase. It eliminates the guess work. Thank you again.
I do have a question. Do you have to use all of the 4×4 space provided by the embroidery hoop or does the Brother SE600 allow you to use less of the space provided? Thank you
You can fill as much of the 4″×4″ space as you want! With the built-in designs on the machine, there is only so much resizing you can do, though. With designs you purchase or make, you can resize much more with embroidery software.
If you want to use less stabilizer, you can also purchase a compatible 2″x1.5″ hoop for those tiny designs. I do like having a large variety of hoop sizes for my machines!
Thank you so much, Aly. I really appreciate your help.
Hi,
I haven’t received my Brother SE600 sewing-embroidery machine yet. Can anyone tell me if it includes Whinnie the Pooh embroidery patterns for example? If it doesn’t can anyone recommend embroidery software with Disney Characters that I can purchase?
Thank you
I use embroiderydesigns.com. They also give away 3 free designs a week unless you purchase, then the free amount increases.
Hi Aly,
Thank you so much for all of the valuable information you have provided. Can you please tell me what to do to join your blog? Also, I’m looking for more embroidery patterns than what my Brother has and the websites that provide free embroidery patches. I would love to edit or create my own embroidery. Can you please recommend software that is easy to use? I am a beginner so the easier the better.
Thank you,
Julie
For editing, Sew What Pro and Embrilliance Essentials are good places to start. If you want to auto-digitize an embroidery file from an image file, you can try Sew Art. There are lots of tutorials but there are many limitations to auto-digitizing images.
If you want to digitize manually (ie create from scratch), that has a VERY large learning curve. I think Hatch Digitizer and Embrilliance (you’d need at least Stitch Artist) are some of the easiest to learn.
I also should mention Inkscape with the Inkstitch extension is the best free option. Full-featured digitizing software is VERY expensive.
As for joining the blog, there should be an email signup form floating around somewhere on your sidebar or the bottom of your screen depending on the device. I also have several social media accounts you can get to if you visit my home page!
Thank you
You mention the brother se625z. Is this a machine you would recommend to a beginner in embroidery? Also the area is 4×4. That seems like a generous size to embroider most of what I want to do. Do you find that adequate?
Thank you for all the great info
Brother se625. The z is a typo
Yes, I loved my SE625 when I had it! (The newer version of it is now the SE630.) It didn’t cost me an arm and a leg (in comparison) and I was able to make all my beginner mistakes on it. It was also easier to learn to use because it had less functions and features to confuse me at first! The 4×4 machine did do most projects I wanted it to, which was convenient. (I wrote a post about all the things I embroidered with my 4×4 machine actually if you want an idea!)
However, over the following 5 years, I learned how much I loved embroidery, and I eventually upgraded it to a 5×7 machine and then purchased a 10 5/8″x16″ machine a few months ago. I do not recommend the ultra-snazzy machines to beginners because they are complicated to use if you aren’t familiar with embroidery already!
All that to say, I started with the SE625 and I have absolutely zero regrets about it!
What’s the largest size letters and the smallest letters that can be embroidered with this machine?
Technically, you could embroider a letter up to 4″x4″ in size during one hooping. You’d have to rehoop each letter to create an entire word, though.
As for smallest, it depends on what font you choose.
I’ve been using embroidery machines since 1998. But I stopped completely in 2014.
My software is from 1998.
I’m just now getting back to embroidery. I have 4 embroidery machines. I bought one in 2013 that I’ve never used. Recently I looked in the book and I think it says directions for use are in machine and I might have CD. It’s a Baby Lock Ellisimo Gold 3. But I’m starting with my Ellageo ESG2. I just have it setup to embroider. Need to get stabilizer and hoop it.
I really enjoyed your information anyway. I didn’t know anything about free software. That could probably be a big help. And other sites you mentioned. You can always learn from someone like you. Appreciate your sharing, THANK YOU
If someone has a answer for how to clean a hoop. Looks like spray. I didn’t get around to asking the phone yet!
For that dirty hoop, try Goo Gone or warm white vinegar. Dish detergent and hot water have also worked for me!
Is it possible to add an accessory to the 625 that holds industrial size thread spools? I was given a bag of it and need ideas.
I have an Embroidex thread stand that sits next to my machine that holds the gigantic thread spools, and it also helps with more even feeding for specialty threads. I’m not sure if there’s any accessories that attach directly to the SE625. I know some of the Innovis models (Stellaire, Luminaire, etc.) have genuine Brother accessories that do that exact thing, but I haven’t come across anything like that yet for the SE625.
Hi,
Beginner here. Thinking about getting the Brother se1900. For this machine, what USB do you use? When researching, I’ve seen reviews saying not just any USB’s work, but support wasn’t specific about which one would be compatible. I wanted to ask before I purchased so I don’t run into the same problem.
Thank you for putting together this article. It has helped tremendously!!
Currently, my machine has a SanDisk 16GB USB plugged into it, and it works fine. Most of the USBs I have around that are less than 32Gb do not give me any issues either. I have some much larger USB drives (like 256GB) that are shoved full of files, and I don’t recommend using anything this size for sure. A large USB with lots of files takes FOREVER for the machine to load, and it acts like it’s stuck until it finally is able to pull up what’s on the drive.